
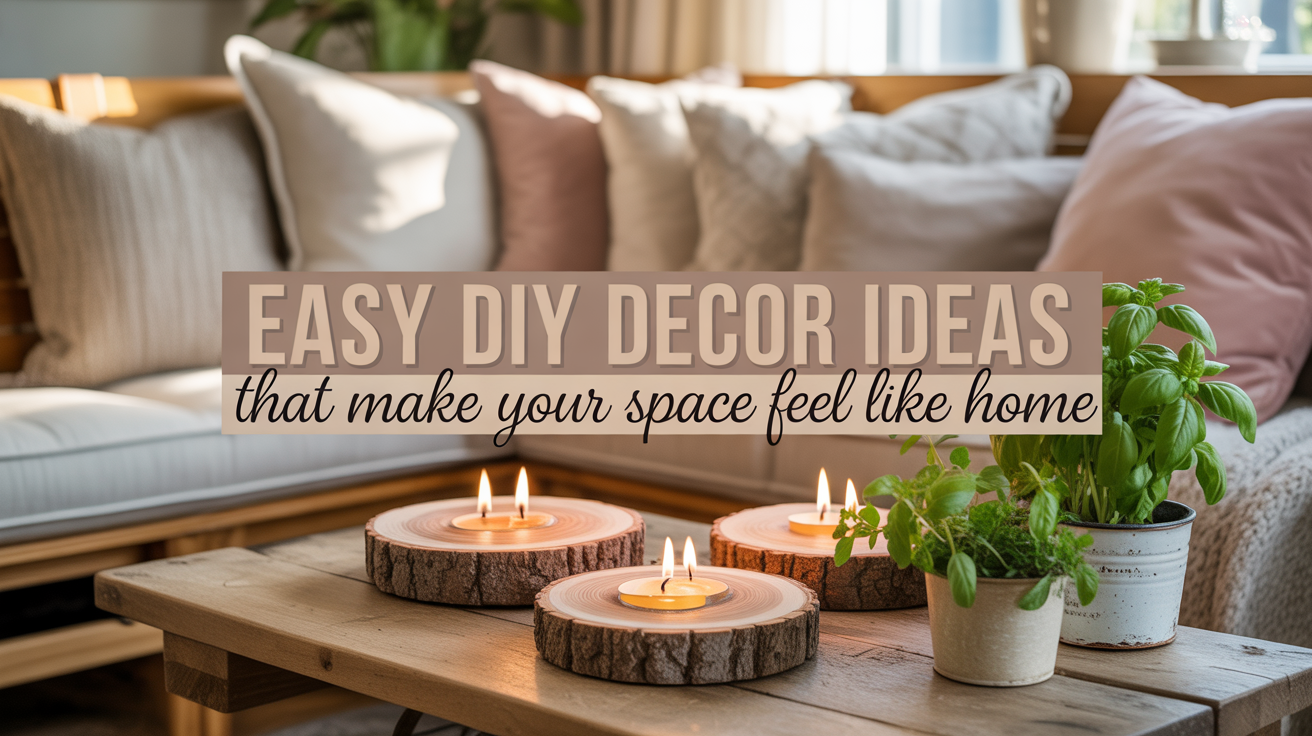
Want to make your space feel fresh and cozy without spending a lot? Try a few simple DIY home decor projects that add warmth and personality. It’s often the little handmade touches that make a room feel truly special.
This article will show you three easy DIY projects to bring charm and comfort into your home while keeping things simple and affordable.
Jump to your favorite DIY below:
Supplies | Candle Holders | Pillow Covers | Herb Garden

The Power of Handmade Touches in Home Decor
Handcrafted items bring back memories and create a special bond. When you make or own something handmade, it tells a story. It has a personal touch that mass-produced items don’t have. This makes your home feel more personal and meaningful.
Handmade touches give your home warmth and character. Even small details, like a handcrafted vase, a cozy pillow, or a few DIY accents, can make your space feel more personal and welcoming.
Budget-Friendly DIY Home Decor Ideas That Anyone Can Create

With a little creativity, you can make your home look amazing without spending a lot. Budget-friendly DIY home decor projects let you refresh shelves, walls, and tabletops with simple supplies and even pieces you already own. When you repaint a thrifted frame, style a few plants in repurposed jars, or create your own candle holders, your space starts to feel personal instead of generic. These small, sustainable updates are kind to your budget, reduce waste, and help your home feel warm, welcoming, and uniquely you.
Essential Supplies for Beginner DIY’ers
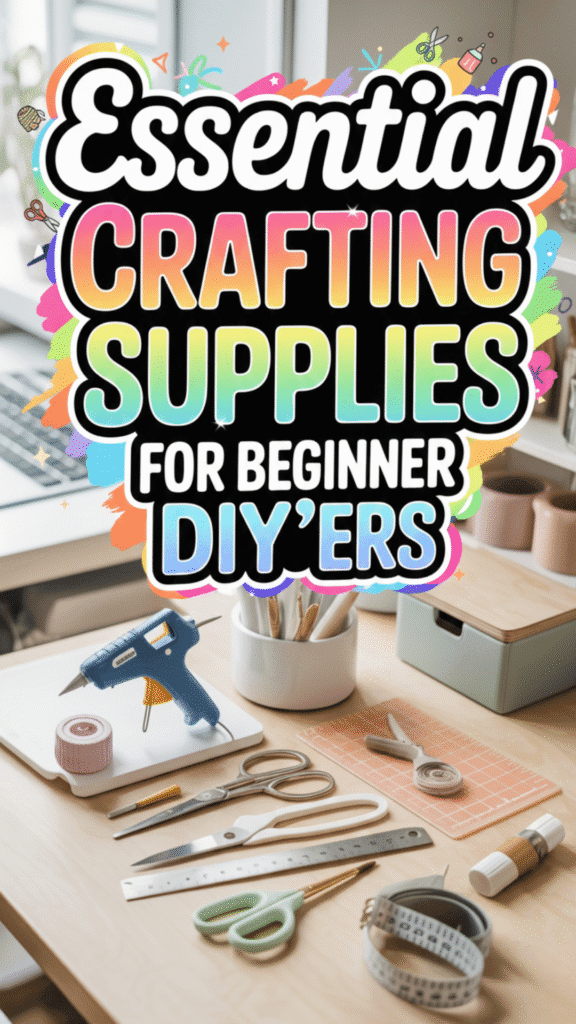
Before you dive into your first project, it helps to have a few reliable tools and materials ready to go. Having the right supplies makes every DIY project smoother and more enjoyable, especially when you’re just getting started. A few essentials can make all the difference, helping you measure, cut, glue, and paint with confidence. Whether you’re planning a quick weekend craft or a bigger home update, these simple tools are worth keeping close at hand.
My Favorite DIY Essentials
Here are a few tools I always keep nearby. You can explore my favorite picks below or browse other highly rated options on Amazon if you’d like to see more styles and brands:
- Hot Glue Gun Kit – Ideal for quick, no-sew projects, wreaths, and decor repairs.
- Precision Scissors Set – Sharp, comfortable, and perfect for cutting fabric or paper details.
- Self-Healing Cutting Mat – Protects your work surface and keeps lines clean while cutting.
- Craft Knife with Extra Blades – A must-have for trimming vinyl, foam, or small decor elements.
- Mini Paintbrush Kit – Great for touch-ups, stenciling, or distressing wood decor.
- Measuring Tape & Ruler Set – Handy for measuring fabric, wood pieces, or layouts before gluing.
- Storage Caddy Organizer – Keeps all your DIY supplies neat and easy to grab when inspiration strikes.
- Mini LED Desk Lamp – Bright, adjustable lighting that keeps your DIY workspace cozy and easy on the eyes.

Bright, adjustable lighting with 5 modes and a built-in USB port — perfect for cozy crafting or late-night DIY projects.
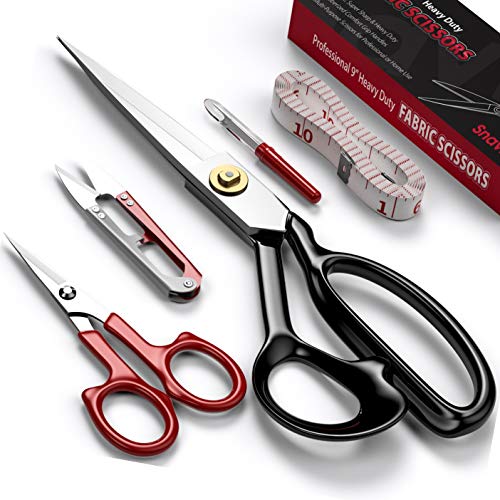
These sharp, heavy-duty sewing shears are ideal for cutting through fabric, canvas, or felt with clean, precise edges. The ergonomic handle gives extra comfort for longer crafting sessions, making them a must-have for any DIY home decor project.

This portable organizer caddy keeps all your crafting, sewing, or art supplies neatly in one place. With removable dividers and a sturdy handle, it’s perfect for carrying tools, brushes, or stationery from room to room — stylish and functional for any creative space.

This 2-pack of retractable and soft tape measures is perfect for sewing and crafting. Each 60-inch tape features easy-to-read markings on both sides in inches and centimeters. Compact and durable, they’re a must-have tool for every crafter or tailor.

This 10-piece fine detail brush set is perfect for miniatures, models, and small craft projects. Each brush has ultra-precise bristles for clean lines and controlled strokes, ideal for acrylics, watercolors, and paint-by-number kits. Comfortable wooden handles make them easy to grip for long sessions.

This 16-piece precision craft knife set includes multiple blade shapes and handles for carving, modeling, and DIY projects. Perfect for pumpkin carving, paper crafts, and detailed cutting. Comes with a safe storage case and extra blades for long-lasting use.

This double-sided 5-ply self-healing cutting mat is perfect for sewing and craft projects. Designed to protect your work surface and extend blade life, it features easy-to-read grid lines and measurements for precise cutting. Ideal for rotary cutters and craft knives.

This compact hot glue gun heats up quickly and includes 30 high-quality glue sticks. Perfect for crafts, repairs, and DIY projects, it provides smooth, even glue flow and a comfortable grip for precision work. Ideal for fabric, wood, paper, and more.

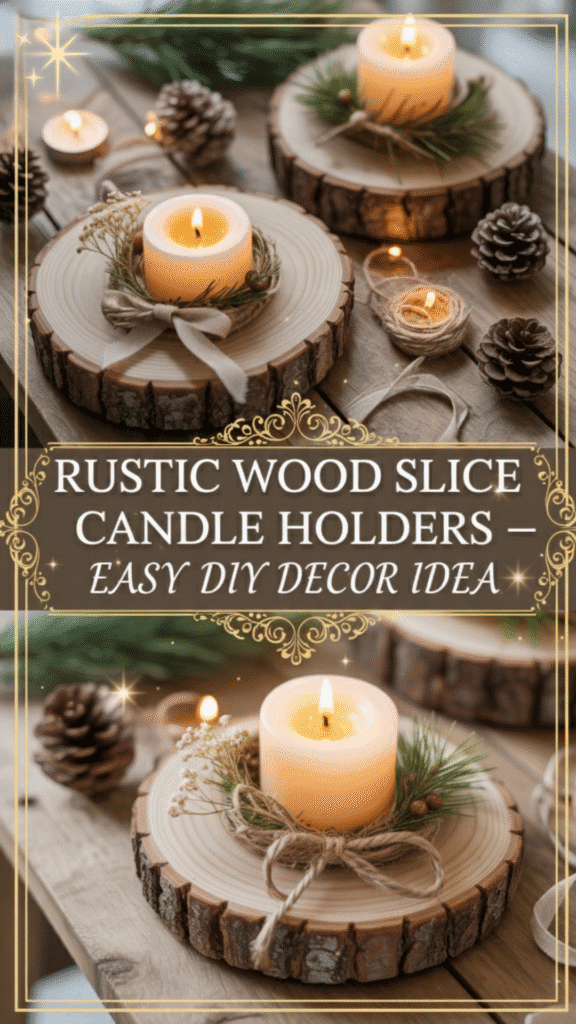
DIY #1: Rustic Wood Slice Candle Holders
Start a DIY project that adds warmth to your home with rustic wood slice candle holders. This simple yet charming decor idea is great for adding a natural touch to your space. Perfect for mantels, tables, or cozy corners.
Materials and Tools Needed
You’ll need basic materials and tools to begin. Here’s what you’ll need:
- Wood slices (various types)
- Candles (pillar or votive)
- Hot glue gun
- Decorative items (optional)
- Sealant (optional)
Types of Wood to Consider
Choose wood slices that look rustic or natural. Pine, cedar, and oak are all great choices. They have unique textures and grain patterns.
Candle Selection Tips
- Pillar candles suit larger slices.
- Votive candles work better for smaller pieces.
- Consider scented candles for an extra cozy vibe, like vanilla or sandalwood.
Step-by-Step Creation Process
Creating your rustic wood slice candle holders is easy. Follow these steps to make your project come to life:
Preparing the Wood
Wipe each wood slice clean to remove debris or dust. If you’d like a polished look, apply a thin layer of wood sealant and let it dry.
Adding Decorative Elements
Use your hot glue gun to attach small accents. Try ribbons, dried flowers, twine, or glitter for a personalized touch.
Finishing Touches
After adding decorations, let the glue dry. Then, place your candle on the wood slice. Your rustic candle holder is now ready to use.
| Step | Description |
|---|---|
| 1. Prepare wood slices | Wipe away dust or bark debris using a soft cloth. If desired, apply a thin layer of clear wood sealant to protect the surface and enhance the natural grain. Let dry completely before moving on. |
| 2. Add decorative elements | Use your hot glue gun to attach accents like decorative ribbons, twine, or dried flowers. Keep it minimal for a natural look, or add glitter and charm for a more festive touch. |
| 3. Place candle on wood slice | Center a pillar or votive candle on top of each slice. Make sure it sits flat and stable. Optional: surround it with small greenery sprigs or pinecones for a cozy, seasonal display. |
Styling Your New Candle Holders
To make your candle holders stand out, place them where they can be a centerpiece. Try a dining table or living room coffee table. Grouping them can create a cozy and inviting atmosphere, perfect for relaxing evenings or special events.
For the best visual impact:
- Cluster three or five holders of varying heights together.
- Mix candle colors for seasonal displays.
- Try adding greenery sprigs or pinecones around them during the holidays for a warm, natural touch.


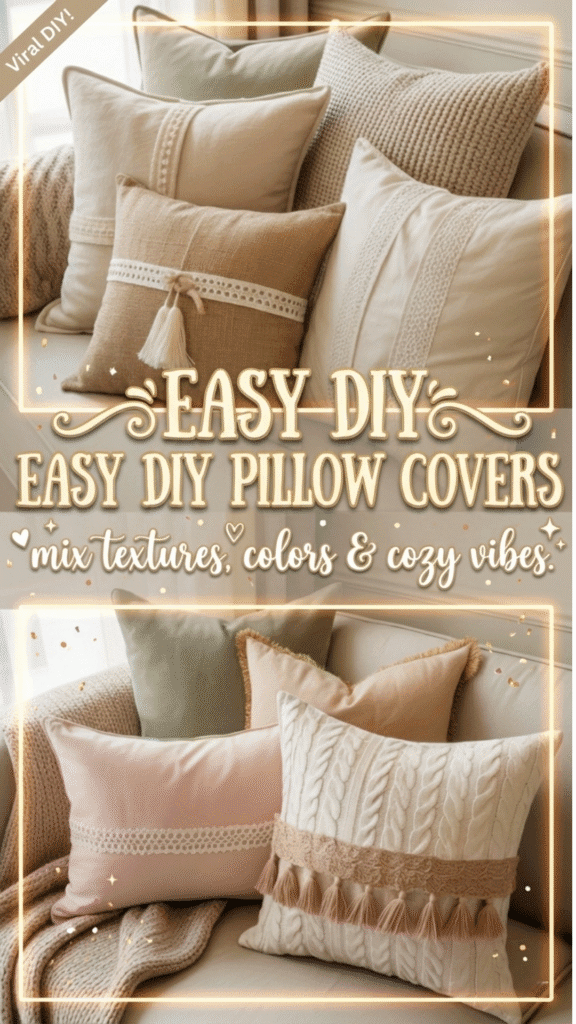
DIY #2: No-Sew Textured Throw Pillow Covers
Learn to make beautiful, textured throw pillow covers without sewing. They’re perfect for adding warmth and charm to any room. This simple DIY project is a great way to update your home decor with handmade home decor projects that show off your personal style.
Materials and Tools Needed
Here’s what you’ll need to get started:
- Fabric of your choice – cotton, linen, or canvas all work well
- Textured materials (burlap, lace, or ribbons)
- Hot Glue Gun Kit – perfect for quick seams and decorative accents
- Precision Scissors Set – for clean, straight cuts
- Pillow Inserts – any size you’d like
Fabric Selection Guide
Choose fabrics that complement your room’s colors and mood.
Statement fabrics: Patterned velvet or boho prints for contrast
Cozy neutrals: Beige, cream, or oatmeal-toned fabrics for a calming look
Soft textures: Linen or brushed cotton for a relaxed vibe
Texture Options and Combinations
Mixing different textures can add depth and interest to your pillow covers. Some good combinations include:
| Texture 1 | Texture 2 | Effect |
|---|---|---|
| Smooth linen | Rough burlap | Adds rustic contrast and warmth |
| Soft velvet | Brushed cotton | Luxurious yet comfortable feel |
| Cotton canvas | Ribbon trim | Simple, modern farmhouse charm |
| Knit fabric | Faux fur accent | Winter-ready, ultra-cozy look |
Step-by-Step Creation Process
1. Measure and Cut
Measure your pillow insert and cut two fabric squares one inch larger on each side to allow for gluing space.
2. Add Texture and Details
Lay out your embellishments first. Use your hot glue gun to attach lace, ribbon, or other textures directly to the fabric.
3. Assemble Your Cover
Place the two fabric pieces with textured sides facing inward. Glue around three edges, leaving one side open for the pillow insert.
4. Insert and Seal
Insert your pillow, then glue the final edge closed. Smooth out the seams and let it dry completely before use.
Arranging Your Finished Pillows
Group them in sets of three or five for balance. Mix large and small sizes, play with colors and textures. Finally add a few cozy throws for that layered, welcoming look.
Pro Tip: Use seasonal fabrics such as soft plaid for fall, linen for summer, light florals for spring, or boucle for winter to rotate your decor year-round.


DIY #3: Upcycled Container Herb Garden
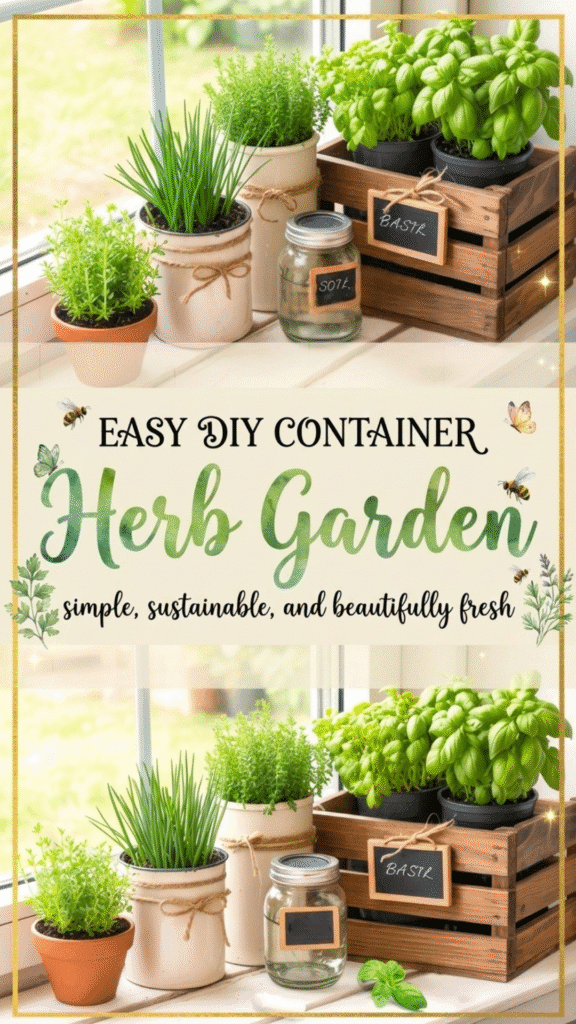
Bring a little greenery indoors with this simple and sustainable project. Upcycling containers into a mini herb garden is an easy way to add freshness and charm to your home while growing your favorite herbs right at your fingertips.
Materials and Tools Needed
To start, you’ll need a few basic supplies. Here’s what you’ll need:
- Containers – small pots, wooden crates, or mason jars that match your style
- Herb Seeds or Seedlings – basil, mint, parsley, and chives are great for beginners
- Potting Soil – fresh soil to give your herbs the nutrients they need
- Fertilizer – use a gentle, organic blend for indoor herbs
- Watering Can – choose a small spout for precision watering
- Chalkboard Herb Labels – optional but so cute! Great for labeling each herb and adding a cozy touch.
Container Options
Pick containers that are clean and have good drainage. Small pots, wooden crates, and mason jars all work beautifully. Think about the size and material that best suit your herbs.
Best Herbs for Indoor Growing
Some herbs thrive especially well indoors. Basil, mint, parsley, and chives are good choices. They’re easy to care for, grow quickly, and add fresh flavor to your food.
Step-by-Step Creation Process
Building your herb garden is easy! Just follow these simple steps:
Prepare Your Containers
Clean your containers thoroughly. Remove any old soil from pots and check wooden crates for cracks or damage, or purchase new ones if needed.
Planting and Arrangement
Fill your containers with fresh potting soil, leaving space for roots to spread. Add your herbs and arrange them by size or type. Group herbs with similar watering needs together for best results.
Care and Maintenance
Water your herbs lightly but regularly. Most prefer well-drained soil and a sunny window. Feed them with gentle fertilizer every few weeks to keep them growing strong.
Displaying Your Mini Garden
Once your herbs are settled, display your garden in a bright, cheerful spot like a kitchen windowsill or balcony ledge. Grouping a few matching containers creates a beautiful, cohesive display that brightens your home.


Incorporating Your DIYs Throughout Your Home
Once you’ve finished your DIY projects, think about how they can make your home warmer and more inviting. Blending your handmade items with your existing decor helps create a cozy, cohesive look.
Quick Tips:
- Pick a theme or color palette that flows through every room.
- Swap out pillow covers, candles, or herb planters seasonally.
- Share your creations as thoughtful gifts for friends and family.
Conclusion: Transforming Your Space One DIY at a Time
DIY projects can make your home feel warmer and more charming. They’re a great way to add a personal touch without spending a lot. The ideas in this article are just the beginning of your DIY adventure.
By being creative and getting involved, you can make your home truly yours. Start your DIY home decor journey today. With these simple projects, you’ll soon have a beautiful, welcoming home.
Looking for more inspiration? Explore our DIY & Crafts page →
Happy crafting! 💛
