
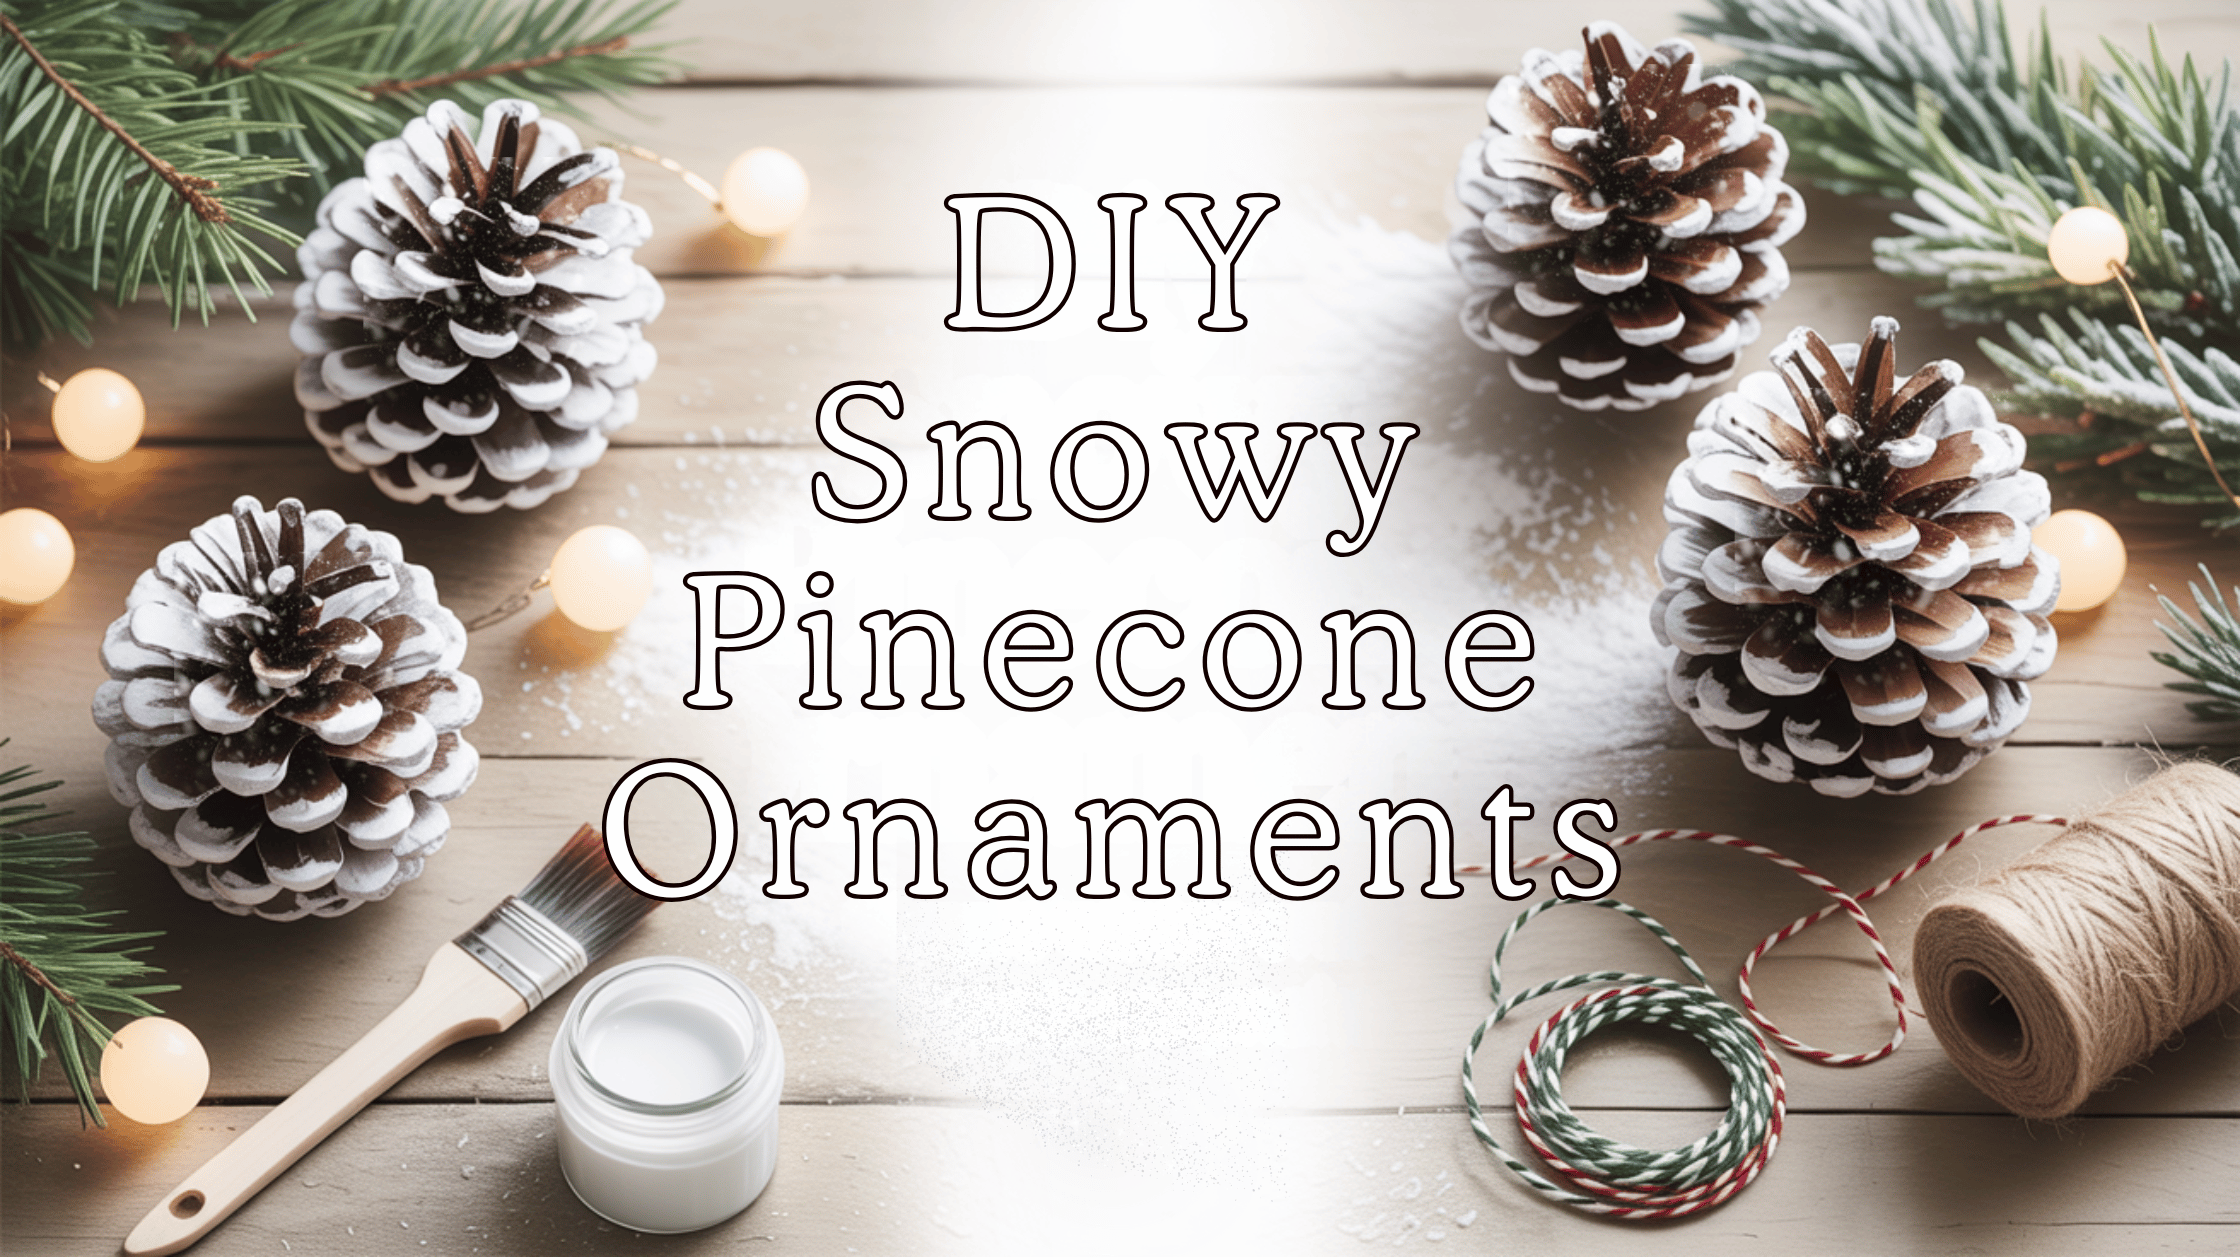
If you want an easy winter craft that feels cozy and looks beautiful in your home, snowy pinecone ornaments are the perfect project. This simple idea brings a touch of nature indoors and adds that charming handmade look everyone loves during the holidays. It is relaxing, budget friendly, and fun for all ages. You can make a few for your tree or create a whole set for gifts and decor.
This craft uses inexpensive supplies and creates ornaments you can enjoy year after year. It is one of the easiest ways to decorate for winter and the holiday season without spending a lot of money.
How to Choose the Best Supplies for Your Pinecone Ornaments
To get the best results, start with natural pinecones that are clean, dry, and around three to four inches tall. This size gives you plenty of room to paint, decorate, and add sparkle.
Choose a smooth acrylic paint that dries quickly. White is perfect for a snowy look.
Use a sealer such as Mod Podge Gloss to protect your ornament and give it a pretty shine.
Pick a good twine for hanging your finished ornaments. Add glitter if you want extra sparkle and a frosty effect.
Having the right supplies makes crafting easier and helps your ornaments look polished and professional.
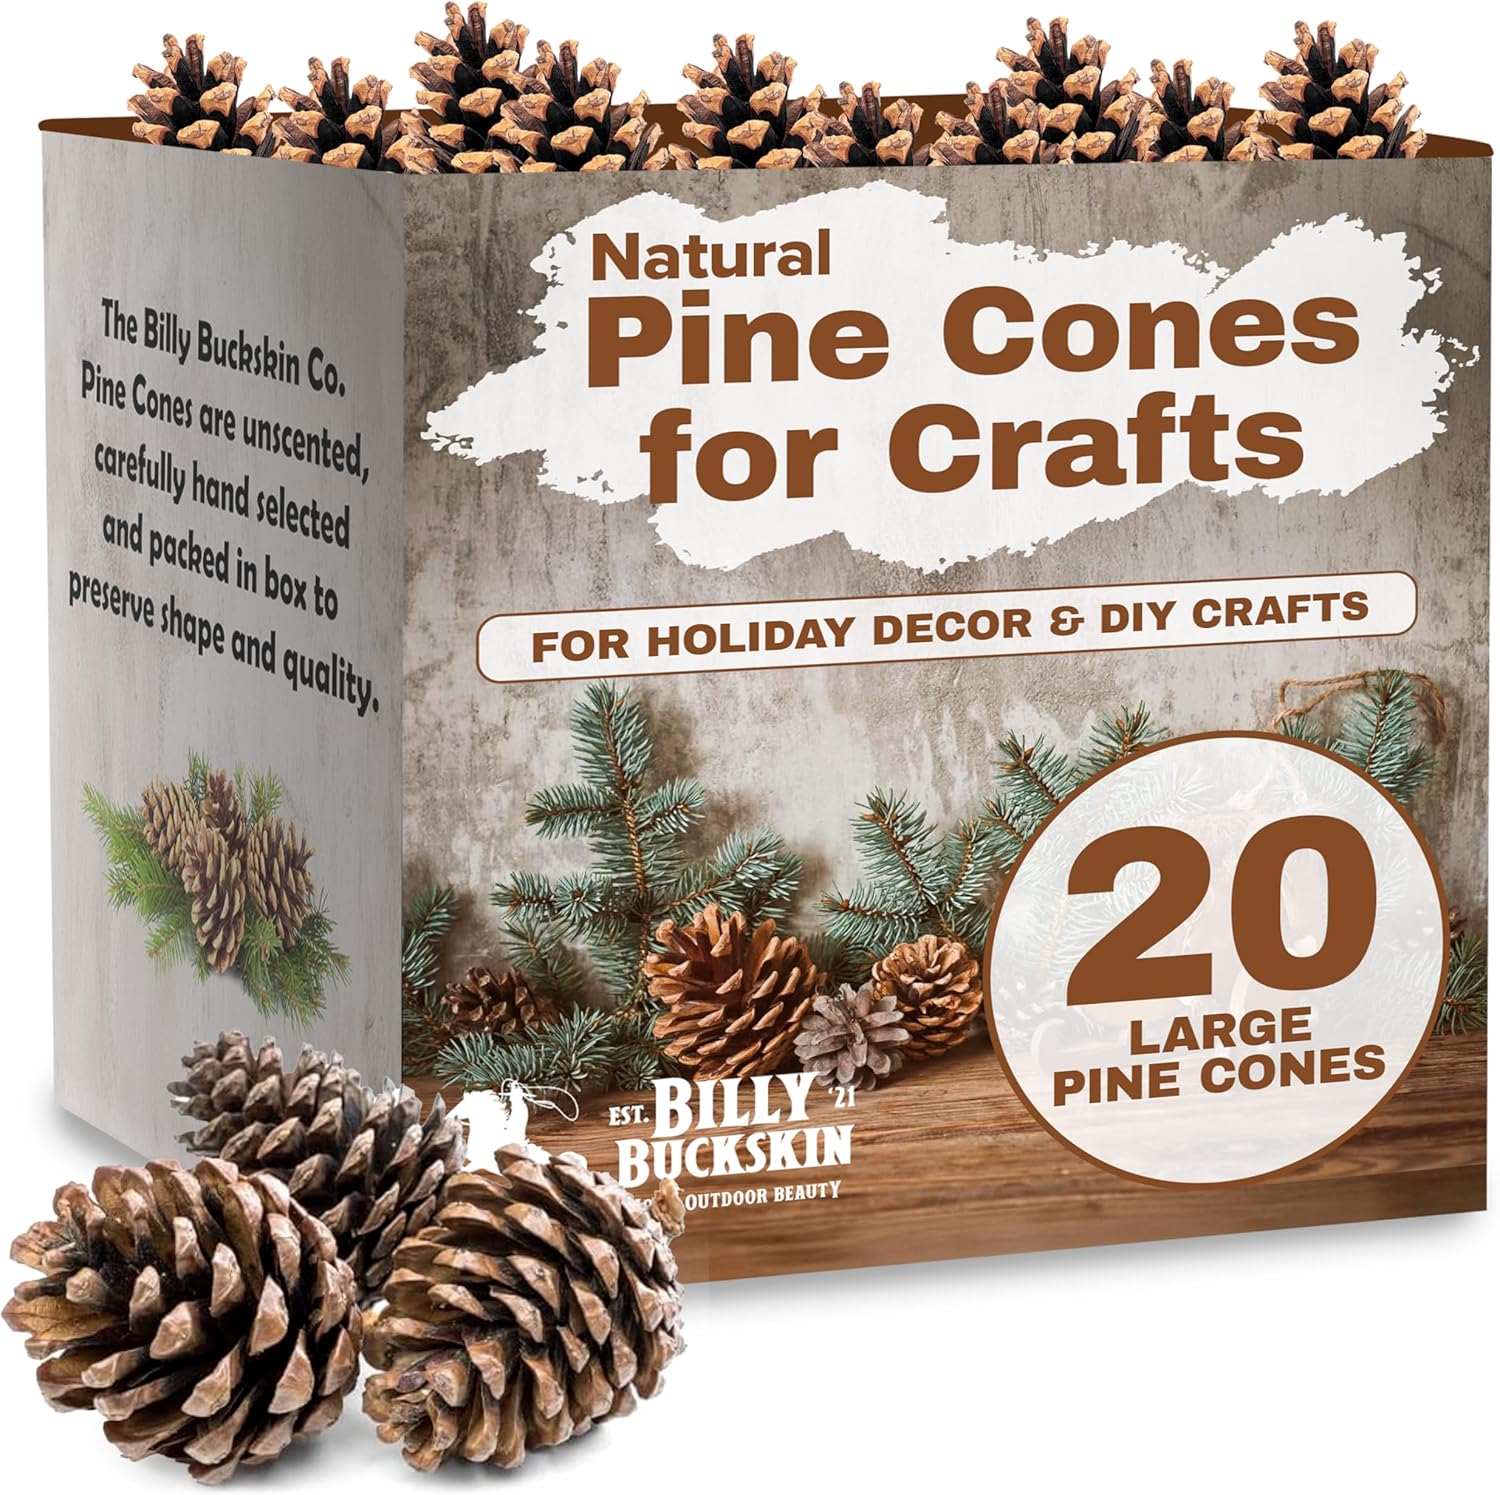
Large Pinecones
This set of twenty natural pinecones is perfect for winter crafts and holiday decorating. They arrive clean and ready to use. Each pinecone is about three to four inches tall, which is a great size for ornaments, garlands, centerpieces, and simple nature inspired decor. They blend beautifully with rustic, farmhouse, woodland, and cozy winter themes.
How To Use
Lightly paint the tips for a snowy effect. Add glitter for shimmer. Tie twine at the top and hang them on your tree or place them in bowls, wreaths, or garlands for instant winter charm.
Apple Barrel White Acrylic Paint
This white acrylic paint has a smooth texture that gives your pinecones the perfect snowy look. It dries quickly and has a soft matte finish that looks very natural. It is non toxic and easy to clean up, which makes it great for family crafting or beginner friendly DIY projects.
How To Use
Dip a small brush into the paint. Tap or brush the tips of the pinecone scales to mimic where real snow would sit. You can keep it light or build up more white for a frosty look. Add glitter while the paint is still wet if you want sparkle.
Mod Podge Gloss Sealer
This sealer is ideal for finishing your snowy pinecone ornaments. It acts as glue and a protective topcoat, helping your decorations last throughout the entire season. It dries clear and shiny, giving your ornaments a smooth finished look.
How To Use
Brush a thin layer over your painted pinecones. Let it dry completely. Apply a second coat if you want more shine. You can also use it to attach embellishments such as ribbons or beads.
LEOBRO Holographic Silver Glitter
This fine holographic glitter creates a beautiful sparkling effect on snowy pinecone ornaments. It catches the light in a festive way without looking chunky. It is great for winter crafts, Christmas decor, and anything that needs a little shimmer.
How To Use
Brush Mod Podge or paint on your pinecone. Sprinkle glitter on while the surface is still wet. Tap off the extra. Seal with a thin topcoat if you want a smooth finish.
Vanhench Natural Jute Twine

This natural jute twine adds a warm rustic touch to your ornaments. It is sturdy, soft to work with, and pairs perfectly with nature themed holiday decor. You can use it for hanging ornaments, tying bows, or creating garlands.
How To Use
After you’ve finished decorating your pinecone with glue and any paint or glitter, use this twine to add a natural hanging loop. It’s thin enough to tie neat bows but still sturdy, so you won’t worry about it slipping or breaking. It’s also great for attaching small tags or embellishments to your ornaments without stealing the spotlight.
How to Make Snowy Pinecone Ornaments
Step 1 Prep the Pinecones
Shake off any dust.
Bake at 200 degrees for twenty to thirty minutes if the pinecones came from outside.
Let them cool completely.
Step 2 Paint the Snow
Dip a small brush into the white paint.
Brush the tips or paint deeper inside the pinecone for a fuller snowy effect.
Let the paint dry for ten to fifteen minutes.
Step 3 Add Sparkle
Brush a light layer of Mod Podge where you want shimmer.
Sprinkle glitter onto the wet surface.
Tap off the extra glitter.
Step 4 Seal the Ornament
Brush on a thin coat of Mod Podge to protect the paint and glitter.
Let dry completely before moving to the next step.
Step 5 Add the Twine Loop
Cut a piece of twine around eight to ten inches long.
Tie a loop.
Glue or tie it securely to the top of the pinecone.
Creative Ways to Use Snowy Pinecone Ornaments
Hang them on your Christmas tree
Add them to winter garlands
Tie them to holiday gifts
Place them in bowls for centerpiece decor
Use them in wreaths
Decorate mantels and entry tables
Create a winter themed bowl filler set
Why This Craft Is So Popular
Budget friendly
Beginner friendly
Kid friendly
Beautiful results with minimal time
Perfect for holiday decor
Easy to customize with glitter ribbons and paint
Great for gifting
💡 Pro-Tip: If you want your ornaments to smell like a winter forest, add a few drops of Cinnamon or Pine essential oil to the pinecones after they come out of the oven!
Products Needed:
Product | Image | Rating | Material | Size/Dimensions | Weight | Price |
|---|---|---|---|---|---|---|
 | 4.1/5 (344 reviews) | Natural Pine | 3″ to 4″ Tall | 2.2 pounds | $24.50 | |
 | 4.8/5 (25,675 reviews) | Acrylic | 8 Fl Oz (Pack of 1) | 8 ounces | $2.97 | |
 | 4.8/5 (58,442 reviews) | Waterbase Sealer (Liquid) | 16 Fl Oz (Pack of 1) | 1 pound | $7.99 | |
 | 4.6/5 (316 reviews) | Holographic Fine Glitter | 3.5 oz | 1.44 ounces | $4.83 | |
 | 4.7/5 (3,183 reviews) | Jute | 805 Feet | 7.1 ounces | $5.99 |
FAQs
How long do snowy pinecone ornaments take to dry
Most snowy pinecone ornaments dry within thirty to sixty minutes, depending on how much paint and Mod Podge you use. If you are adding multiple layers of paint, glitter, or sealer, allow each layer to dry before moving on. For the most durable results, let the finished ornaments sit overnight before hanging them on your tree or packing them away.
Can I use real pinecones from outside
Yes you can use real pinecones from outside. Just make sure to clean and prep them first. Shake off any dirt, then bake them at 200 degrees for twenty to thirty minutes to remove moisture and any tiny bugs that may be hiding inside. Once they are completely cool and dry, they are ready for paint and glitter. Using real pinecones gives your ornaments a beautiful natural look and keeps your craft cost friendly.
Wrapping Up
Snowy pinecone ornaments are one of the easiest and prettiest winter crafts you can make at home. With natural pinecones, white acrylic paint, Mod Podge Gloss, glitter, and simple twine, you can create decorations that feel warm, seasonal, and handmade in the best way. These ornaments look beautiful on trees, garlands, wreaths, and table displays. They are fun to make and add a personal touch to your holiday home.
🕯️ Keep Creating
Love easy DIYs that bring warmth and charm to your home? Explore our Crafts page for more cozy projects, creative ideas, and quick handmade inspiration that brighten every season.
Visit the Crafts Page 🎨