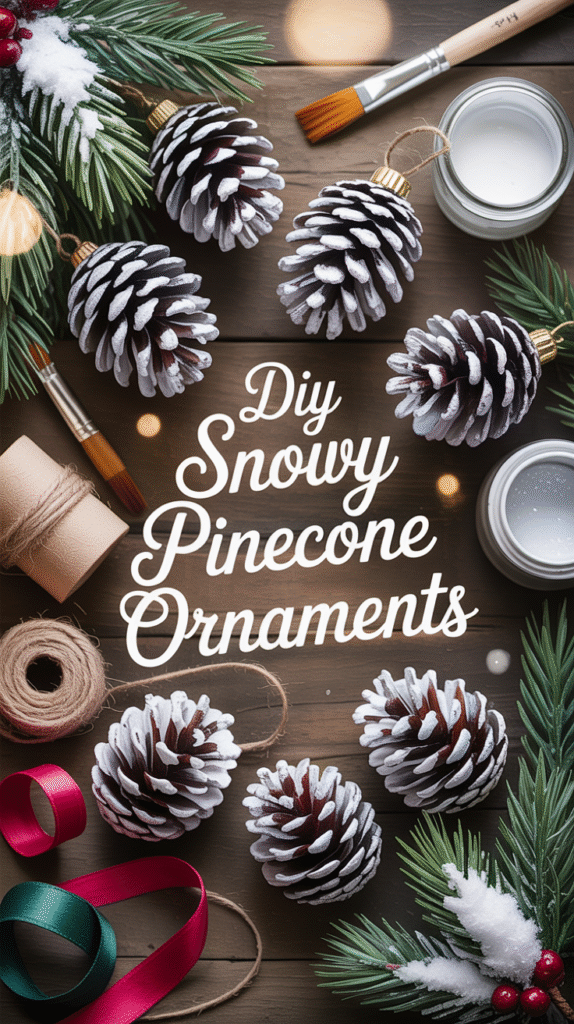
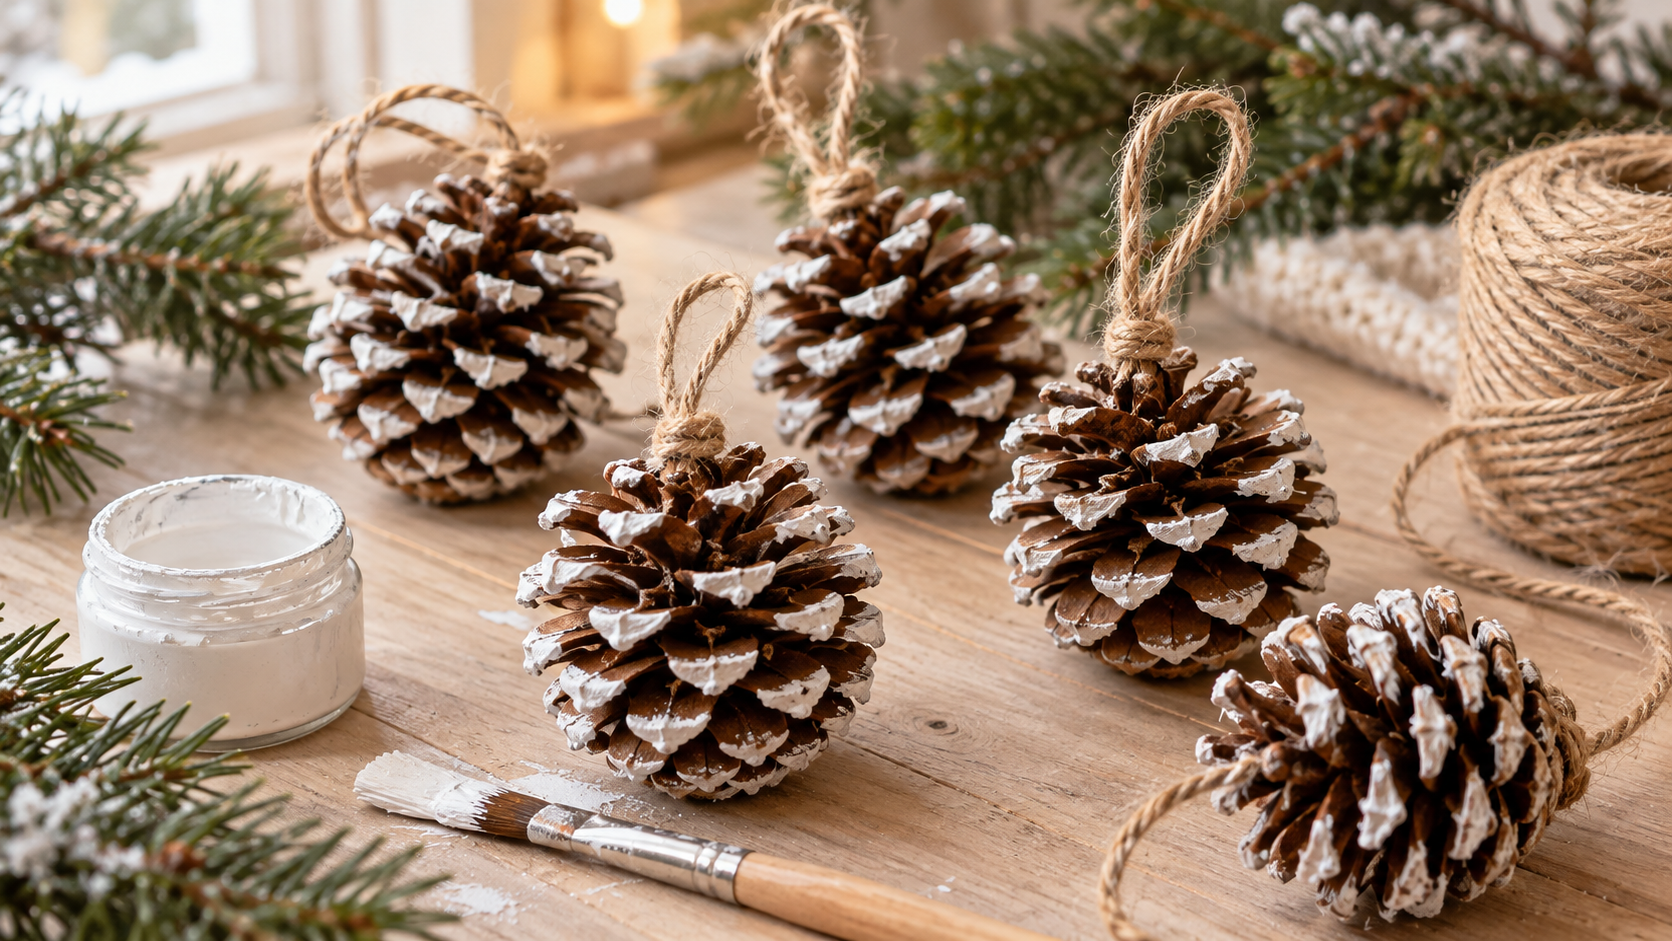
A handful of pinecones, a little white paint, and some natural twine are all you need to make snowy pinecone ornaments that feel right at home on a Christmas tree or winter garland. This simple DIY pinecone craft brings woodland charm indoors without an expensive supply list.
Jump to the Printable Instructions & Shopping List
Table of Contents
As an Amazon Associate HypeVine earns from qualifying purchases at no extra cost to you.
Why You’ll Love These Snowy Pinecone Ornaments
The soft, frosted finish looks lovely with greenery, warm lights, linen ribbons, and natural wood. You can make each ornament as subtle or sparkly as you like, and the same technique works for gift toppers and winter table decorations.
Supplies for DIY Pinecone Ornaments
- Clean, completely dry natural pinecones
- White acrylic craft paint and a small paintbrush
- Jute twine or ribbon for hanging
- Craft glue suitable for your chosen embellishments, or Mod Podge for glitter
- Optional fine silver glitter and fine, dry artificial snow for crafts
- Optional clear craft sealer compatible with your paint
- Scissors, a tray, and a protected work surface
- A dry cleaning brush and a cloth for gathered pinecones
Gather the essentials for a relaxed afternoon of winter crafting. These links lead to supplies similar to those described in the tutorial.
- Natural pinecones
- White acrylic craft paint
- Mod Podge gloss finish
- Silver craft glitter
- Natural jute twine
- Dry artificial snow flakes (optional)
Product selection, availability and pricing may change.
How to Make Snowy Pinecone Ornaments
Step 1: Clean and Dry the Pinecones
For the easiest start, choose clean, unscented craft pinecones. If you collected yours outdoors, work over a tray and use a dry brush to loosen dirt between the scales. Set aside cones with visible insects, mold, or heavy sticky sap. Wipe remaining surface dirt with a lightly damp cloth, then spread the cones in a single layer in a dry, airy spot. Paint only when they are completely dry and the scales are open. This project does not require oven baking.
Step 2: Paint the Snowy Tips
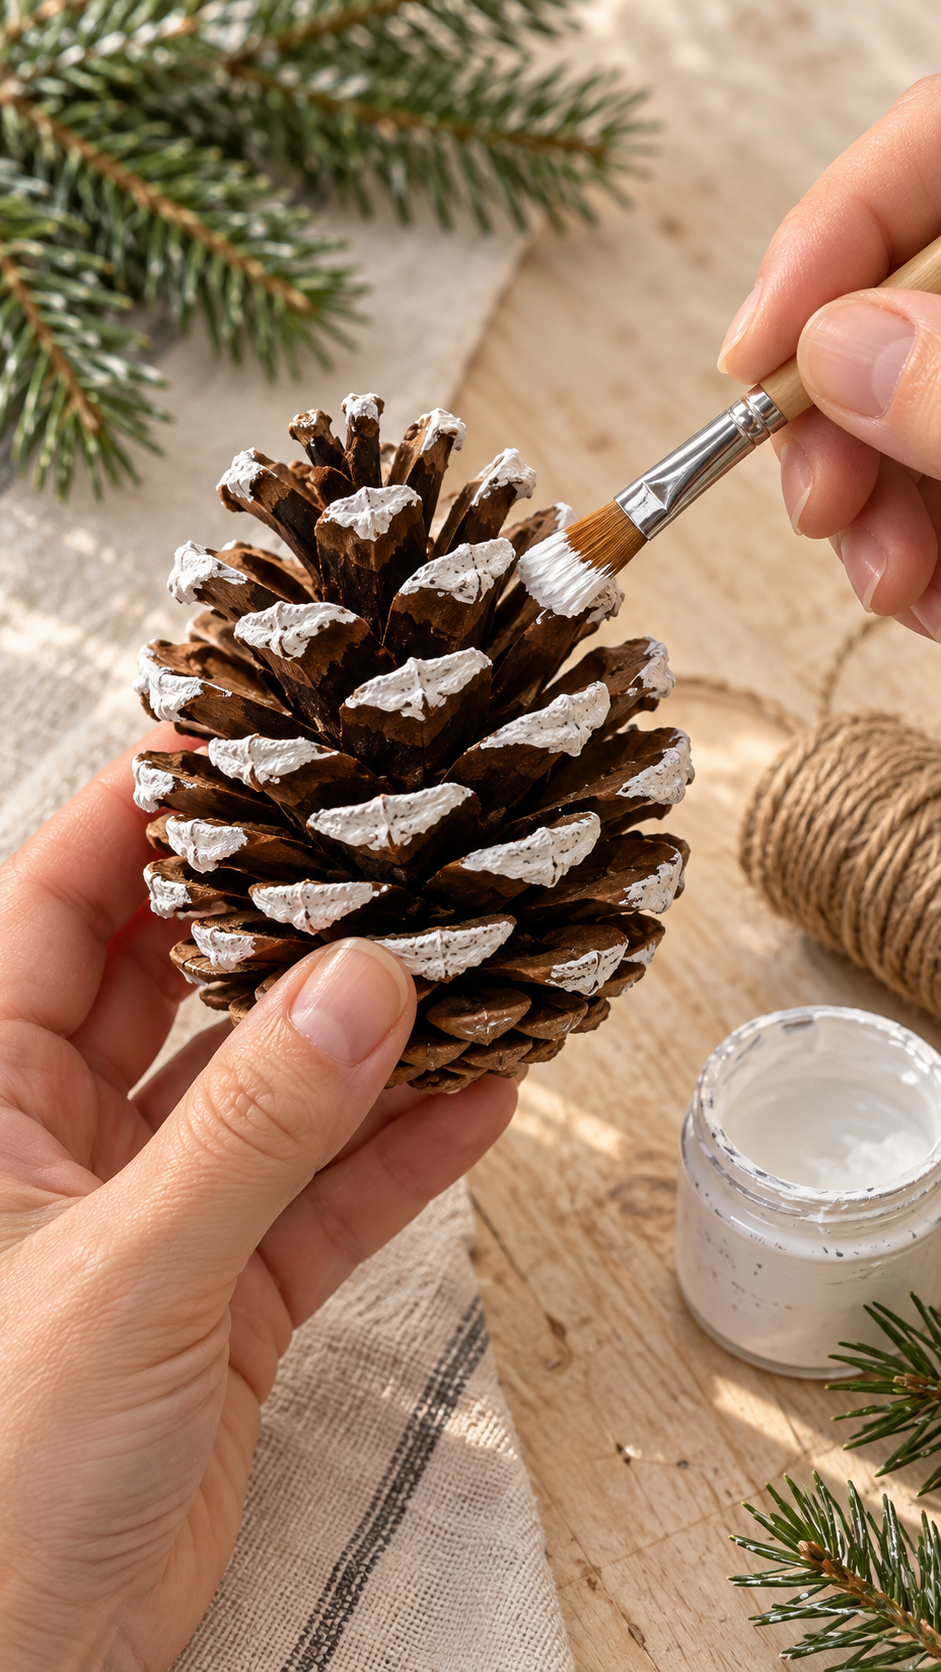
Dip a small brush into white acrylic paint and lightly sweep across the outer edges of the pinecone scales. Start with a thin layer, then add more for a fuller snow-covered look. Let the paint dry according to the product directions.
Step 3: Add Faux Snow and Sparkle (Optional)
For a little shimmer, brush craft glue or Mod Podge onto selected painted tips and sprinkle on fine glitter over a tray. For a fuller snowy texture, try a light dusting of fine, dry artificial snow with a tiny pinch of glitter. Leave some brown scales showing so the pinecone keeps its natural texture.
Use dry decorative snow flakes rather than powder that expands when you add water. Choose glue suitable for the snow material and test a small patch on one pinecone first. Sprinkle the flakes onto the wet glue, let it dry according to the label, then gently tap off anything loose over your tray. White paint alone is lovely, too, so both extras are optional.
Step 4: Seal and Let Dry
If you’d like extra protection, apply a light coat of compatible clear craft sealer according to the label. Let everything dry completely before handling or hanging.
Step 5: Tie on a Hanging Loop
Start with about 12 inches of twine, allowing extra for a larger pinecone. Wrap the middle around the narrow upper end, tuck it gently beneath a sturdy row of scales, and tie a snug double knot without bending the scales. Bring the two free ends together and knot them to form a hanging loop. Trim the loose ends and gently test the attachment over your work surface. If the twine slips, choose another pinecone with a sturdier place to tie it. No metal ornament caps are needed.
Creative Ways to Decorate with Pinecone Christmas Ornaments
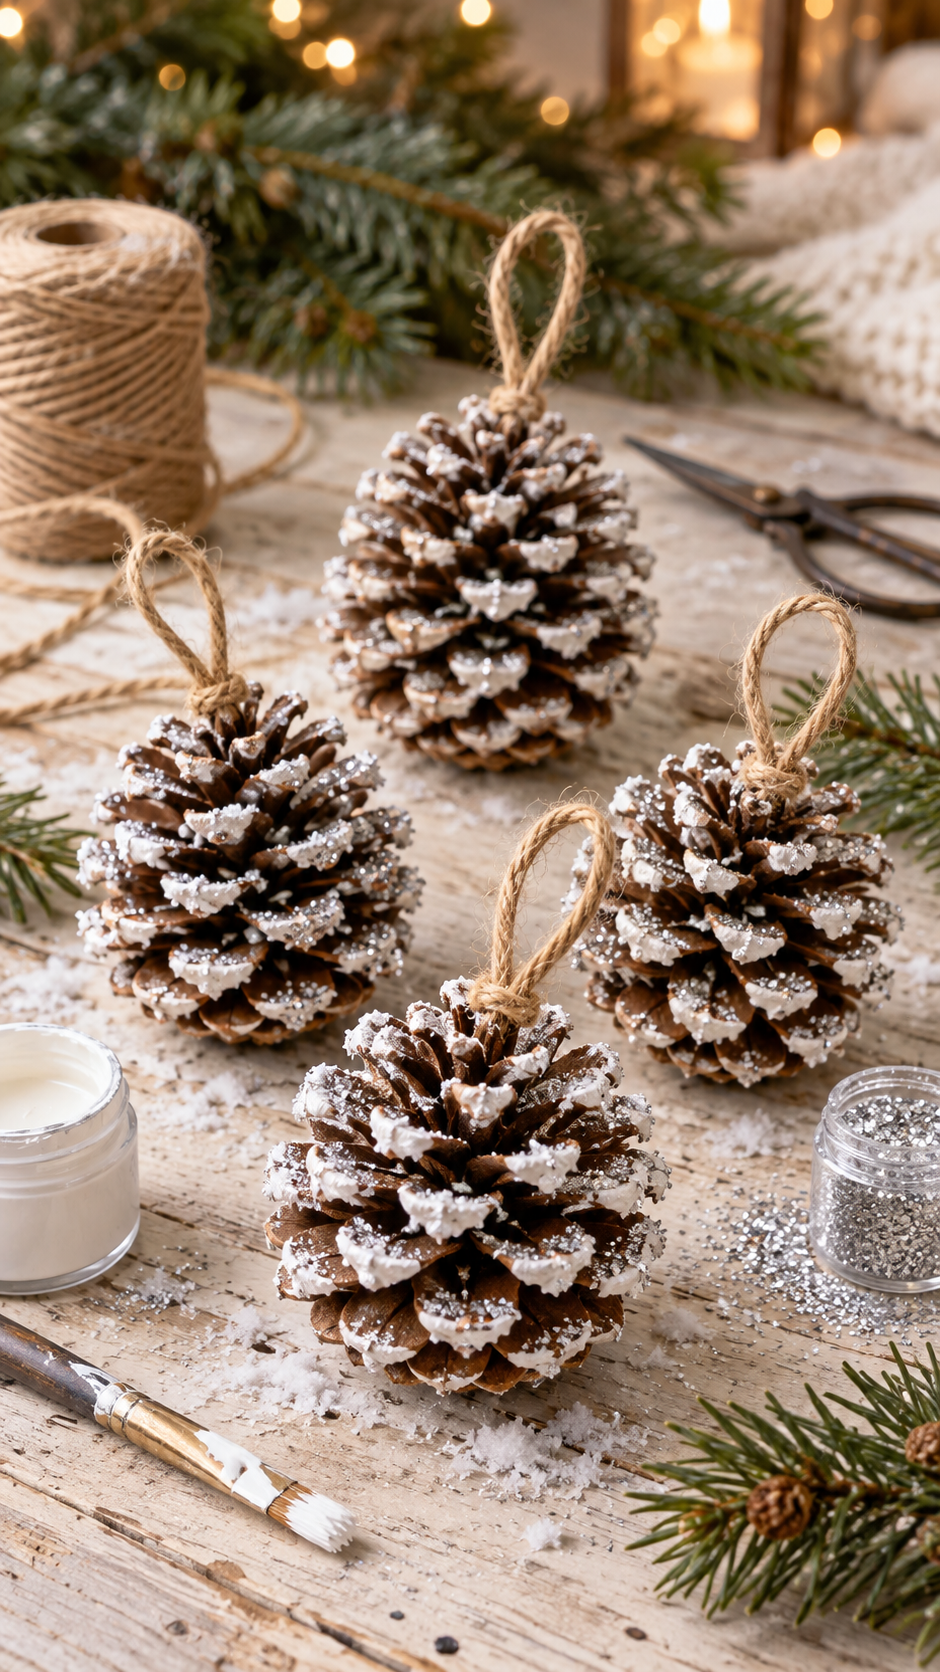
- Hang them among warm white lights and natural greenery on your Christmas tree.
- Tie one to a wrapped gift with kraft paper and velvet ribbon.
- String several together for a simple winter garland.
- Nestle them in a shallow bowl for a rustic centerpiece.
- Use a few to dress up a wreath or mantel display.
For pet-friendly decorating, keep glitter, artificial snow, twine, loose embellishments, and finished ornaments out of reach of curious cats and dogs.
How to Store Handmade Pinecone Ornaments
Once completely dry, wrap ornaments loosely in tissue paper and store them in a sturdy box in a cool, dry place. Keep them away from moisture and crushing weight so the painted scales and hanging loops stay intact.
Snowy Pinecone Ornaments FAQs
Can I make snowy pinecone ornaments without glitter?
Absolutely. White acrylic paint alone gives pinecones a lovely frosted look. You can also add a matte finish for a quieter woodland style.
What size pinecones work best?
Pinecones around 3 to 4 inches tall are easy to paint and hang, but smaller ones are perfect for gift toppers and garlands.
Do I need to seal the ornaments?
Sealer is optional for indoor ornaments. It can help protect paint and glitter, but always check compatibility and drying instructions on your craft products.
Can kids help make these ornaments?
Older children can help brush on paint and tie ribbons with supervision. Adults should handle any hot tools or potentially hazardous preparation, and small decorations should be kept away from young children.
Can I use these ornaments outdoors?
These instructions are intended for indoor decorations. Outdoor moisture may damage the finish unless you use materials specifically rated for outdoor use.
A Little Winter Woodland Charm
Sometimes the simplest handmade decorations feel the most special. Save this easy snowy pinecone ornament tutorial for a relaxed afternoon of crafting, or make a few extras to tie onto gifts this holiday season.
For another relaxed crafting afternoon, try these easy winter candle crafts or make air dry clay trinket dishes for small handmade gifts.