
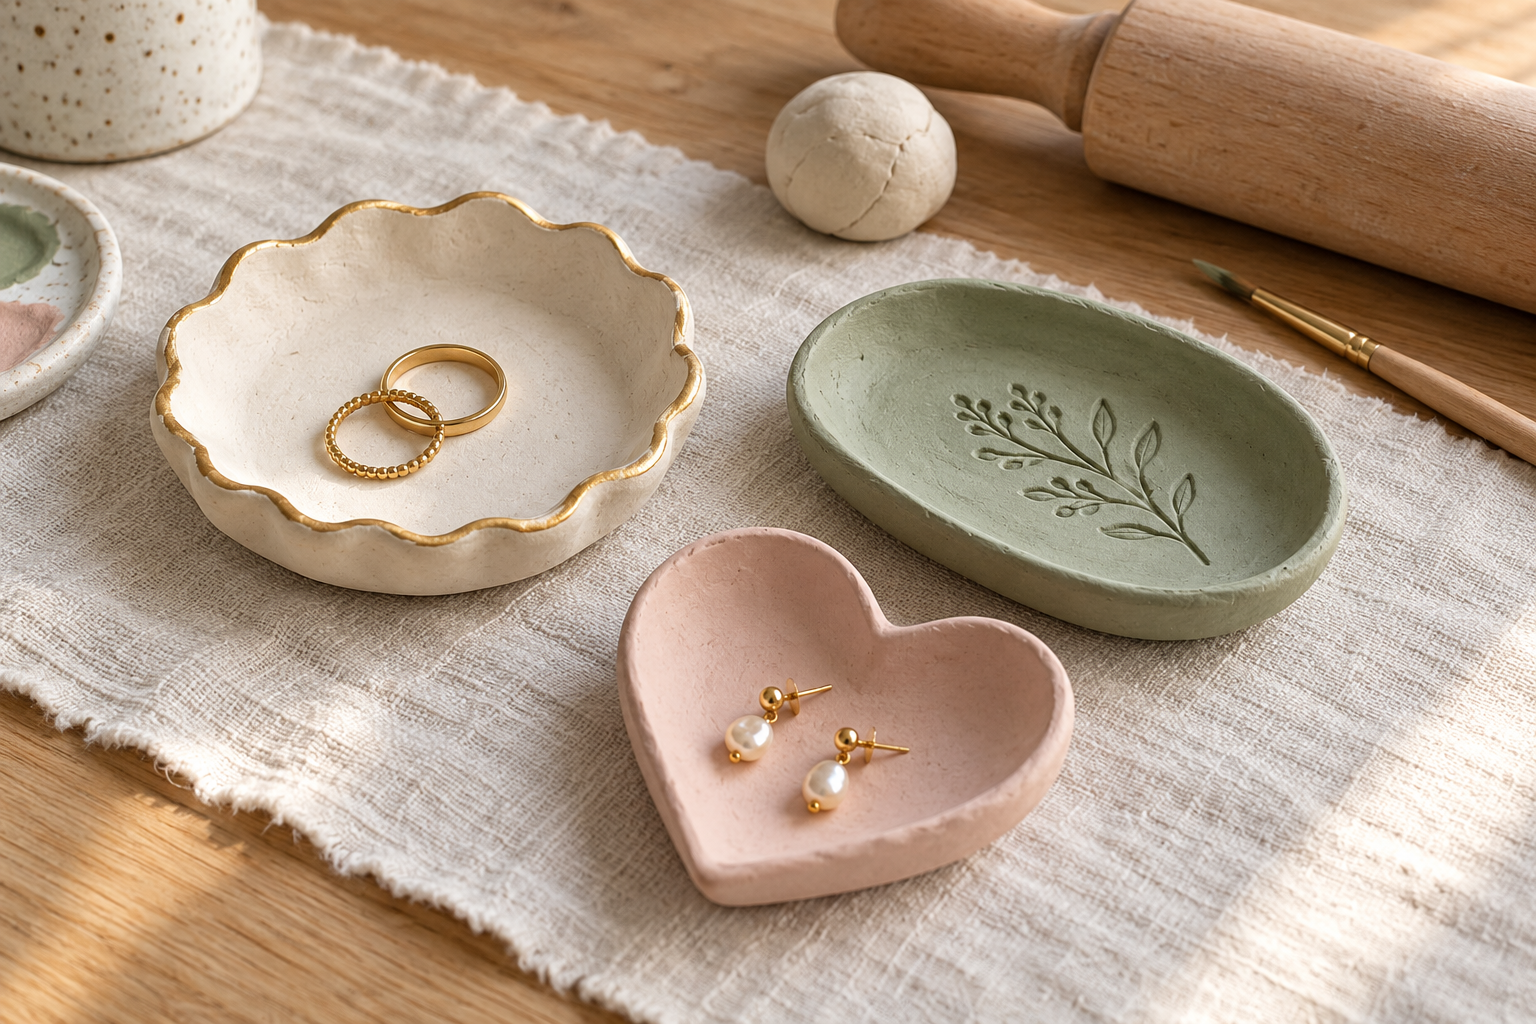
A little dish for your favorite rings, a soft scalloped edge, a brushstroke of gold. We love how air dry clay trinket dishes turn a few simple supplies into something useful and personal.
Our beginner-friendly guide walks you through shaping, drying, painting, and sealing your own jewelry catchall. You can do the shaping in a relaxed afternoon, then come back to decorate once the clay is completely dry. No kiln needed, just a little patience and room to play.
Table of Contents
This post contains affiliate links. As an Amazon Associate, HypeVine earns from qualifying purchases, at no extra cost to you. Thank you for supporting our creative corner.
Why We Love Air Dry Clay Trinket Dishes
If you are looking for easy air dry clay projects, a small trinket dish is a lovely place to begin. The shape is simple, the decorating can be as subtle or playful as you like, and those slightly uneven edges are part of the charm.
- A small, manageable project: Start with one shallow dish before making a matching set.
- Everyday usefulness: Give rings, earrings, hair ties, or loose change a home on a dresser or nightstand.
- Thoughtful handmade gifts: Add a tiny initial, a favorite color, or a simple pressed pattern.
- Room for your own style: We love soft sage, creamy white, and blush pink, but you can choose colors that suit your space.
Our tip: Think decorative catchall, rather than everyday tableware. Air dry clay has a different finish and durability from fired ceramics, even when painted and sealed.
Plan a Relaxed Craft Afternoon
Clear a small table, lay down a protective mat or parchment, and gather your tools before opening the clay. We suggest allowing about 45 to 60 minutes for shaping your first small batch, plus a separate painting session later.
For Crayola Air-Dry Clay, the manufacturer gives a typical drying time of 72 hours for complete drying. Size and room conditions can change that timing, so follow the packaging for your brand and allow extra time when needed. See Crayola’s drying guidance.
Our tip: Making these as gifts? Start at least a week ahead so you have room for clay drying, painting, and the sealer’s own curing time. A dry surface does not always mean the center is ready.
Simple Supplies for Your Clay Dishes
We like to keep the first batch simple. Clay, a rolling tool, a cutter, and a protected work surface will get you started. Save the extra stamps and paint colors for a later project if you prefer.
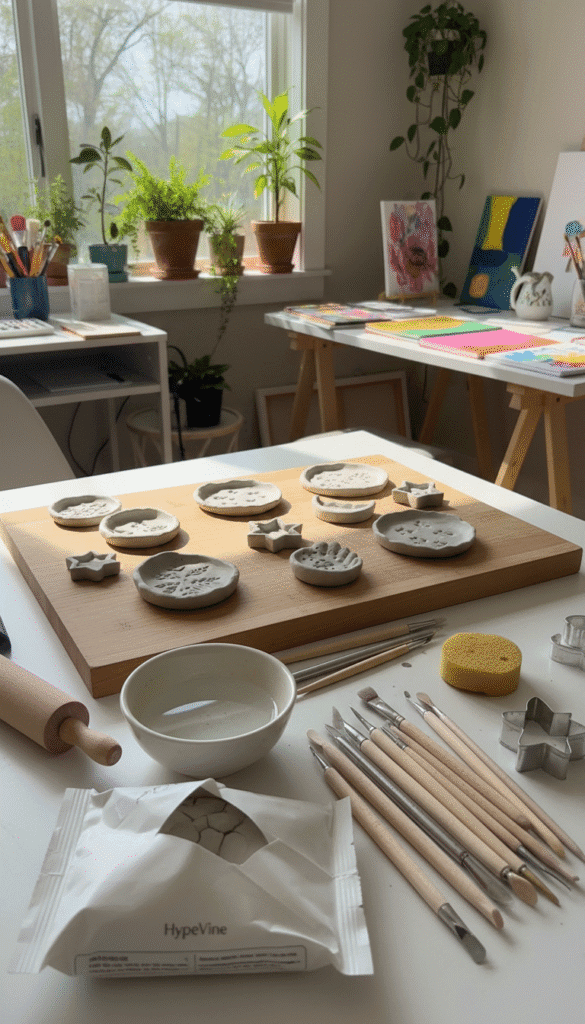
Our tip: Check your craft drawer first. A scrap of textured fabric or clean corrugated cardboard can make a pretty impression. Keep tools used with clay separate from food preparation tools.
Shop the Supplies: Shaping Essentials
Browse supplies on Amazon:
- White air dry clay for a neutral base you can paint later. Choose air-drying clay, rather than oven-bake polymer clay or non-hardening modeling clay.
- Craft rolling pin to help create an even slab.
- Clay cutter or modeling tool for circles, hearts, and custom paper templates.
- Nonstick craft mat to protect your table.
- Parchment sheets for moving small pieces without stretching them.
Shop the Supplies: Pretty Finishing Touches
Browse supplies on Amazon:
- Acrylic paints in cream, sage, blush, or your favorite colors.
- Fine detail brushes for a painted rim, dots, or a tiny initial.
- Gold and white paint pens for optional accents; test with your chosen topcoat first.
- Water-based acrylic craft varnish in matte or gloss, labeled as suitable for your clay and paint.
- Texture stamps or rollers if you would like a repeating pattern.
You will also want a small amount of water, a soft cloth, and a flat spot where the dishes can dry undisturbed. Use the clay and finish manufacturers’ instructions for compatibility and handling.
How to Make Air Dry Clay Trinket Dishes
1. Prepare a small piece of clay
Take out only what you need for one dish and close the container straight away. Knead gently until the clay feels workable. If it is unusually sticky, let it rest briefly and check it often, rather than leaving it out long enough to develop a dry skin.
2. Roll an even slab and cut your shape
For Crayola Air-Dry Clay, aim for at least ¼ inch (about 6 mm) thick, including the rim. Keep the thickness consistent and avoid stretching the center paper-thin. Other brands may have different instructions. Crayola explains thickness and cracking here.
Cut around a paper circle or heart template with a clay tool. Lift away the scraps, then soften any rough edges with a barely damp fingertip. We find a simple outline lets the color and texture become the focus.
3. Add a gentle impression
While the clay is still soft, press a clean leaf, a piece of lace, or a stamp lightly into the surface. Test on a spare scrap first so you can judge the pressure. Lift the texture straight up to keep the edges of the pattern clear.
Our tip: Use less water than you think. A lightly damp fingertip can smooth a small mark, but soaking the surface makes it harder to handle and can contribute to cracking.
4. Turn the shape into a shallow dish
Gently lift the edges with your fingertips, working around the shape a little at a time. Keep the base flat enough to sit steadily. A low, softly curved rim is easier for a first project than a deep bowl.
If you use a bowl to help form the curve, line it and release the clay as soon as it can hold its shape. Do not leave it wrapped tightly around a rigid form while it shrinks. Hand-shaping a shallow rim avoids that problem.
5. Let the clay dry completely
Set your dish on a flat, protected surface at room temperature, away from heaters and strong direct sunlight. Once it is firm enough to handle without bending, carefully turn or reposition it if needed so the underside can dry too. Follow your clay’s drying instructions before painting.
We skip the oven and hair dryer for this project. Air-drying clay is designed to dry naturally, and rushing it can make uneven drying and cracks more likely.
6. Paint, seal, and let the finish cure
Check the edges once the dish is fully dry. If your brand allows sanding, use a light touch and follow its dust-control guidance. Remove any loose dust before painting.
Brush on thin coats of acrylic paint, letting each layer dry as directed. Try a narrow gold rim, a few small dots, or a single painted heart. Once the paint is dry, test a compatible acrylic varnish on a spare piece before coating the dish.
Let the varnish cure for the time on its label before adding jewelry or wrapping the dish. Crayola recommends testing an acrylic varnish and notes that sealing does not make its clay waterproof.
Our tip: Keep finished dishes indoors and away from splashes. These are for dry trinkets, not food, drinks, plant pots, or candle holders. Dust gently with a soft, dry cloth.
Three Pretty Clay Dish Design Ideas
One basic technique can give you several different looks. These are our favorite directions for a small coordinated set:
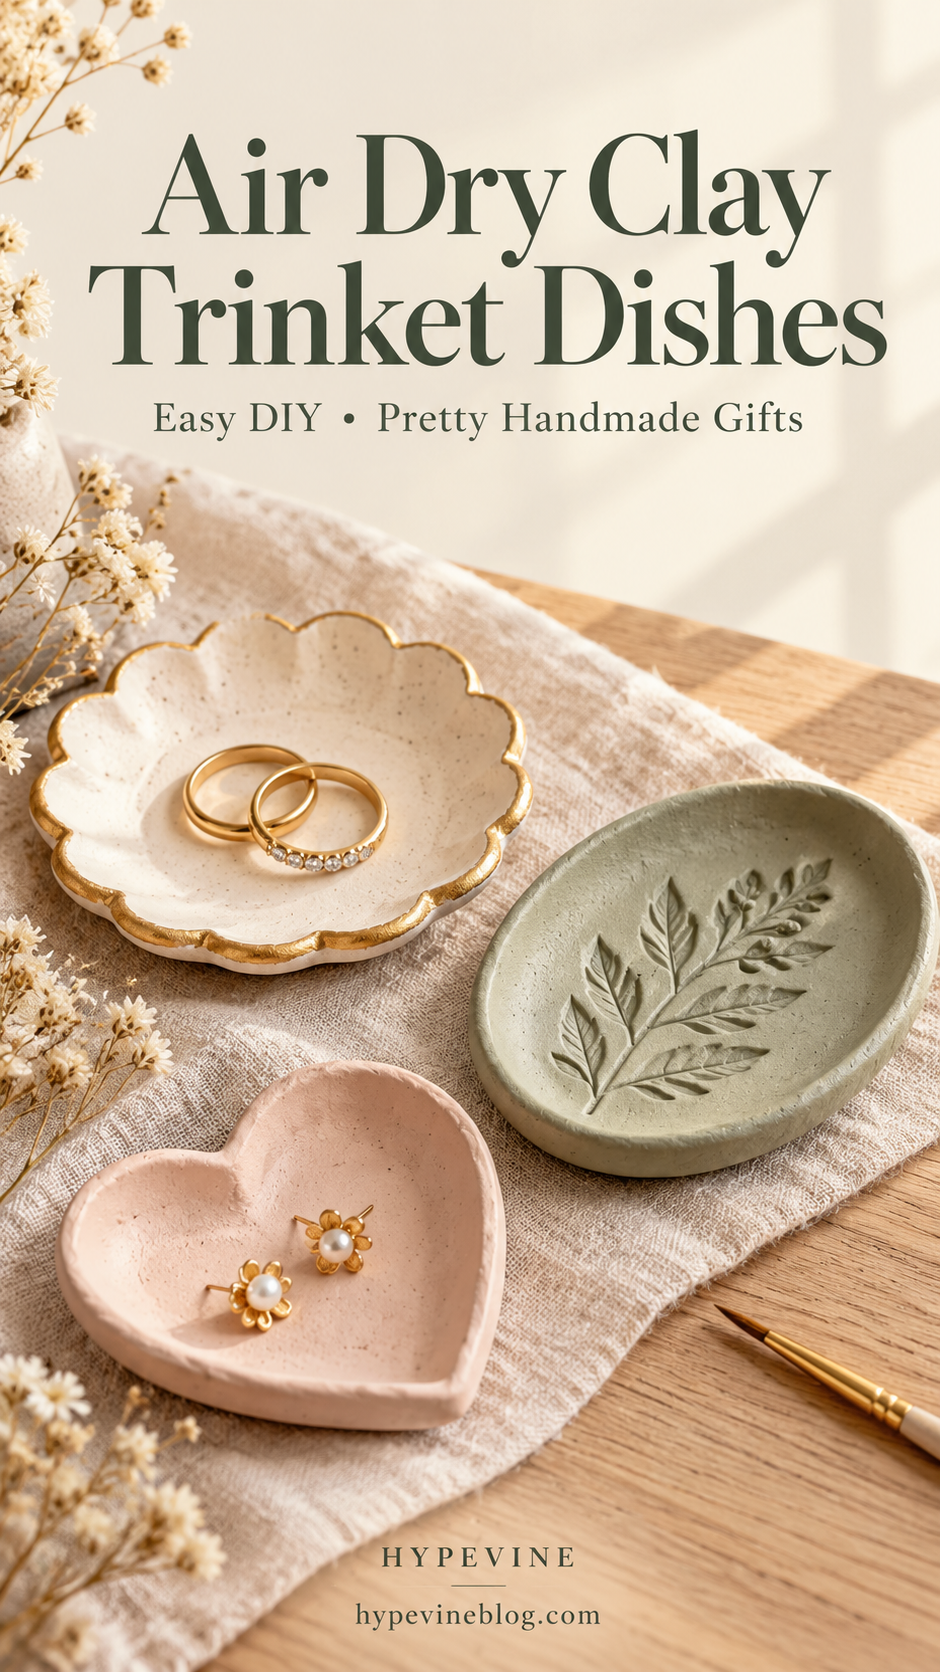
Cream scallops with a gold edge
Cut a softly scalloped outline using a paper template, then shape a low rim. Paint it creamy white and add a thin gold line around the edge. Keep the center simple so a favorite ring has a little room to shine.
A sage botanical catchall
Start with an oval and press a small leaf or botanical stamp into the clay before shaping. Once dry, use thin layers of sage paint so the impression stays visible. A matte finish suits this gentle, nature-inspired look.
A blush heart for someone special
Trace a rounded heart, smooth the notch carefully, and lift the edges slightly. Paint it blush pink or leave it natural with a tiny initial. It makes a sweet place for earrings or a small keepsake.
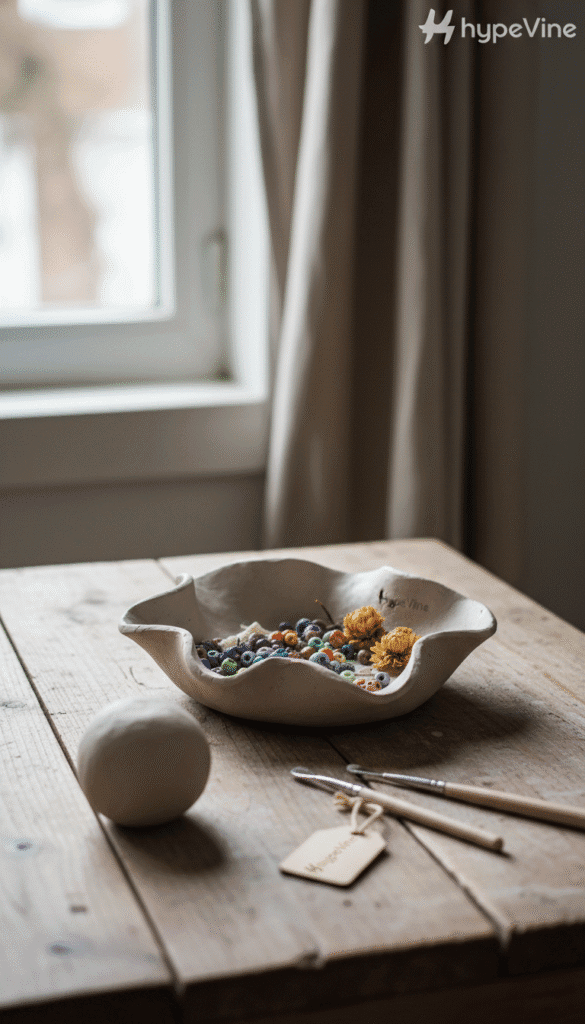
Our tip: For gifting, place the fully cured dish in a small padded box and tuck in a care note: decorative use only, keep dry, and clean gently with a dry cloth. We love a handwritten message alongside it.
Watch a Clay Trinket Dish Demonstration
Prefer to see the shaping in action? This video from Bride Society offers another decorative approach. Follow the instructions on your own clay and finishing products.
Make This Craft: Printable Instructions
Keep the essentials beside you while you work. Use the Print button on the card below for the supplies, six steps, and care notes.
Air Dry Clay Trinket Dishes
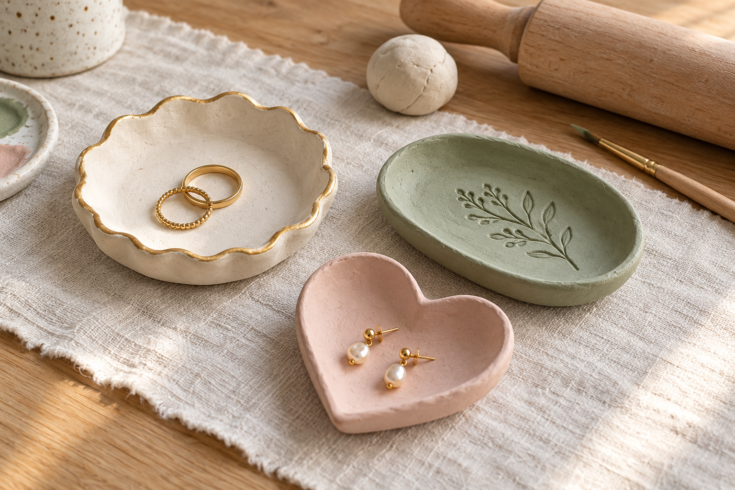
Make a small handmade jewelry catchall with a soft curved rim and your favorite painted or pressed details. A simple craft to keep or give.
Materials
- Air dry clay, enough for one small dish
- Acrylic paint in your chosen colors
- Compatible acrylic craft varnish
- Parchment paper or a nonstick craft mat
- Small amount of water
- Optional: clean leaf, lace, or texture stamp
Tools
- Dedicated craft rolling pin
- Clay cutter and paper shape template
- Fine paintbrush
- Soft cloth
Instructions
- Prepare the clay. Take out enough for one small dish, reseal the container, and knead gently until workable. If very sticky, rest briefly and check often.
- Roll and cut. Roll an even slab at least ¼ inch (about 6 mm) thick for Crayola Air-Dry Clay, or follow your brand’s guidance. Cut a circle, oval, or heart with a clay tool. Smooth rough edges with a barely damp fingertip.
- Add texture. Lightly press a clean leaf, lace, or stamp into the soft clay. Test on a scrap first, then lift straight up. Avoid adding excess water.
- Shape the dish. Gently lift the edges into a shallow rim, keeping the base flat. If using a lined bowl as a temporary mold, release the clay once it can support itself; do not let it shrink tightly around a rigid form.
- Air dry completely. Dry at room temperature away from direct heat and strong sunlight. Once firm enough to handle without bending, carefully reposition it to help the underside dry. Crayola typically needs about 72 hours; thickness and humidity may extend this. Do not rush with an oven or hair dryer.
- Paint and finish. Once fully dry, refine edges according to your clay’s instructions and remove dust. Apply thin acrylic paint coats, letting them dry. Test a compatible acrylic varnish on a scrap, then seal and allow the full label-directed curing time before use.
Notes
Timing: Allow approximately 45–60 minutes for setup and shaping, plus a separate painting session. Clay drying is typically about 72 hours for Crayola, but may take longer. Paint drying and varnish curing vary by product and are additional to the times shown.
Care: Decorative use only. Keep indoors and dry. Sealing does not make air dry clay waterproof or food safe. Use for dry jewelry and keepsakes, not food, wet plants, or candles. Dust with a soft, dry cloth.
Our tip: Start at least a week before gifting and include a small care note. Follow the instructions for your exact clay, paint, and finish.
Air Dry Clay Trinket Dish FAQs
How long do air dry clay trinket dishes take to dry?
Allow the full drying time on your clay’s packaging. Crayola gives about 72 hours for complete drying, but thicker pieces and room conditions can extend that. Add separate time for painting and for your sealer to cure.
Are air dry clay dishes waterproof or food safe?
Treat these as decorative dishes for dry jewelry and small keepsakes. Sealing Crayola Air-Dry Clay does not make it waterproof. Do not use this project for food, drinks, wet plants, or anything that needs washing or soaking.
Why did my clay dish crack?
Thin spots, too much added water, and drying around a rigid form can contribute to cracks. Keep the thickness even and follow your brand’s drying guidance. Check its repair instructions for small surface cracks; remake a dish with a deep crack through the base.
Can we use the oven to make the clay dry faster?
For this project, let the clay air dry naturally. Do not treat it like oven-bake polymer clay. Only use heat if the exact product’s manufacturer explicitly directs you to do so.
What paint and sealer should we use?
Acrylic paint is an option for completely dry Crayola Air-Dry Clay. Use a compatible acrylic varnish, test it on a spare piece first, and follow the finish label for drying and curing. Store unused clay in an airtight container.
A Little Handmade Joy for Your Everyday
We love a craft that leaves you with something you can enjoy every day. Start with one simple dish, choose a color that makes you smile, and let the handmade details stay a little imperfect.
Whether you keep it on your nightstand or wrap it for a friend, your little catchall can bring a personal touch to an ordinary moment.
Save This Craft for Later
Pin the idea now, then come back when your clay is dry and ready for those finishing touches.
Ready for another relaxed project? Explore our DIY craft ideas or try our easy winter candle crafts next.