
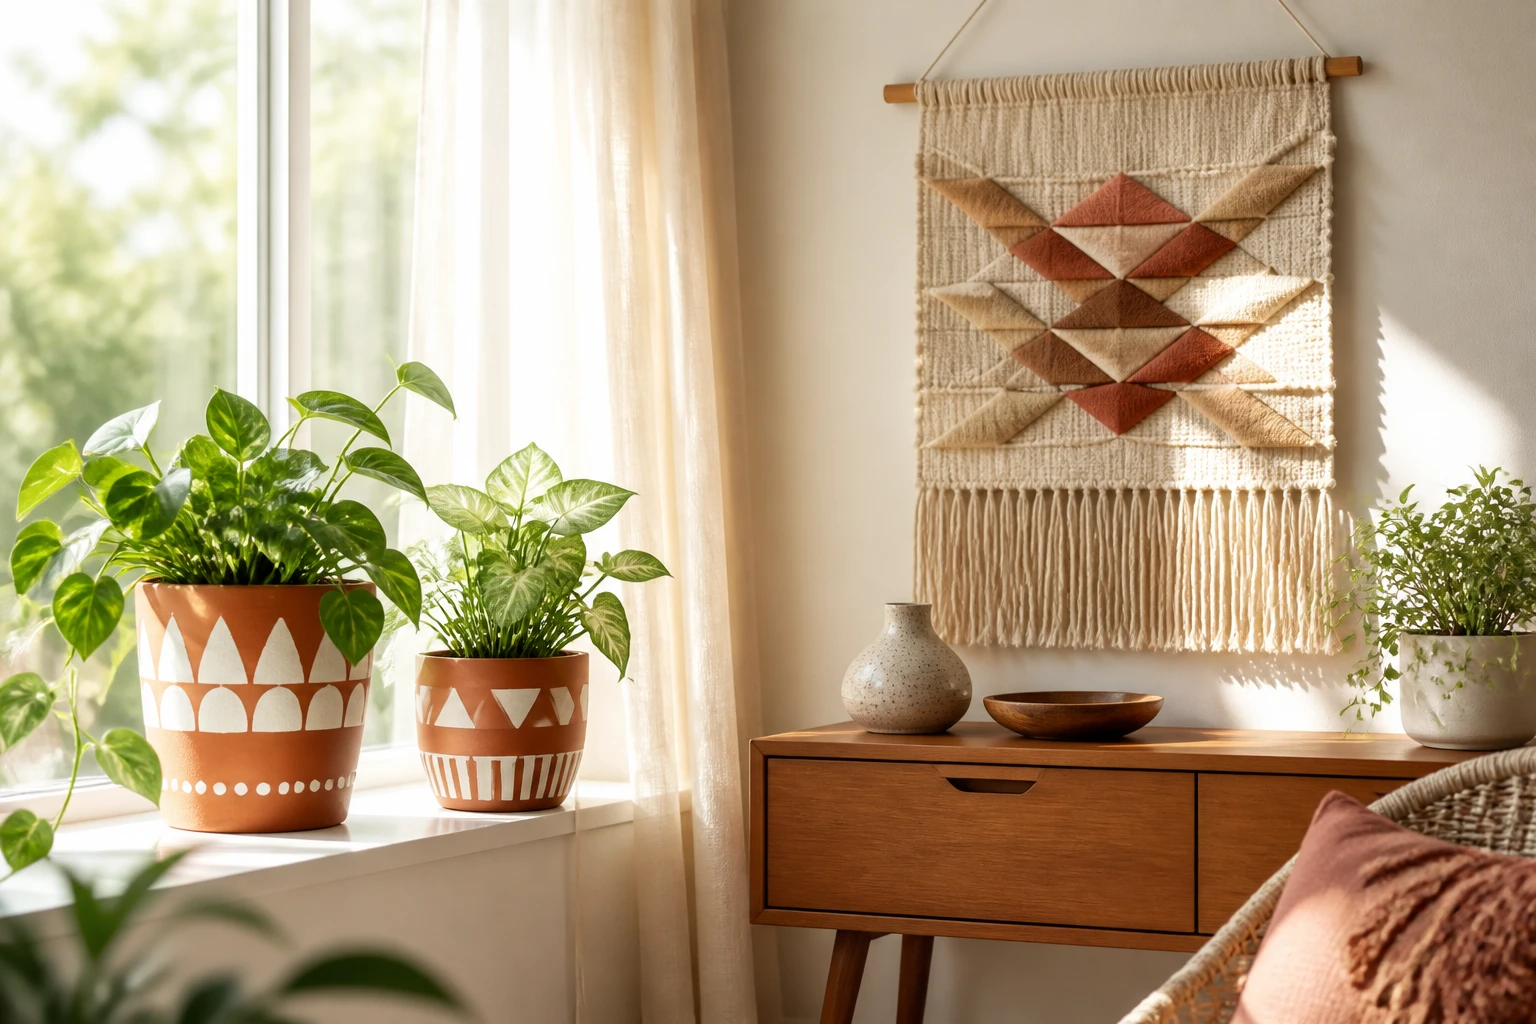
Home decor craft projects are such an easy way to give your space a fresh, inviting update without making it feel fussy or overdone. These ideas are simple, stylish, and approachable, with that relaxed polished look that makes a room feel softer, warmer, and more personal. From painted planters to woven accents and botanical frames, each one brings in texture, charm, and a little creative glow for a weekend refresh that feels genuinely doable.
Table of Contents
1. Painted Terracotta Planters for a Fresh, Nature-Inspired Look
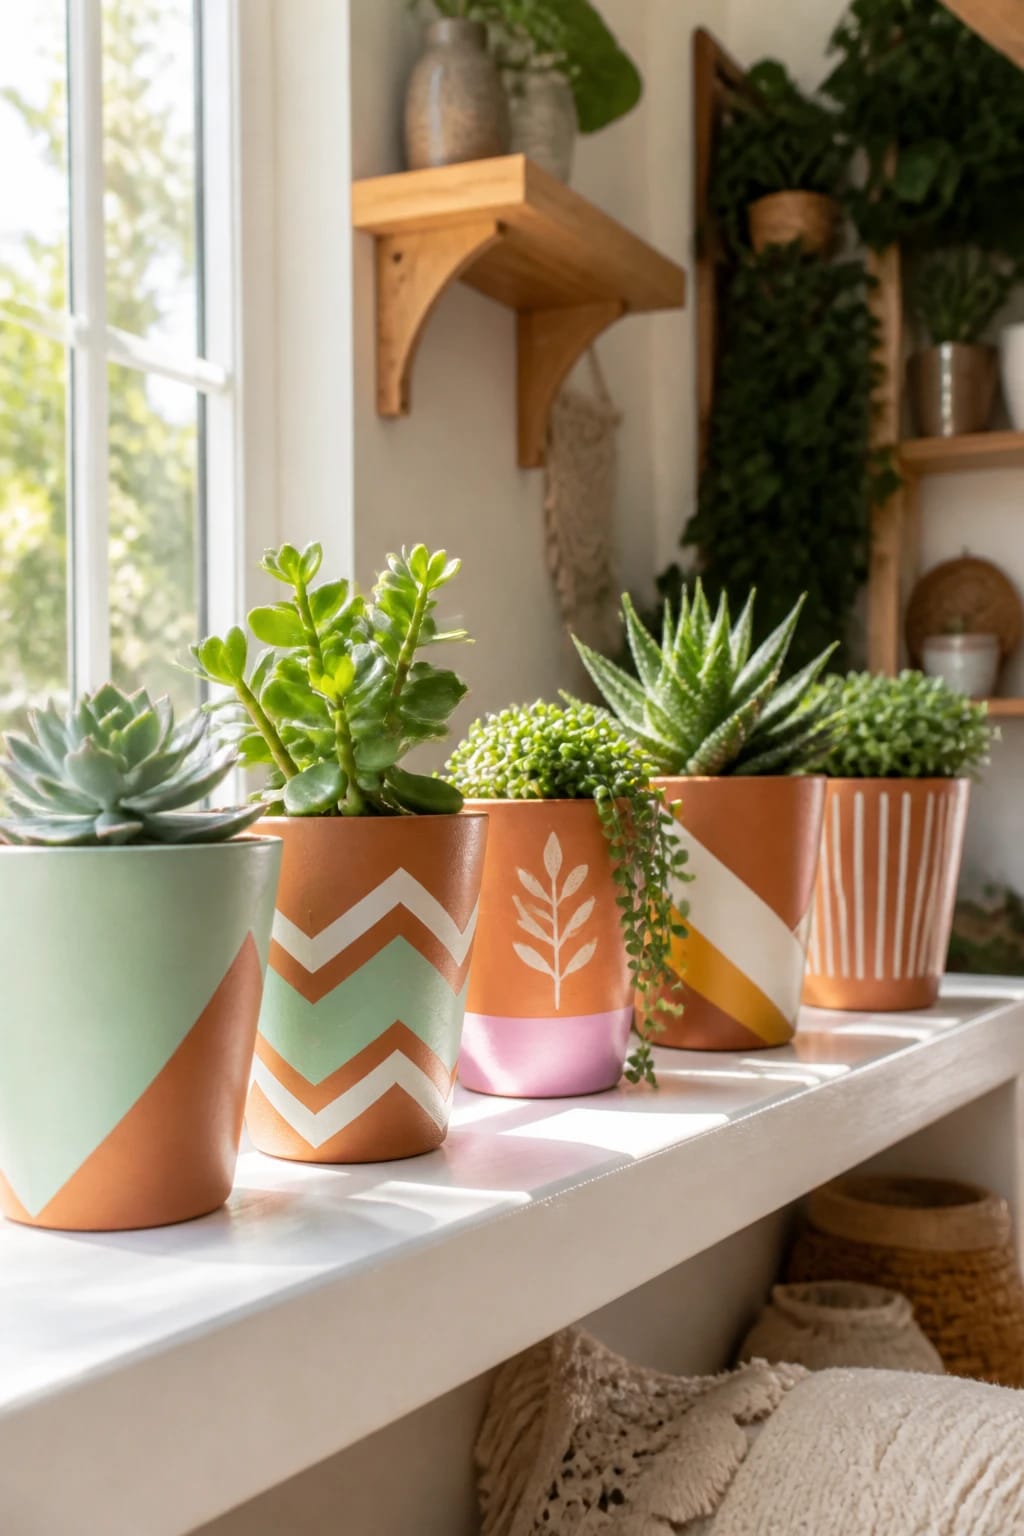
Give ordinary pots a maker-home glow with a quick paint treatment. Clean terracotta, stencil patterns, or color-block designs create a casual, modern touch that works well on shelves or windowsills. A little color goes a long way toward brightening a room.
Helpful Details
- Materials: terracotta pots, acrylic craft paints, brushes, painter’s tape, sealer (optional).
- Technique: clean pots, apply base color, add patterns with tape or stencils, seal for durability.
- Best For: sunrooms, kitchens, and entryways where greenery adds life.
Finish with a light sealant if the pots will sit outdoors or in high-humidity spaces. Pair with leafy plants for an inviting, natural vignette.
Painted Terracotta Planters
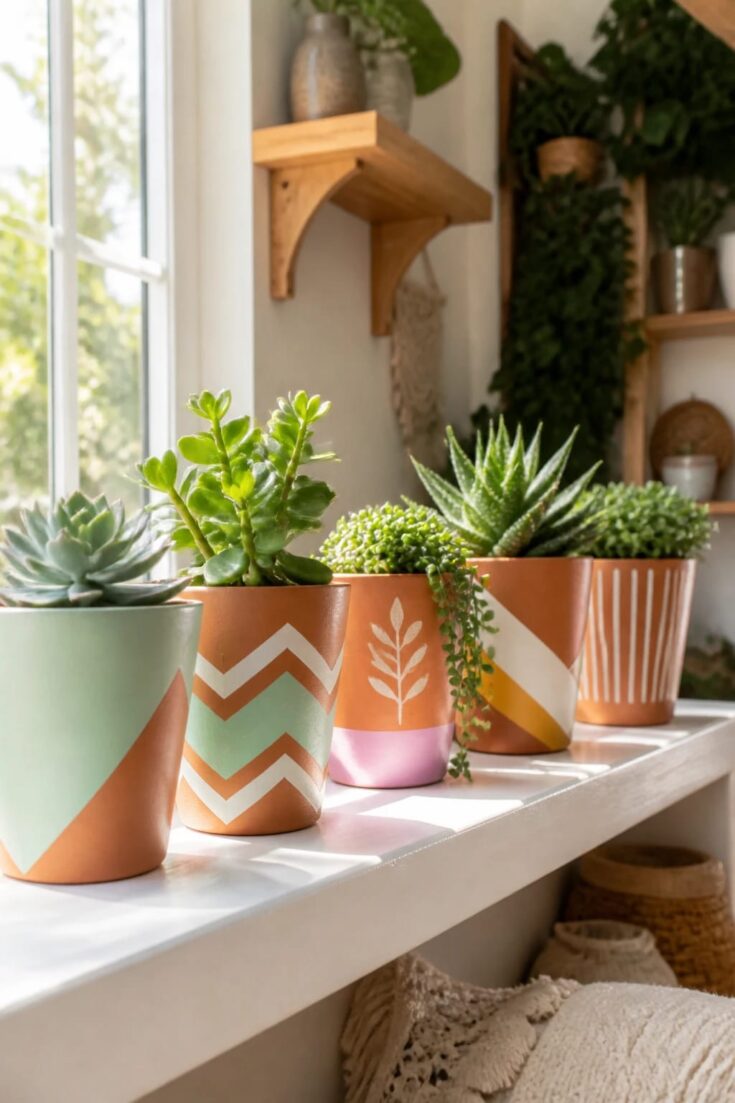
A simple painted planter project that adds fresh color and an inviting handmade touch to shelves, windowsills, and entryways.
Materials
- Terracotta pots
- Acrylic craft paints
- Paint brushes
- Painter’s tape
- Sealer (optional)
Tools
- Scissors
- Small paint tray or plate
Instructions
- Clean the terracotta pots and let them dry fully.
- Apply a base color and allow it to dry.
- Use painter’s tape or a stencil to create simple patterns or color-block sections.
- Add your second color or design details, then let everything dry completely.
- Seal if desired for extra durability, especially for humid areas or outdoor use.
Notes
- Best for sunrooms, kitchens, and entryways.
- Pair with leafy plants for a fresh, natural vignette.
- Use a light sealant if the pots may be exposed to moisture.
Shop the Space: Painted Planter Corner
These home decor craft projects feel fresh and relaxed with natural textures, soft greenery, and simple pieces that brighten a shelf or sunny corner.
As an Amazon Associate, I may earn from qualifying purchases at no extra cost to you. Thank you for supporting HypeVine!
2. Soft Fabric Wall Hangings with an Elegant, Easy Flutter
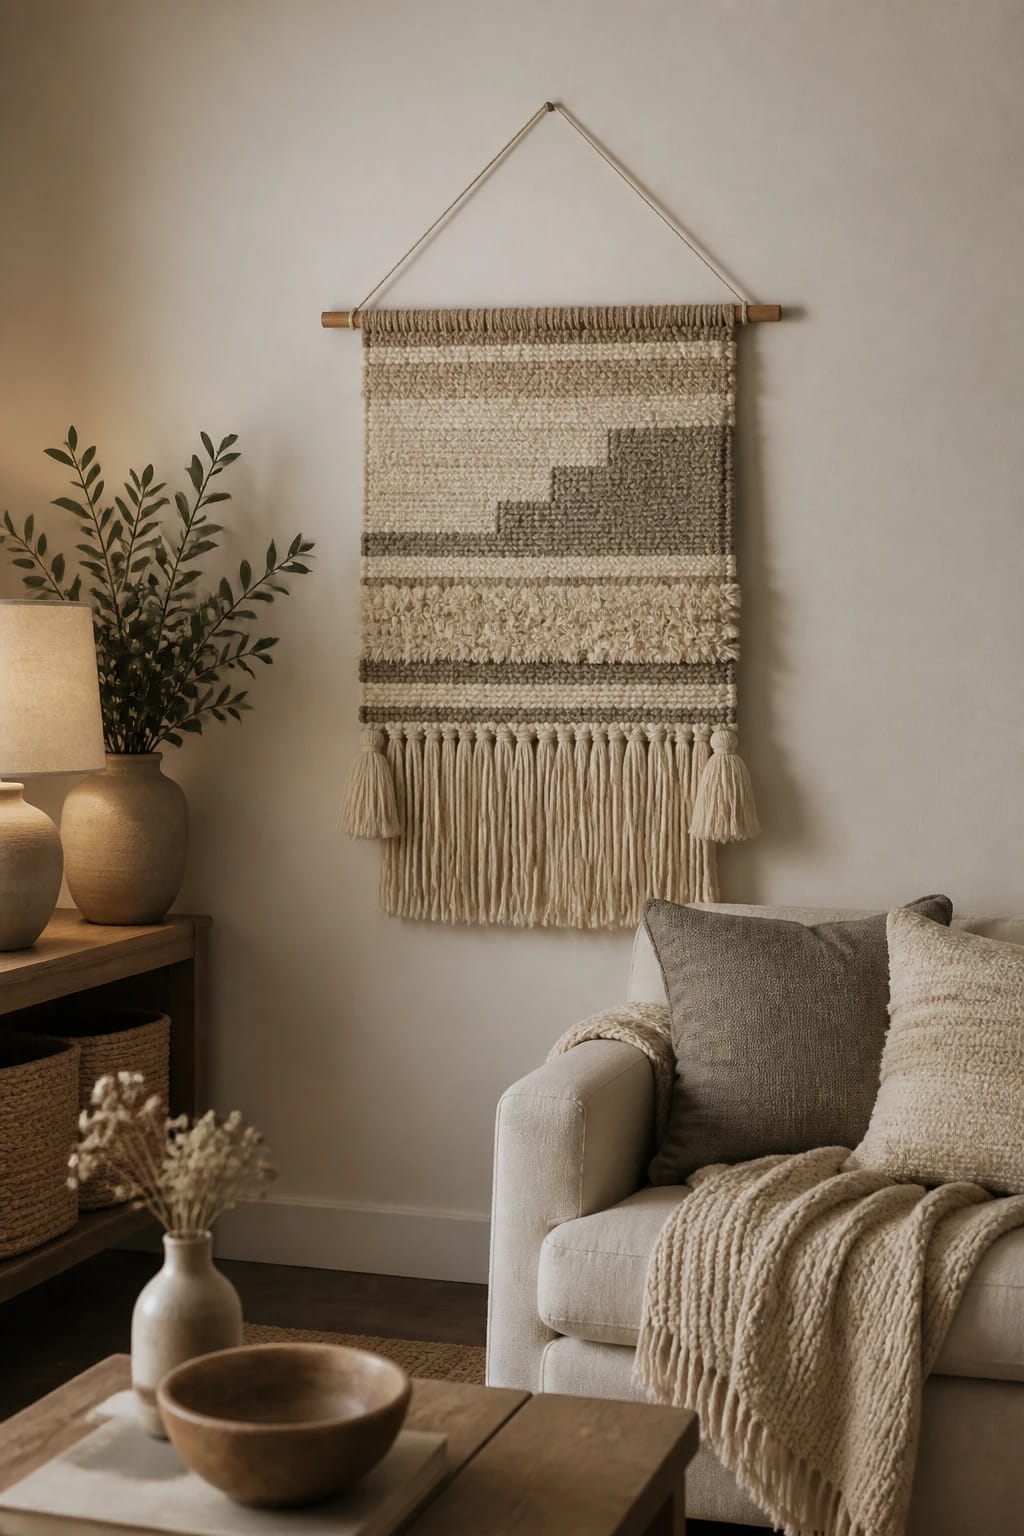
Create a cozy focal point with a fabric wall hanging. Choose a calming palette, mix textures, and finish with wooden dowels or a metal rod. This craft adds warmth and texture without overwhelming the wall.
Styling Notes
- What You’ll Need: fabric or tapestry, wooden dowel, cotton cord, scissors, hot glue, optional tassels.
- Tips: keep the pattern simple and repeat a color from your room to tie the space together.
- Best For: living rooms, bedrooms, or above a bed to create a soft, inviting backdrop.
Experiment with different frame heights and widths to create an artful grid-like display or a single dramatic piece. It’s easy to swap in seasonal fabrics for a quick refresh.
Soft Fabric Wall Hangings
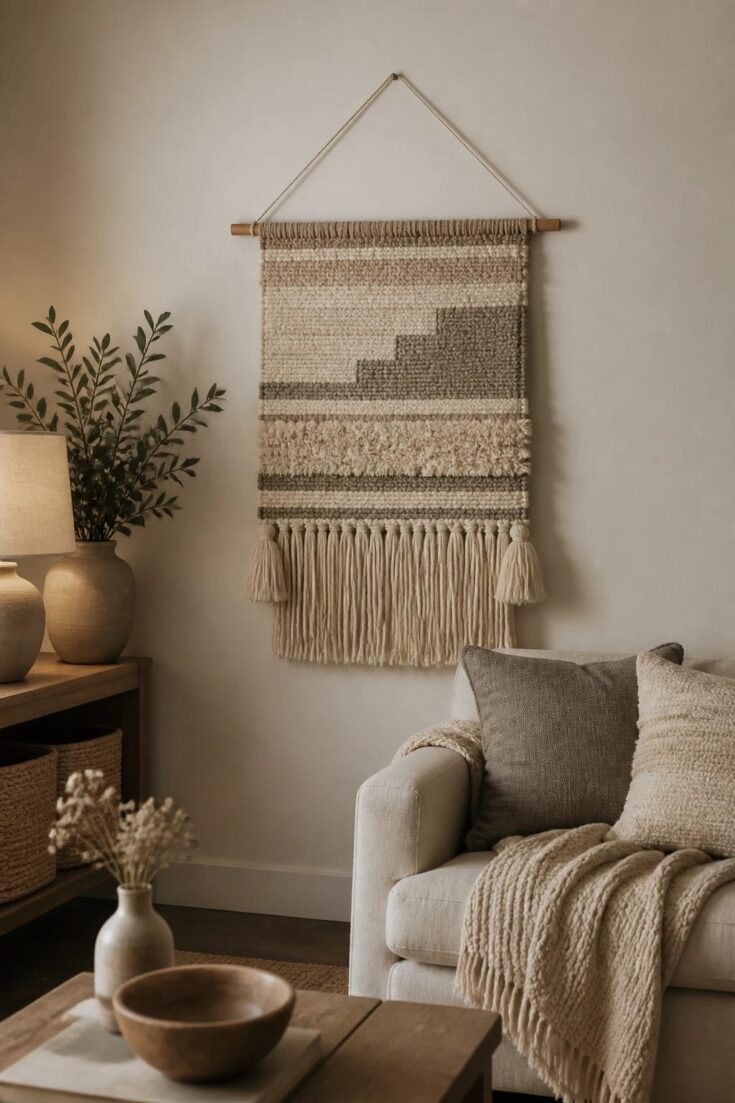
A soft wall hanging is an easy way to add warmth, texture, and a relaxed focal point to a bedroom, living room, or reading nook.
Materials
- Fabric or tapestry
- Wooden dowel
- Cotton cord
- Optional tassels
- Hot glue
Tools
- Scissors
- Measuring tape
Instructions
- Choose a fabric or tapestry in a calming color palette that works with your room.
- Cut the fabric to your desired size and shape if needed.
- Attach the top edge around a wooden dowel or secure it neatly with hot glue.
- Add cotton cord for hanging, and include tassels if you want extra texture.
- Hang the piece and adjust the height and width until it feels balanced in the space.
Notes
- Best for living rooms, bedrooms, or above a bed.
- Repeat a color already in the room so the piece feels cohesive.
- Try seasonal fabric swaps for an easy refresh.
- This can work as one statement piece or part of a grid-style wall display.
Shop the Space: Soft Wall Hanging Look
This look feels light, easy, and polished with gentle texture, warm neutrals, and simple accents that soften the wall without making it feel busy.
As an Amazon Associate, I may earn from qualifying purchases at no extra cost to you. Thank you for supporting HypeVine!
3. Geometric Candle Jars for Minimalist Glow
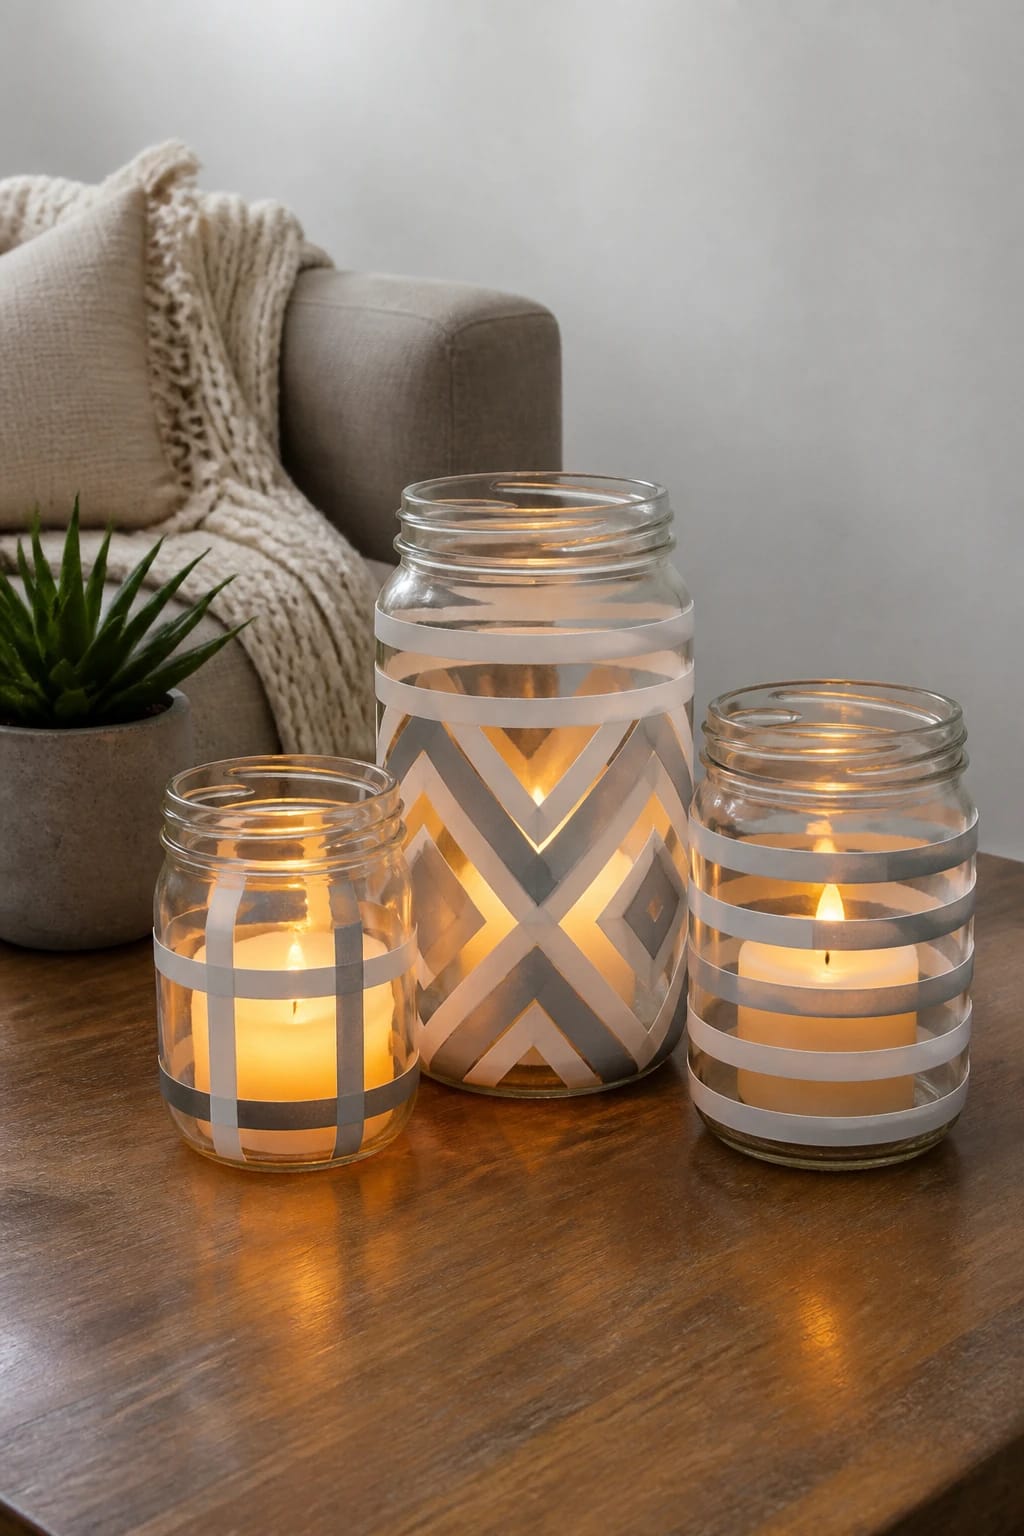
Brighten evenings with glass jars dressed in geometric tape patterns or etched designs. The glow from candles adds ambiance while the shapes keep the look clean and contemporary. It’s a small detail that has a big impact.
What You’ll Do
- Materials: glass jars, painter’s tape or vinyl decals, tempered candles or LED candle inserts, glass cleaner.
- How to Make It: clean jars, apply tape in geometric shapes, remove carefully for crisp lines, insert candle.
- Best For: coffee tables, mantels, or bathroom shelves where a quiet, modern glow is welcome.
Place jars in a shallow tray or group them in odd numbers for a balanced, gallery-like arrangement. Keep scents light for a fresh, uncluttered vibe.
Geometric Candle Jars
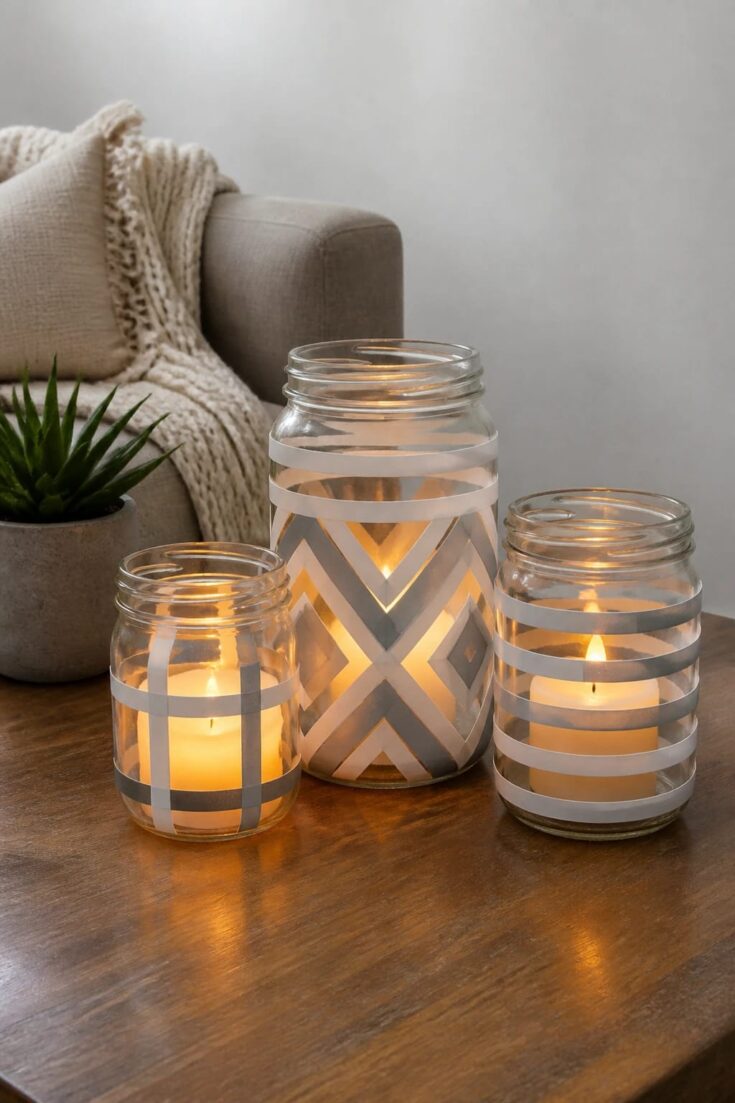
These geometric candle jars add a clean, modern glow to coffee tables, mantels, and shelves with just a few simple materials.
Materials
- Glass jars
- Painter’s tape or vinyl decals
- Tempered candles or LED candle inserts
- Glass cleaner
Tools
- Scissors
- Soft cloth
Instructions
- Clean the glass jars thoroughly so the surface is smooth and free of dust or oils.
- Apply painter’s tape or vinyl decals in simple geometric patterns.
- Press the edges firmly so the lines stay crisp and even.
- Insert a tempered candle or LED candle insert into each jar.
- Group the finished jars on a tray or shelf for a balanced, modern glow.
Notes
- Best for coffee tables, mantels, and bathroom shelves.
- Group jars in odd numbers for a more polished look.
- Keep scents light so the display feels fresh and uncluttered.
- LED inserts are a nice option for a softer, worry-free glow.
Shop the Space: Minimal Candle Glow
A few clean shapes and warm candlelight can make a tabletop feel calm, styled, and quietly inviting for everyday living.
As an Amazon Associate, I may earn from qualifying purchases at no extra cost to you. Thank you for supporting HypeVine!
4. Woven Wall Strips for Texture and Subtle Color
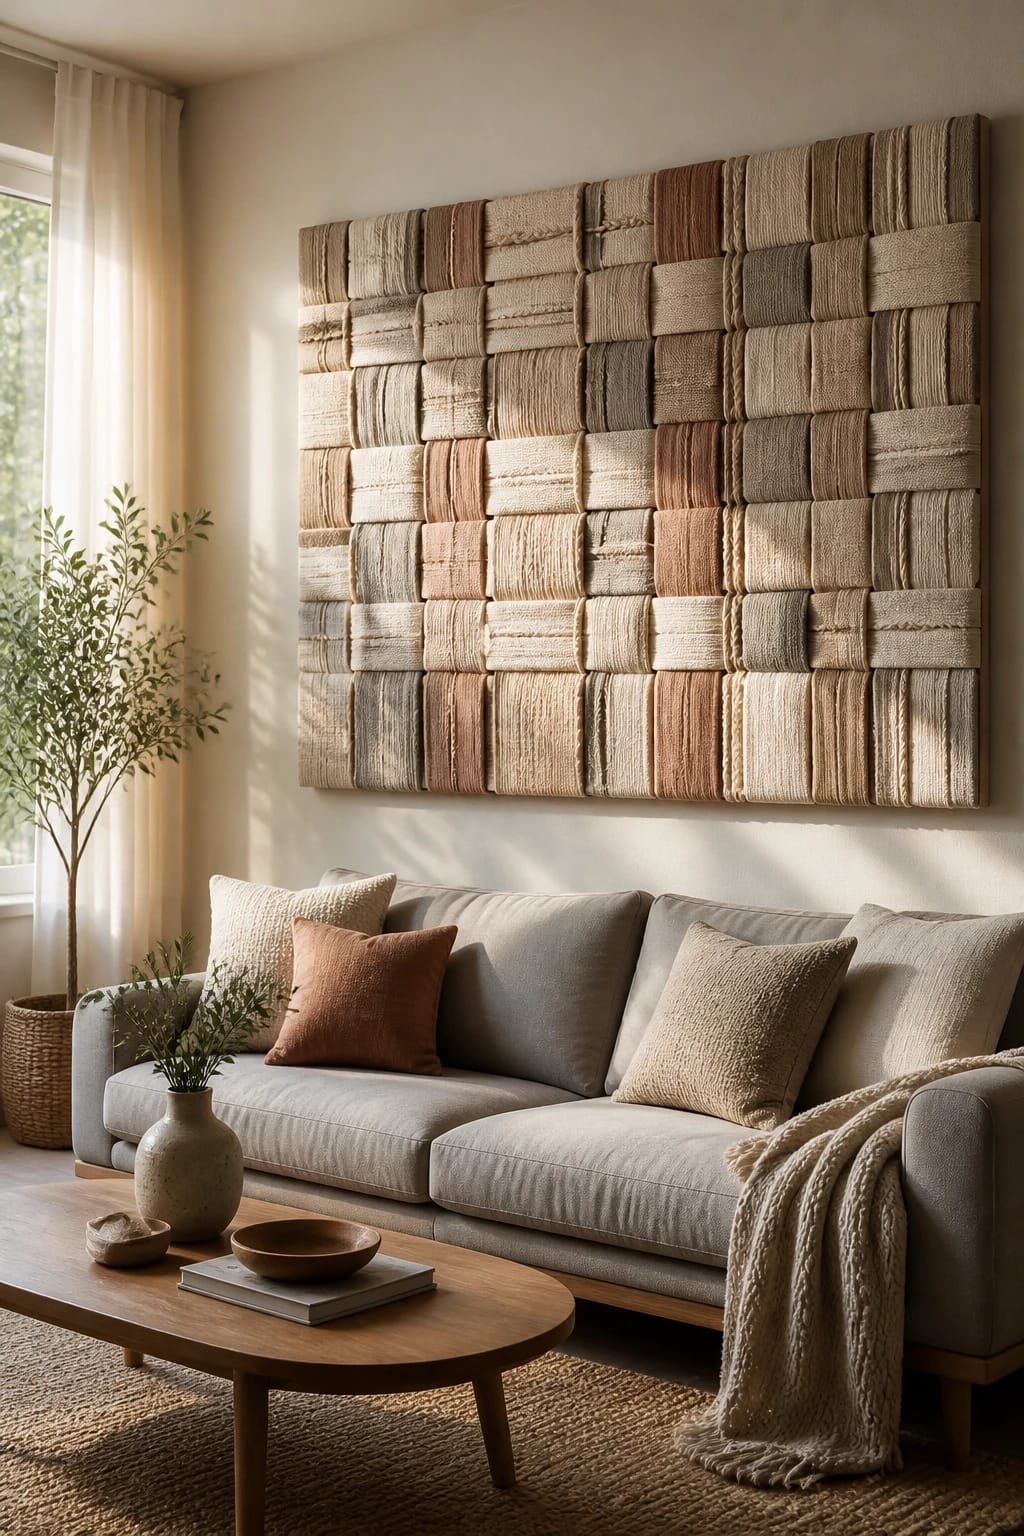
Introduce tactile texture with woven wall panels created from simple strips of fabric or rope. This project brings depth and a handcrafted feel to any room, from a neutral living area to a cheerful home office.
Helpful Details
- Materials: cotton rope or fabric strips, adhesive, a sturdy backing board, scissors, ruler.
- How to Assemble: cut strips to varying widths, glue in layered, overlapping patterns on the backing, let dry flat.
- Best For: adding a feature wall without heavy commitment or expense.
Hang with a lightweight frame or directly onto the wall for a bold, textural statement that’s easy to update with new colors or patterns seasonally.
Woven Wall Strips
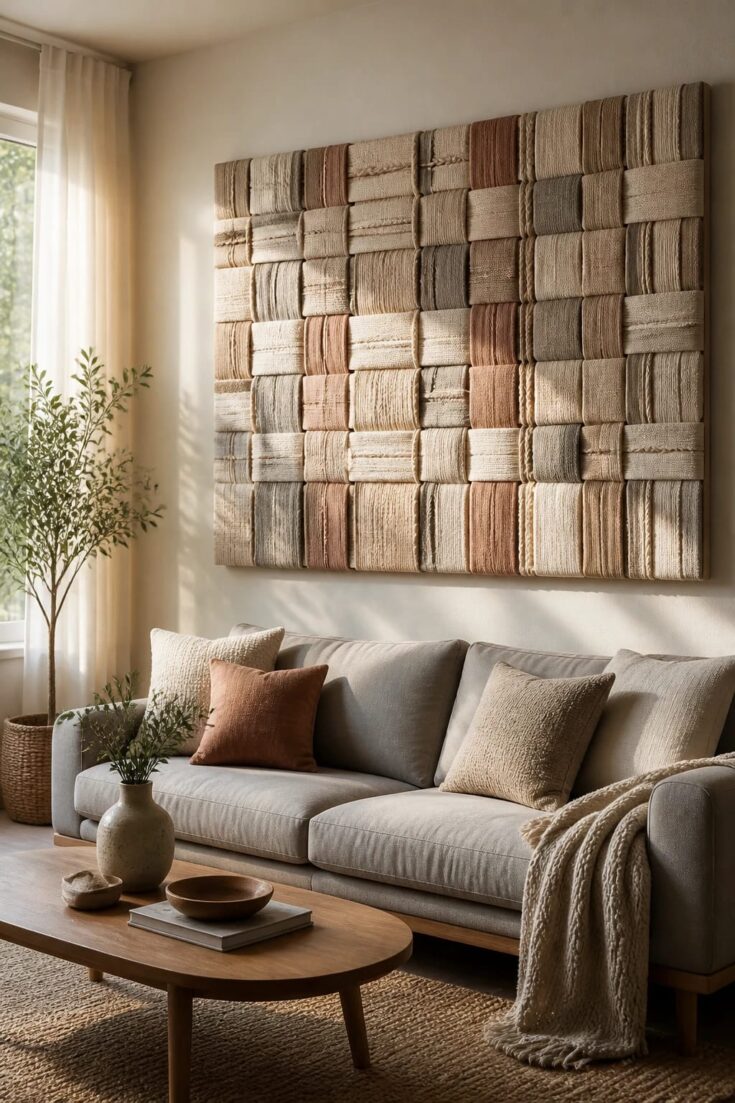
Woven wall strips bring soft texture and subtle color to a blank wall, adding an easy handcrafted touch that feels warm and polished.
Materials
- Cotton rope or fabric strips
- Adhesive
- Sturdy backing board
Tools
- Scissors
- Ruler
Instructions
- Cut the fabric or rope into strips of varying widths for a more layered look.
- Arrange the strips on the backing board before gluing to find a pattern you like.
- Attach the strips in overlapping rows using adhesive.
- Let the piece dry flat so everything stays smooth and secure.
- Hang the finished panel in a lightweight frame or mount it directly on the wall.
Notes
- Best for living rooms, home offices, or any blank wall that needs texture.
- Mix widths and soft tones for a more dimensional look.
- This is an easy way to create a feature wall without a big commitment.
- You can swap colors seasonally for a fresh update.
Shop the Space: Textured Woven Wall Style
This layered look brings in soft color and easy texture, giving a blank wall a more collected and relaxed feel without much effort.
As an Amazon Associate, I may earn from qualifying purchases at no extra cost to you. Thank you for supporting HypeVine!
5. Minimal Botanical Frames for a Fresh, Polished Look
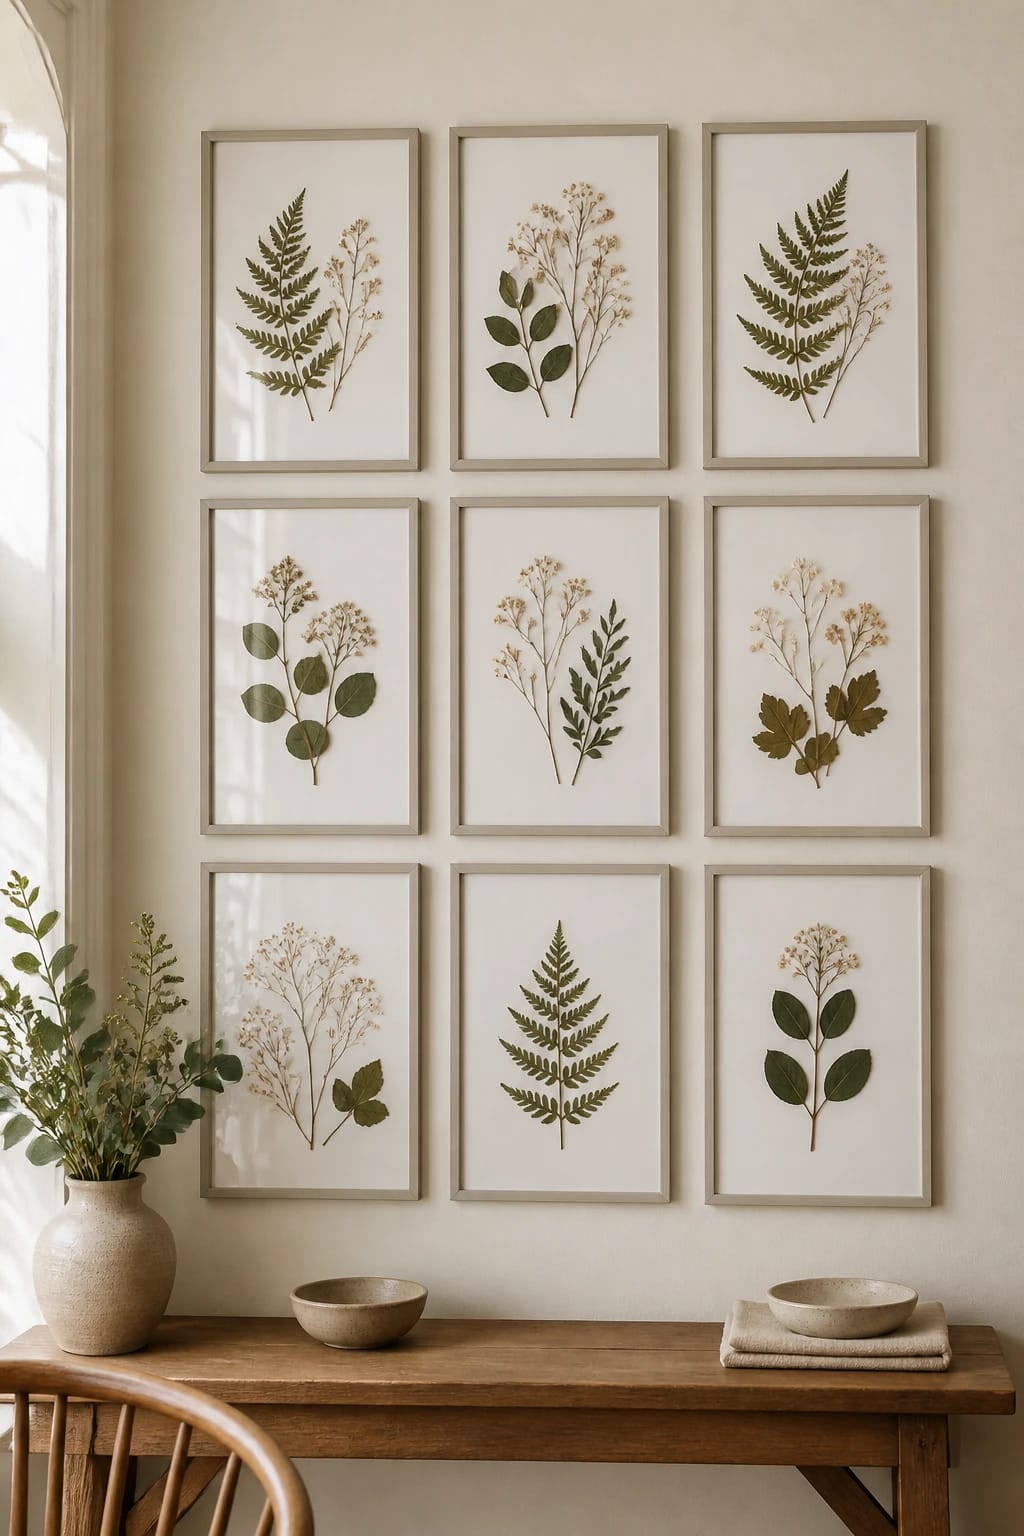
Combine pressed greenery or tiny dried flowers with slim, matte-finish frames for a refined, nature-inspired gallery. This idea is adaptable to small spaces and can be styled in a tight grid or a freeform cluster.
What You’ll Need
- Materials: pressed botanicals, lightweight frames, acid-free paper, mounting squares, glass cleaner.
- Steps: arrange botanicals on paper, secure with mounting squares, insert into frames, hang in a cohesive group.
- Best For: hallways, home offices, and dining nooks where art can quietly evoke the outdoors.
Switch out botanicals as the seasons change to keep the display feeling fresh and intentional.
Minimal Botanical Frames
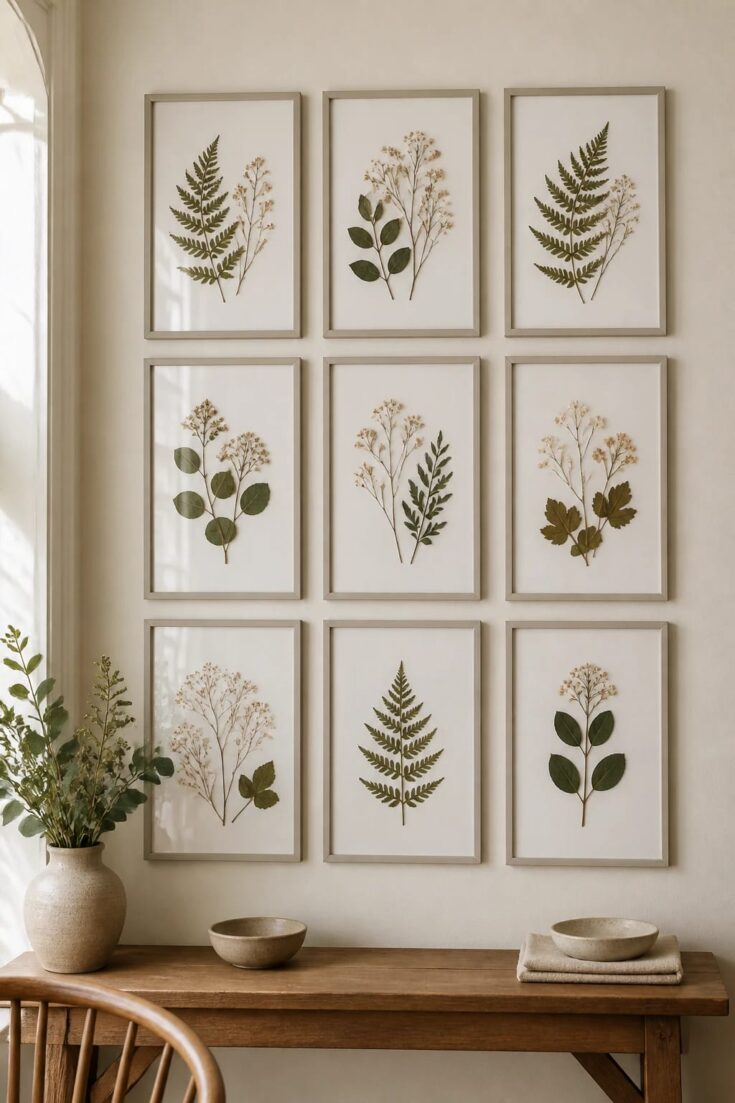
Minimal botanical frames bring a fresh, polished feel to small spaces with pressed greenery, slim frames, and a soft nature-inspired look.
Materials
- Pressed botanicals
- Lightweight frames
- Acid-free paper
- Mounting squares
- Glass cleaner
Tools
- Soft cloth
- Scissors
Instructions
- Arrange the pressed botanicals on acid-free paper until you like the layout.
- Secure the pieces gently with mounting squares.
- Clean the frame glass so the finished piece looks crisp and polished.
- Insert the botanical art into the frames and close them securely.
- Hang the frames in a tight grid or a relaxed cluster for a soft gallery effect.
Notes
- Best for hallways, home offices, and dining nooks.
- Slim matte-finish frames keep the look clean and refined.
- A tight grid feels classic, while a freeform cluster feels a little softer.
- Swap botanicals seasonally to keep the display feeling fresh.
Shop the Space: Botanical Frame Moment
Simple botanical details add that fresh polished touch, especially when paired with light woods, soft neutrals, and a little bit of greenery nearby.
As an Amazon Associate, I may earn from qualifying purchases at no extra cost to you. Thank you for supporting HypeVine!
Home Decor Craft Project FAQs
How can I make DIY home decor look more polished?
Stick with a soft, cohesive color palette, repeat a few textures, and keep the design simple. Small details like clean lines, balanced spacing, and matching tones can make handmade décor feel much more refined.
How do I choose the right home decor craft project for my space?
Start by thinking about what your room needs most. If it feels plain, add texture with woven wall art or fabric hangings. If it feels flat, bring in greenery or candlelight for a softer, more inviting finish.
Can I update these home decor craft projects seasonally?
Yes, that is one of the easiest ways to keep them feeling fresh. You can swap fabrics, change paint colors, rotate botanicals, or update styling accents to fit the season without redoing the whole project.
What rooms are best for home decor craft projects?
These projects work especially well in living rooms, bedrooms, entryways, home offices, and dining nooks. Smaller decorative pieces are also a nice fit for shelves, mantels, and windowsills.
The Finishing Touch
These easy and pretty home decor craft projects offer approachable ways to refresh your space with handmade charm. Pick one that matches your current style, and envision how it will sit with your existing furniture and color palette. Save this article for future weekend projects, or start with a small piece to dip your toes into creative remodeling. Happy crafting!