
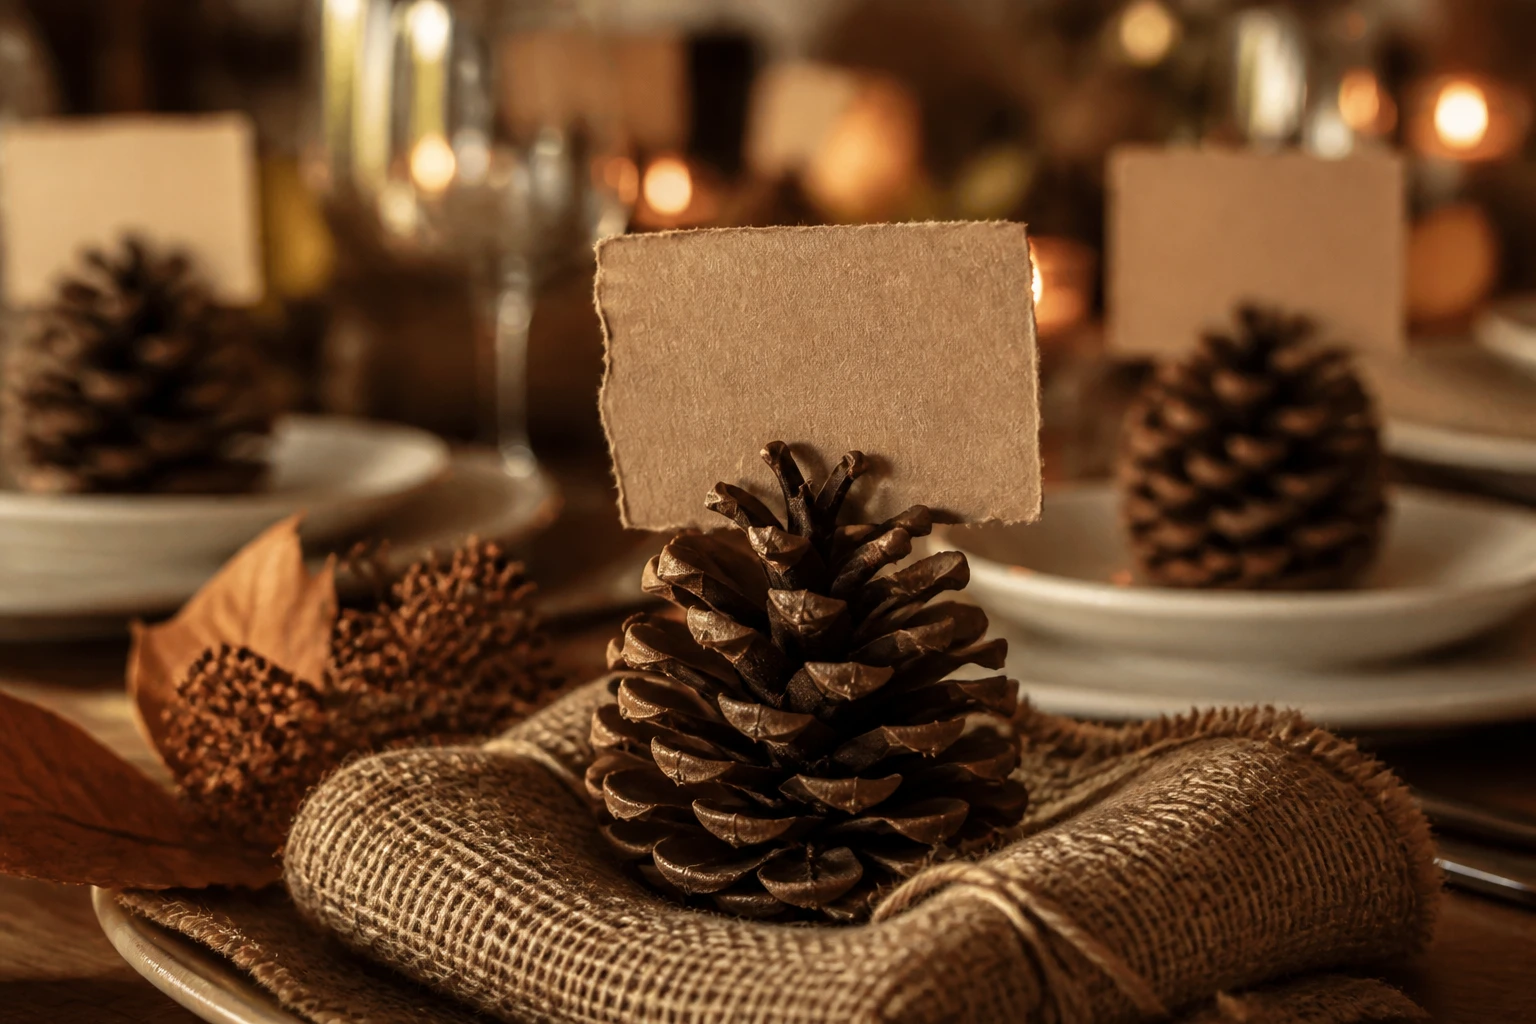
A handwritten name card makes a holiday table feel a little more personal. These six rustic Thanksgiving place card holders pair pinecones with kraft paper, soft burlap, and simple handmade details.
Choose one style for the whole table, or repeat the same paper and lettering across a few designs. The photos offer styling inspiration; the steps below focus on sturdy bases, readable names, and pieces you can prepare before guests arrive.
Table of Contents
This post contains affiliate links. As an Amazon Associate, HypeVine earns from qualifying purchases at no extra cost to you.
Before You Start: Gather Your Supplies
For each guest: One clean, fully dry pinecone, one kraft-paper name card, and a short length of twine or ribbon. Start with cards about 3 × 2 inches, then adjust them to the pinecone and the length of the name.
Shared tools: Scissors, a ruler, a dark pen, a hole punch, and craft glue suitable for your chosen materials. For heavier pieces, an adult can use a hot-glue gun on a protected surface. Let every glued joint set fully before testing it.
Optional extras: Small wood slices or cork discs, burlap ribbon, blunt craft sticks, acrylic craft paint, and a battery-operated LED tealight with a secured battery compartment.
Choose unscented craft pinecones, or brush loose debris from collected ones and inspect them before bringing them to the table. Discard any with mold or unwanted insects. Keep decorations beside the place setting rather than in contact with food.
Make-Ahead Tip
Make one complete sample before cutting the rest of your cards. Check that it stands steadily and that the name is readable from a seated position. Then assemble the remaining pieces in batches.
1. Pinecone and Burlap Ring Place Card Holder
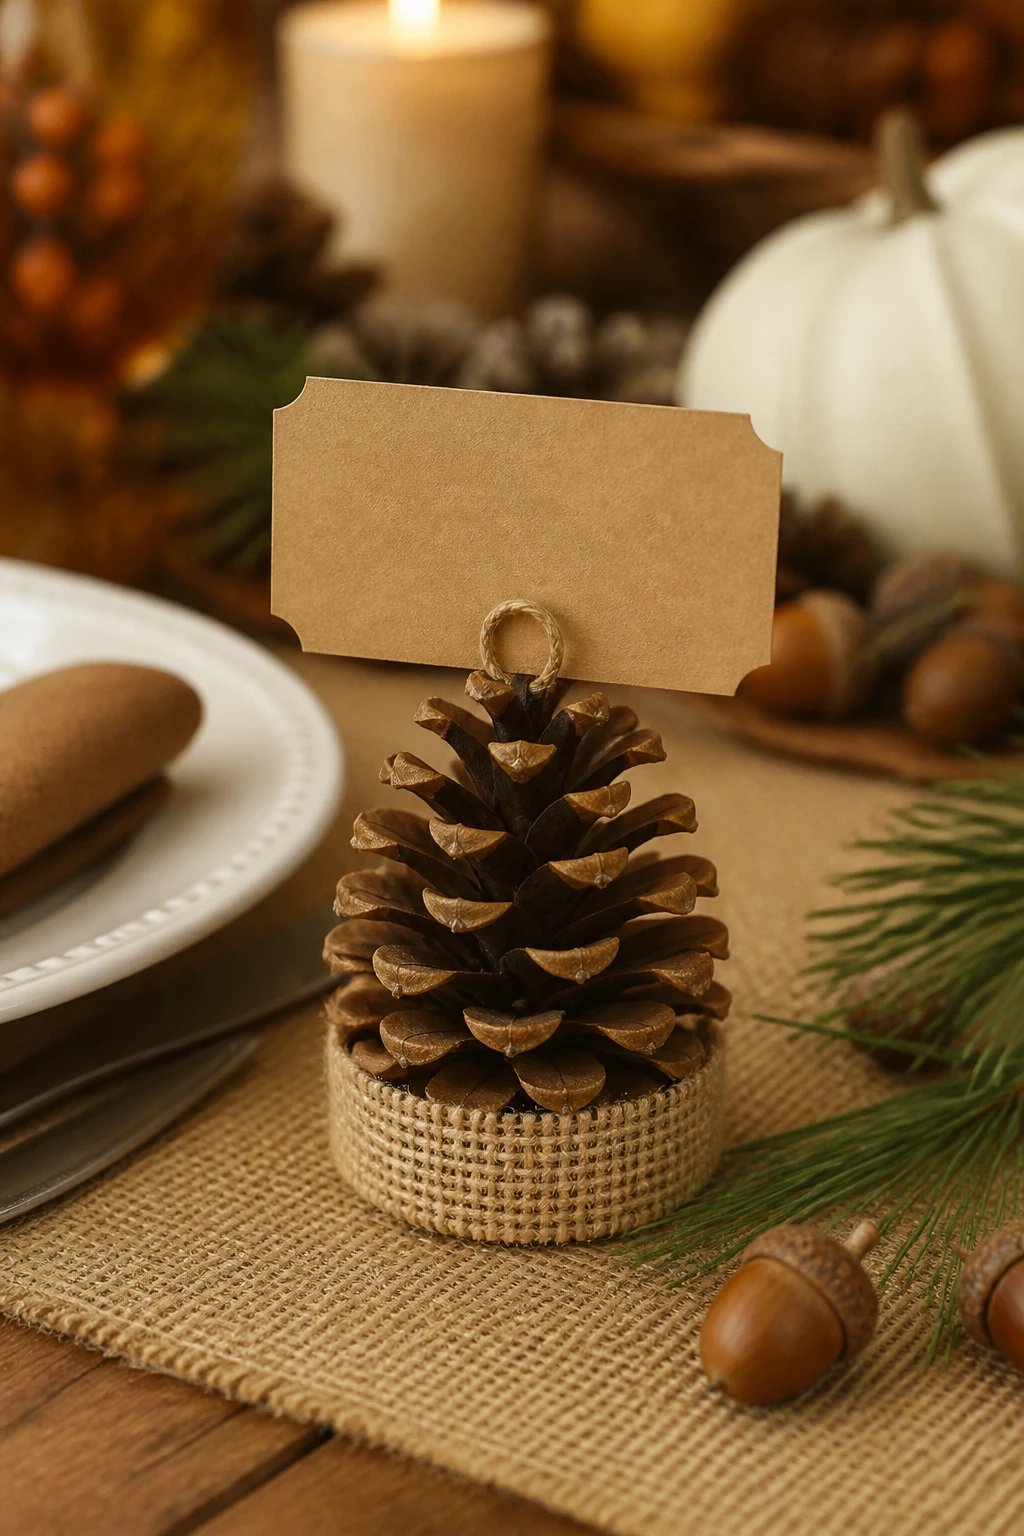
A narrow band of burlap gives a plain pinecone a finished base without covering its natural texture. This look fits cream dishes, woven placemats, and a relaxed harvest table.
Make it: Choose a pinecone that sits flat, or glue it to a small cork disc first. Cut a burlap strip about 1 inch wide and long enough to go around the base with a small overlap. Glue the ends together, keeping the bottom level.
Write the name before attaching the card. Slide its lower edge gently between two upper scales. If it slips, attach a small paperclip behind the pinecone and use the clip to grip the card. Avoid forcing the card deep enough to break the scales.
Easy Swap
For a no-glue name card, punch one hole in a kraft tag and tie it around the upper part of the pinecone. Keep the knot loose enough to remove the tag later.
2. Wood-Slice Pinecone Stand with a Kraft Tag

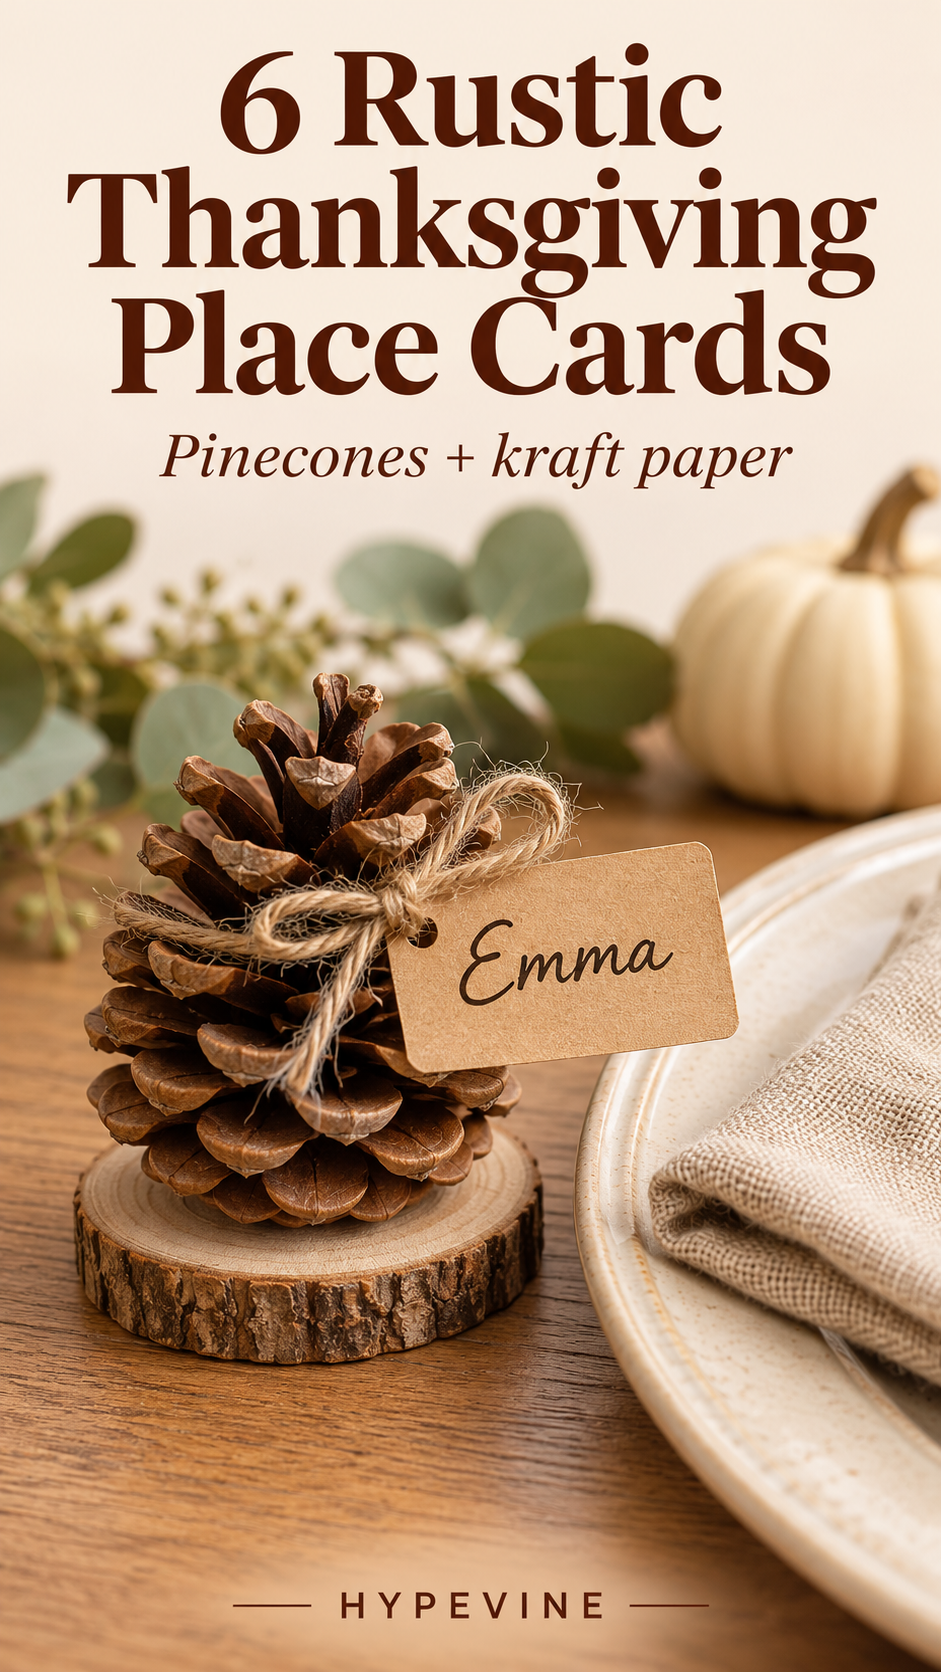
A wood slice makes a helpful foundation for a pinecone that wobbles. The hanging tag also makes this one easy to adapt when the seating plan changes.
Make it: Pick a smooth, flat wood slice slightly wider than the pinecone. Test the arrangement before gluing the pinecone to its center. A small cork disc between them can help create a flatter contact point if needed.
Write each name on a kraft tag, punch a hole near the top, and thread through a short piece of twine. Tie it around the upper scales so the tag hangs toward the guest. Trim the ends and check that the tag does not pull the pinecone forward.
Hosting Tip
Use the same size tag for every setting, but leave room for longer names. A broad dark pen is often easier to read than very fine decorative lettering.
3. Twine-Wrapped Pinecone Name Card

Twine adds texture without adding another color. The inspiration photo shows several names around one pinecone, which works as a small family-name display. For an individual place card, use one guest’s name per holder.
Make it: Glue a pinecone onto a stable base. Wrap twine around the base in neat rows, securing the first and last ends. Cut a small kraft rectangle and punch a hole near each side.
Pass a separate length of twine through the holes, then tie it around the lower part of the pinecone so the card faces outward. Keep it snug enough to stay in place without bending the paper. The card should sit above the table rather than dragging against it.
Small-Table Tip
Keep the name card within the width of the place setting. A wide string of cards may look pretty in a photo, but a single compact card leaves more space for glasses and serving dishes.
4. Pinecone Place Card with a Gentle LED Glow
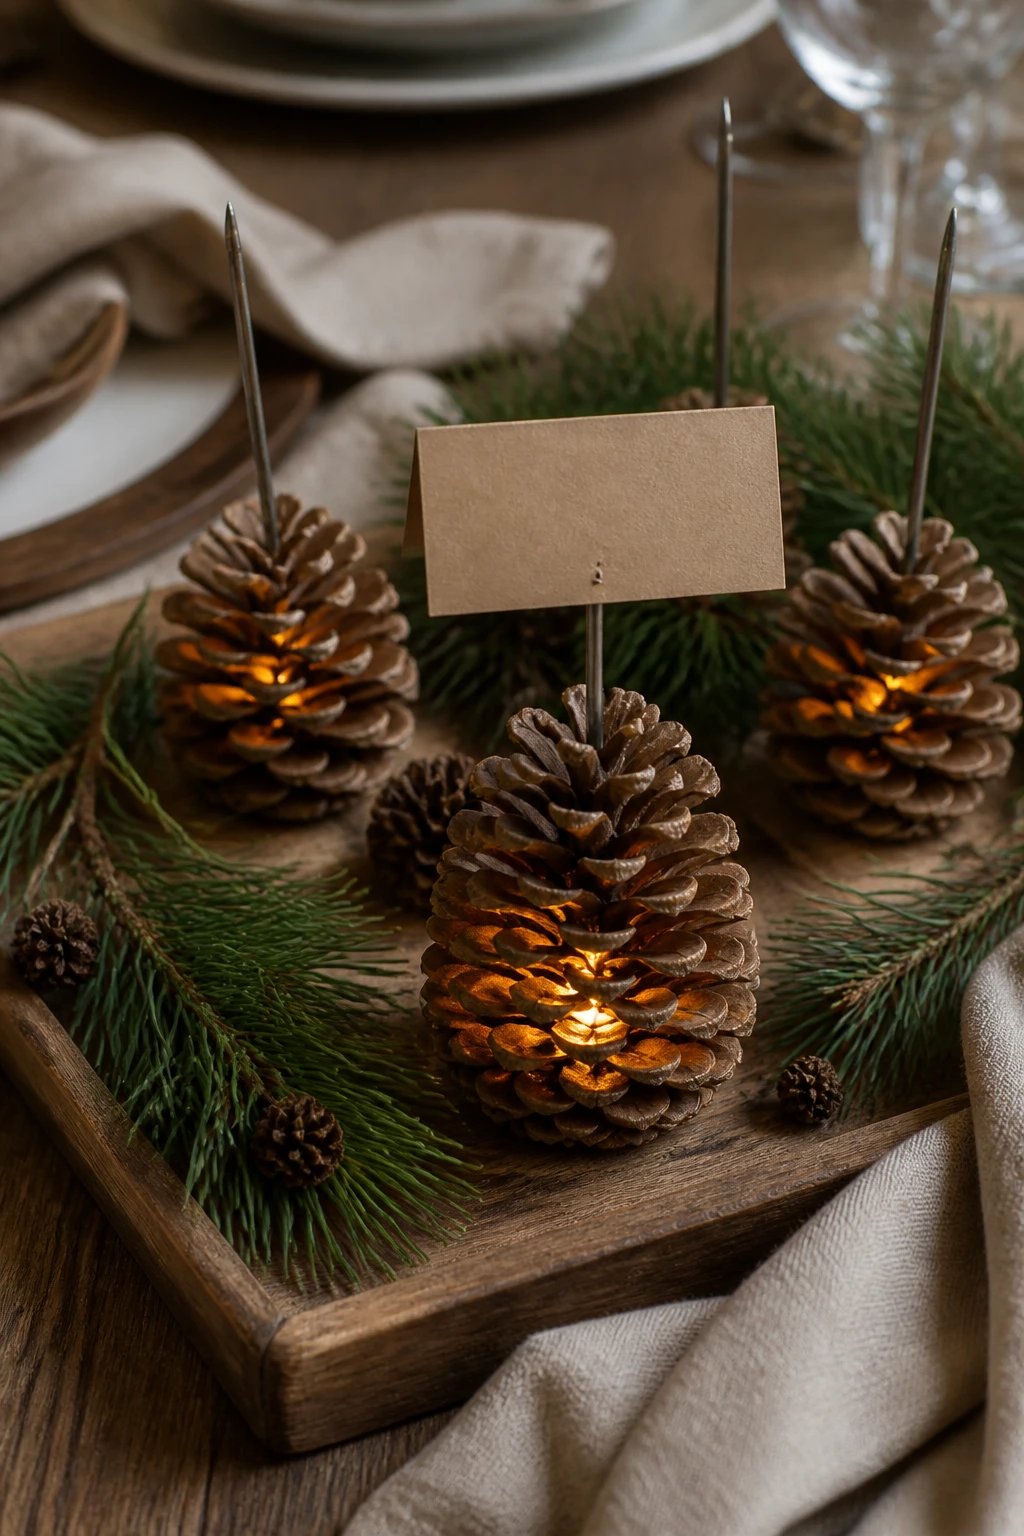
A warm LED light can give a pinecone arrangement a lantern-like glow. Treat this as an accent beside the place card, rather than trying to hollow out a pinecone or thread a light inside it.
Make it: Attach a pinecone to a flat base and tuck the name card into the upper scales. If the name needs a little more height, glue a short, blunt craft stick behind the pinecone and attach the card to the front of it.
Place a battery-operated LED tealight behind the finished holder, with its switch accessible. The inspiration image includes pointed metal supports; use the blunt-stick or tucked-card version instead. Never force an ice pick or skewer through the pinecone.
Lighting Tip
Use LED light only around paper, burlap, and pinecones. Keep the battery compartment secured and the decoration out of reach of young children and pets.
5. Mini Craft-Stick Frame with a Pinecone Base

This miniature frame gives the name card a more structured look. The photo resembles a tiny loom, but there is no weaving involved. A simple frame with a flat support is easier to assemble.
Make it: Lay a kraft card on a protected surface and arrange two short craft sticks along its sides. Glue a horizontal stick across their lower ends to form a shallow U shape. Keep the bottom support just wider than the card, and let the joints set.
Glue the card to the back of the frame, or attach it with small paperclips if you want to reuse the holder. Secure the frame behind a pinecone on a wood slice, using a short diagonal craft-stick brace at the back for support. The wood slice should carry the weight rather than the pinecone’s thin scales.
Gently test it on a level surface before setting the table. If it leans, shorten the frame or choose a wider base. A ready-made mini easel beside a pinecone gives a similar look with less assembly.
Budget Tip
Save this more detailed version for the host’s setting or a buffet label, and use the simple tied-tag design for the other seats.
6. Painted Pinecone with a Kraft Name Tag

A little paint on the raised edges lets you echo your table linens while keeping the pinecone’s texture visible. Muted sage, terracotta, or soft ivory works well with kraft paper.
Make it: Protect your surface. Dip a small flat brush into acrylic craft paint, wipe most of it off, then lightly brush the tips of the scales. Leave some brown areas showing rather than coating every surface.
Let the paint dry fully according to its label before handling or adding a tag. Write the guest’s name on kraft paper, punch a hole, and tie it on with twine or a narrow ribbon. Set the finished decoration beside the plate or on its own small base.
Color Tip
Try one pinecone in a single muted shade before mixing colors. Repeating that shade in the napkins is enough to make the table feel coordinated.
Thanksgiving Place Card Holders: FAQs
How far ahead can I make Thanksgiving place card holders?
Make the holders several days ahead so glue and paint have time to set fully according to their labels. Store them upright in a dry box. Add or swap the name tags once your guest list is settled.
How do I stop a pinecone place card holder from tipping over?
Choose a pinecone with a flat bottom and use a low, lightweight card. If it still wobbles, glue it to a wider wood slice or cork disc. Test the finished holder on the table before making the rest.
What size should the kraft-paper name cards be?
About 3 × 2 inches is a useful starting point. Make a paper sample first and adjust it to the pinecone. Use a dark pen and leave enough space for the longest name on your guest list.
Can I make these Thanksgiving place cards without hot glue?
Yes. Choose pinecones that stand on their own, then tuck a card between the scales or tie on a punched tag. If you add a base, use a craft adhesive suitable for both materials and follow its drying instructions.
Can I reuse the holders for another holiday?
Yes. Keep the name tags removable and store the holders carefully. Natural pinecones, wood slices, and plain twine also suit winter tables; change the paper or ribbon to give them a different seasonal look.
A Little Handmade Welcome at Every Seat
You do not need elaborate decorations to make a guest feel welcome. A simple pinecone, a neatly written name, and a little space at the table can do the job beautifully.
Choose the version that fits your time and supplies, then save these DIY Thanksgiving place cards for your next gathering. Which detail would you try first: burlap, a wood-slice base, or a soft touch of color?
Bring the table together: Pair your name cards with these Thanksgiving tablescape ideas and simple Thanksgiving centerpieces.
Save these rustic Thanksgiving place cards for later.
Make Your Thanksgiving Feel Personal
Find more welcoming table details, seasonal decorating ideas, and little touches for your gathering.
Explore Thanksgiving Ideas →