
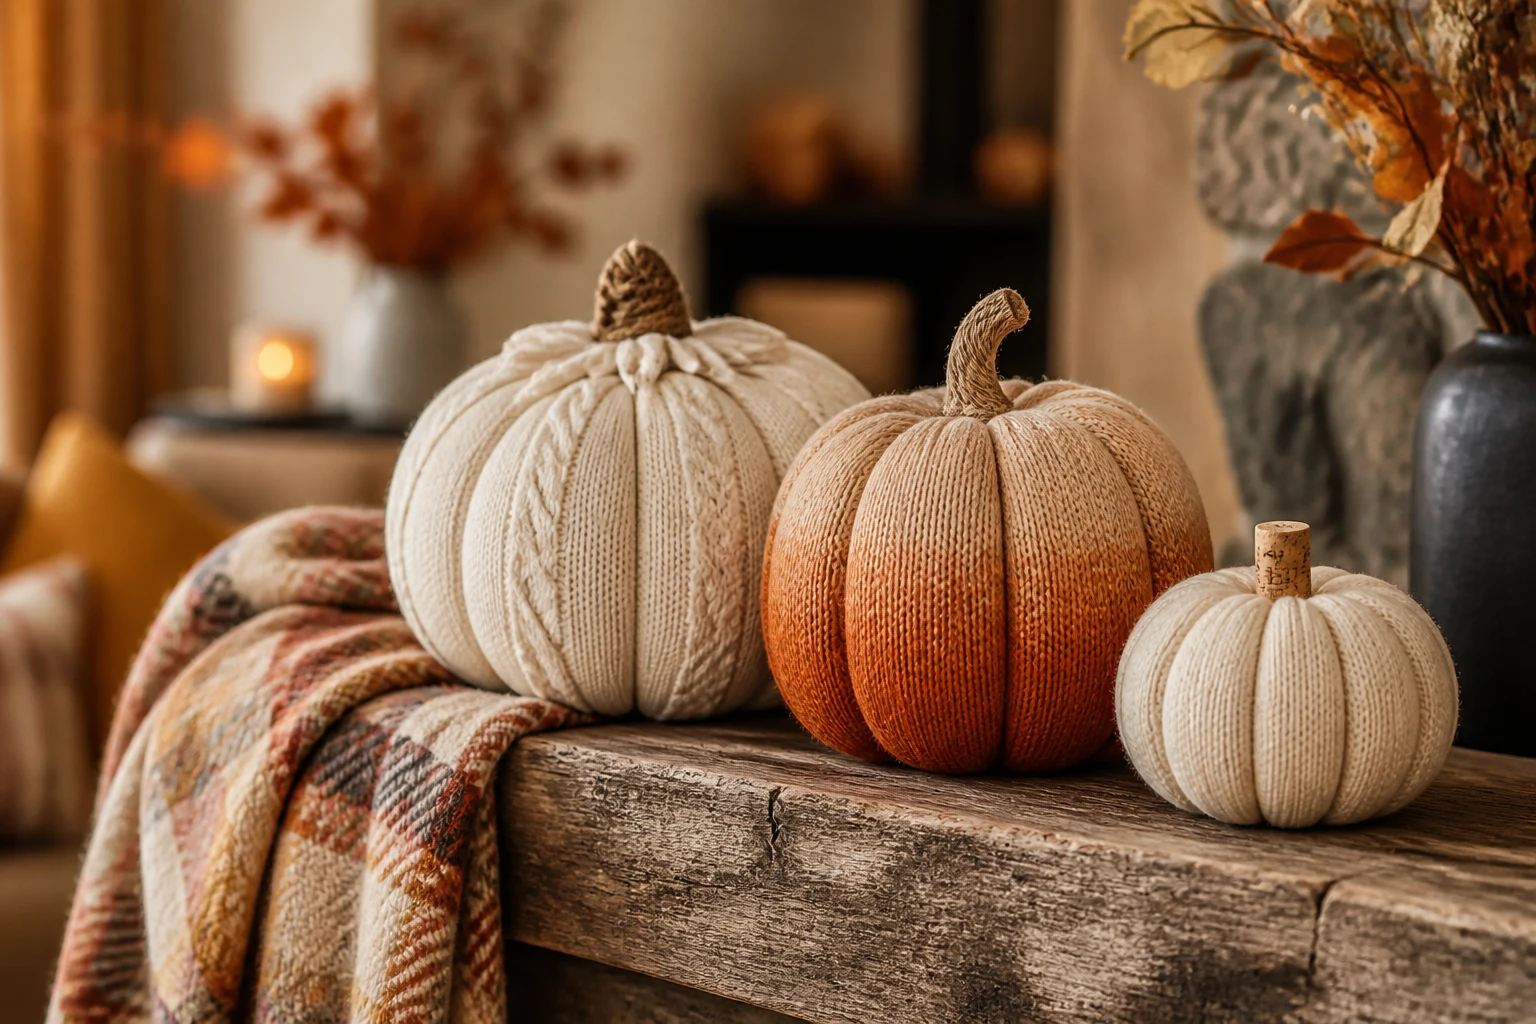
These DIY fabric pumpkins turn an old sweater into a soft seasonal accent for your Thanksgiving table, mantel, or entryway. Start with a simple hand-sewn pumpkin, then try five looks using different textures, colors, and scraps.
You do not need to knit or buy a sewing machine. The basic version uses a sweater sleeve, stuffing, and a few gathered stitches. The patchwork option takes a little more sewing, while the mini garland uses small circles of fabric.
Table of Contents
This post contains affiliate links. As an Amazon Associate, HypeVine earns from qualifying purchases at no extra cost to you.
Before You Cut: Supplies and Fabric Choices
Choose your fabric: Start with a clean, fully dry sweater you no longer wear. A medium-weight, closely knitted sleeve is easier to gather than a very chunky or open knit. Avoid fragile fabric or sections with holes. Save wearable items you still love, and use damaged pieces where the remaining fabric is sound.
- An old sweater sleeve, or a rectangle from the body of a sweater
- Polyester fiberfill, or small pieces of clean, soft fabric for stuffing
- Fabric scissors, ruler, and fabric marker or chalk
- A hand-sewing needle and strong polyester thread; embroidery floss for shaping
- Felt scraps for a rolled stem and optional leaf
- Optional fabric glue suitable for your materials, plus twine for the garland
Starting size: Try a sleeve section about 7 inches long and 5–6 inches wide when laid flat. This is a starting point, not a finished-size promise: stretch, sleeve width, and stuffing change the result. For a flat piece, try a 12 × 7-inch rectangle; a ½-inch side seam turns it into a tube about 5½ inches wide laid flat.
Pro tip: Test the cut edge before making a batch.
Snip a small offcut first and gently handle it. If stitches unravel quickly, choose a tighter knit or secure the edge with small overcast stitches before gathering. For open knits, add a thin fabric lining so stuffing does not poke through. A fine needle with a generous eye works better than forcing a blunt needle through dense fabric.
Shop the Supplies: Fabric Pumpkin Essentials
Use what you already own first. These Amazon links let you browse similar supplies or accents, rather than exact products pictured.
- Polyester fiberfill: lightweight filling that is easy to shape
- Fabric scissors: a clean cut without stretching the knit
- Hand-sewing needles: choose a point and size that suit your fabric
- Strong sewing thread: for secure gathered ends
- Embroidery floss: for the pumpkin’s curved sections
- Craft felt sheets: for rolled stems and leaves
❧
1. Classic Knit Pumpkin: The Basic Step-by-Step Method
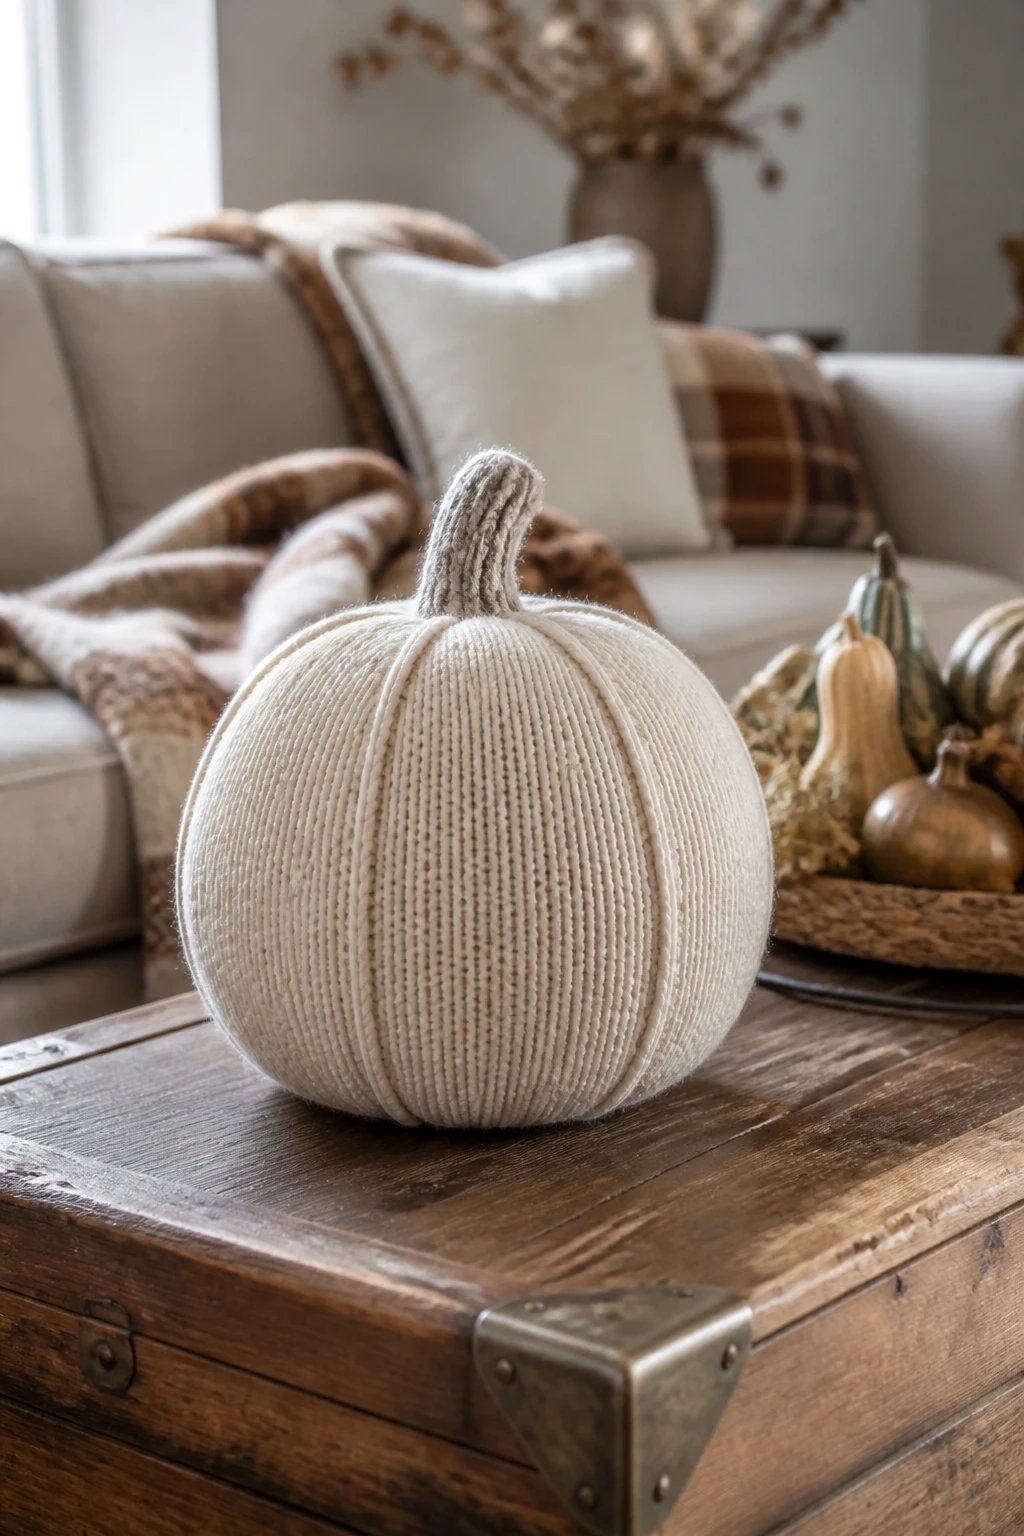
A cream knit pumpkin pairs easily with wood, brass, and soft plaid. This is the foundation method for the larger pumpkins below. Keep the stuffing springy so you can shape a gentle dip at the top.
- Cut the tube. Cut a 7-inch section from the sleeve, avoiding the thick cuff. If using a flat 12 × 7-inch piece, fold it right sides together so the two 7-inch edges meet. Sew that side with a ½-inch seam allowance using small backstitches, then secure the knot. You now have a tube.
- Close the bottom. Turn the tube inside out. Sew a running stitch around one open end, about ½ inch from the cut edge. Pass the needle in and out with small, evenly spaced stitches. Gently pull the thread to gather the opening, stitch across the gathered center a few times, and knot securely.
- Turn and fill. Turn the tube right side out so the bottom seam is hidden. Add small handfuls of stuffing, distributing them around the sides. Stop while the shape still compresses easily and you have about an inch of fabric free at the top.
- Gather the top. Sew another running stitch about ½ inch below the top edge. Tuck the raw edge inward, pull the opening closed, and secure it with several stitches. Add or remove stuffing before the final knot if one side feels lumpy.
- Create the pumpkin sections. Cut a manageable length of embroidery floss and anchor it at the bottom center. Take it up the outside to the top center and secure it there, then down the opposite side and secure it at the bottom. Repeat along new paths to make six evenly spaced vertical lines. Tighten gently to indent the fabric, not cut into it. Add a fresh length if needed.
- Add a stem. Roll a felt strip about 1 × 3 inches into a short cylinder and stitch the roll closed. Sew its base firmly to the top gathers. Add a small felt leaf if you like, then massage the filling until the pumpkin sits level.
Finishing check: Tug gently on the stem, trim loose thread, and press the bottom flat with your palm. If the pumpkin leans, redistribute the stuffing before adding more decorations.
❧
2. Ombré Sweater Pumpkin: Soft Layers of Autumn Color
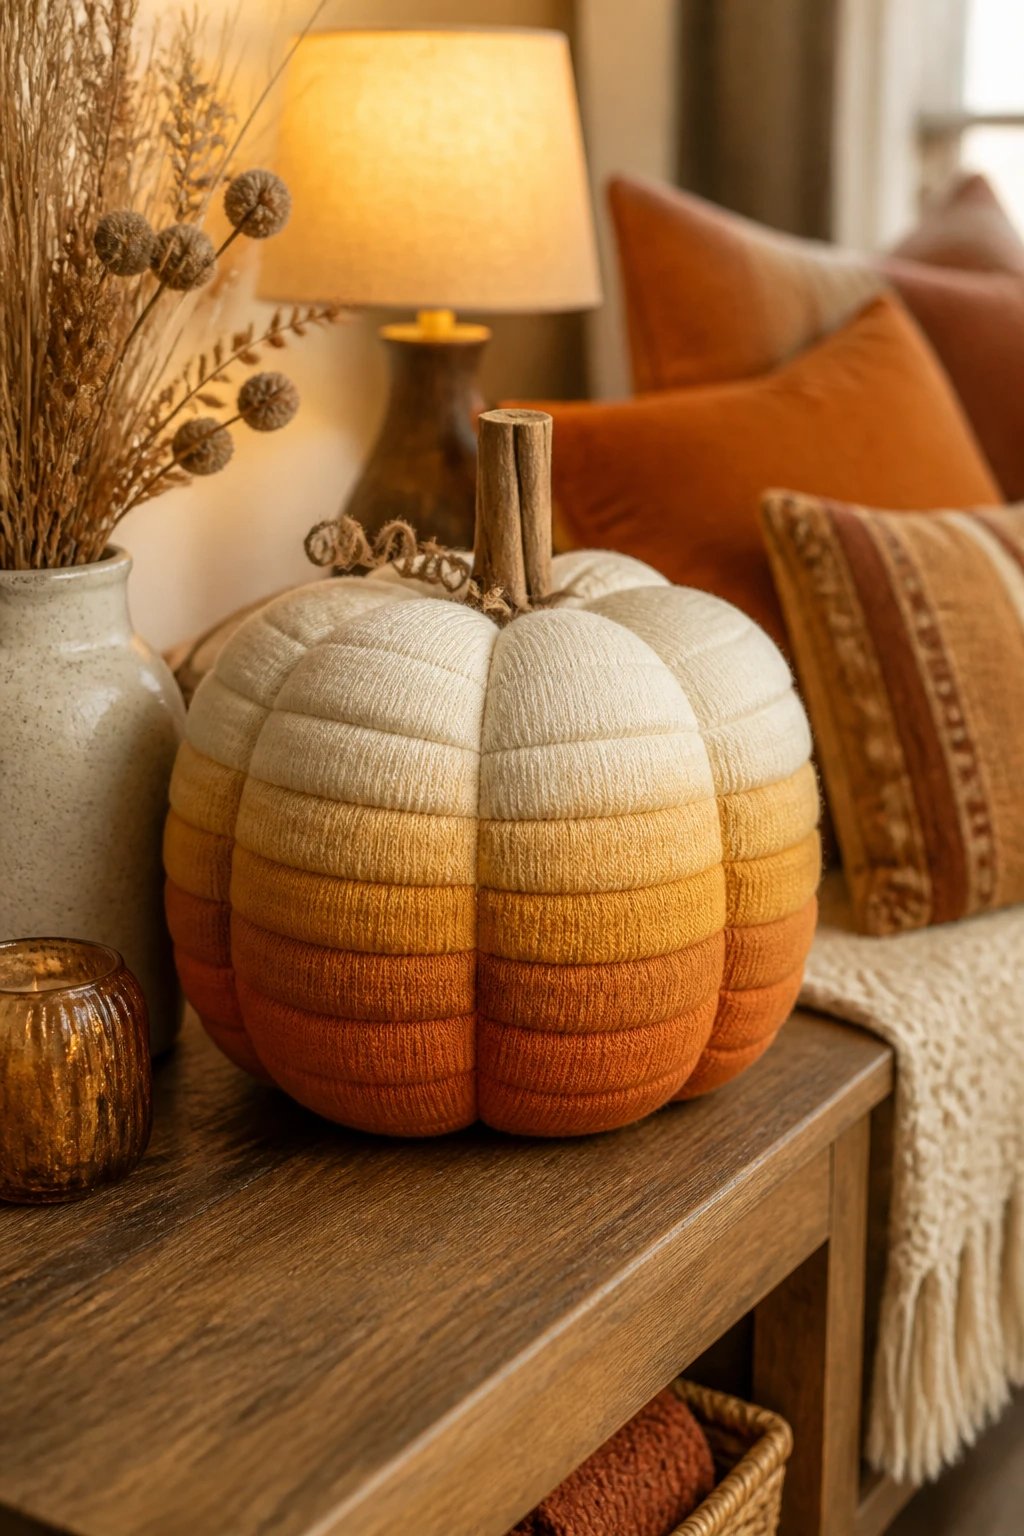
A sweater with existing color bands gives this version its gentle gradient. Let the fabric do the work instead of dyeing a finished pumpkin or adding stiff coatings. The pictured cream-to-rust look is inspiration; your sweater’s stripe spacing will determine your result.
- Lay the sweater flat and choose a section with horizontal stripes or a gradual color change. Position the lightest color at the future top and the darkest at the bottom.
- Cut a rectangle about 12 inches across by 7 inches high. Keep those color bands horizontal. Fold right sides together and sew the two short sides with a ½-inch seam allowance.
- Follow the basic method to gather the bottom, turn, stuff, and close the top. Check the color direction before sewing the first gathered end.
- Shape six sections with coordinating floss. Finish with a felt stem in brown or cream. If your sweater has only one color, make a small group in light, medium, and dark shades for a similar gradient effect.
Style it: Place the pumpkin on an entryway shelf beside a simple vase. Repeat just one of its colors in a cushion or folded throw so the display feels relaxed.
❧
3. Patchwork Pumpkin: Put Small Scraps to Work
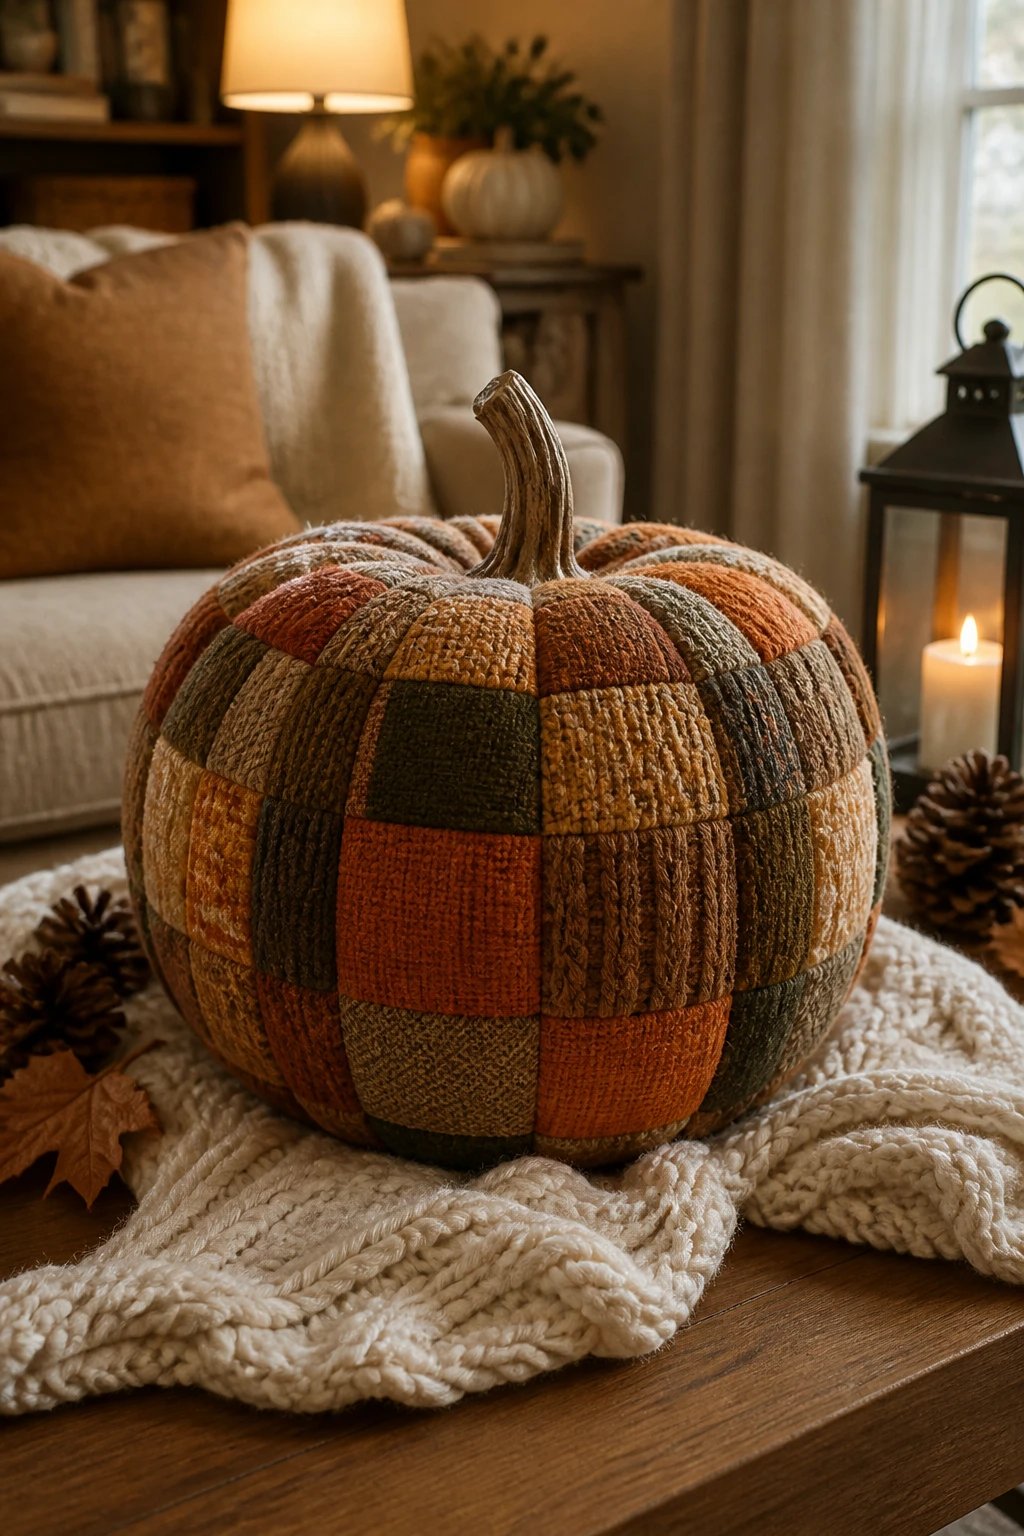
This version gives small scraps a purpose. It takes more sewing than the sleeve method, but a simple two-row patchwork panel keeps the construction manageable. Use fabrics of similar thickness and avoid combining very stretchy knits with stiff woven scraps on your first try.
- Cut eight fabric squares, each 4 × 4 inches. Arrange them in two rows of four, alternating rust, cream, mustard, or green. Take a photo so you can keep the arrangement straight.
- With right sides together, sew the squares into two rows using ½-inch seam allowances and small backstitches. Join the two rows along their long edges. The resulting panel should measure about 13 × 7 inches.
- If the fabric is loose or the seams stretch, cut a thin lining to match the panel. Baste it to the wrong side around the perimeter so both layers can be handled together.
- Fold the panel right sides together and sew the two 7-inch edges with a ½-inch seam allowance to make a tube. Where possible, match the horizontal seam at the join.
- Gather the bottom, turn, stuff, and close the top using the basic method. Shape the sections gently so the patchwork seams are not pulled apart. Finish with a stitched felt stem.
Make it easier:
Want the plaid look without piecing eight squares? Use one rectangle from an old plaid shirt instead. It is a different fabric, but the same tube-and-gather method works. Keep the first pumpkin small and softly filled.
❧
4. Velvet Pumpkin: A Soft Jewel-Toned Accent
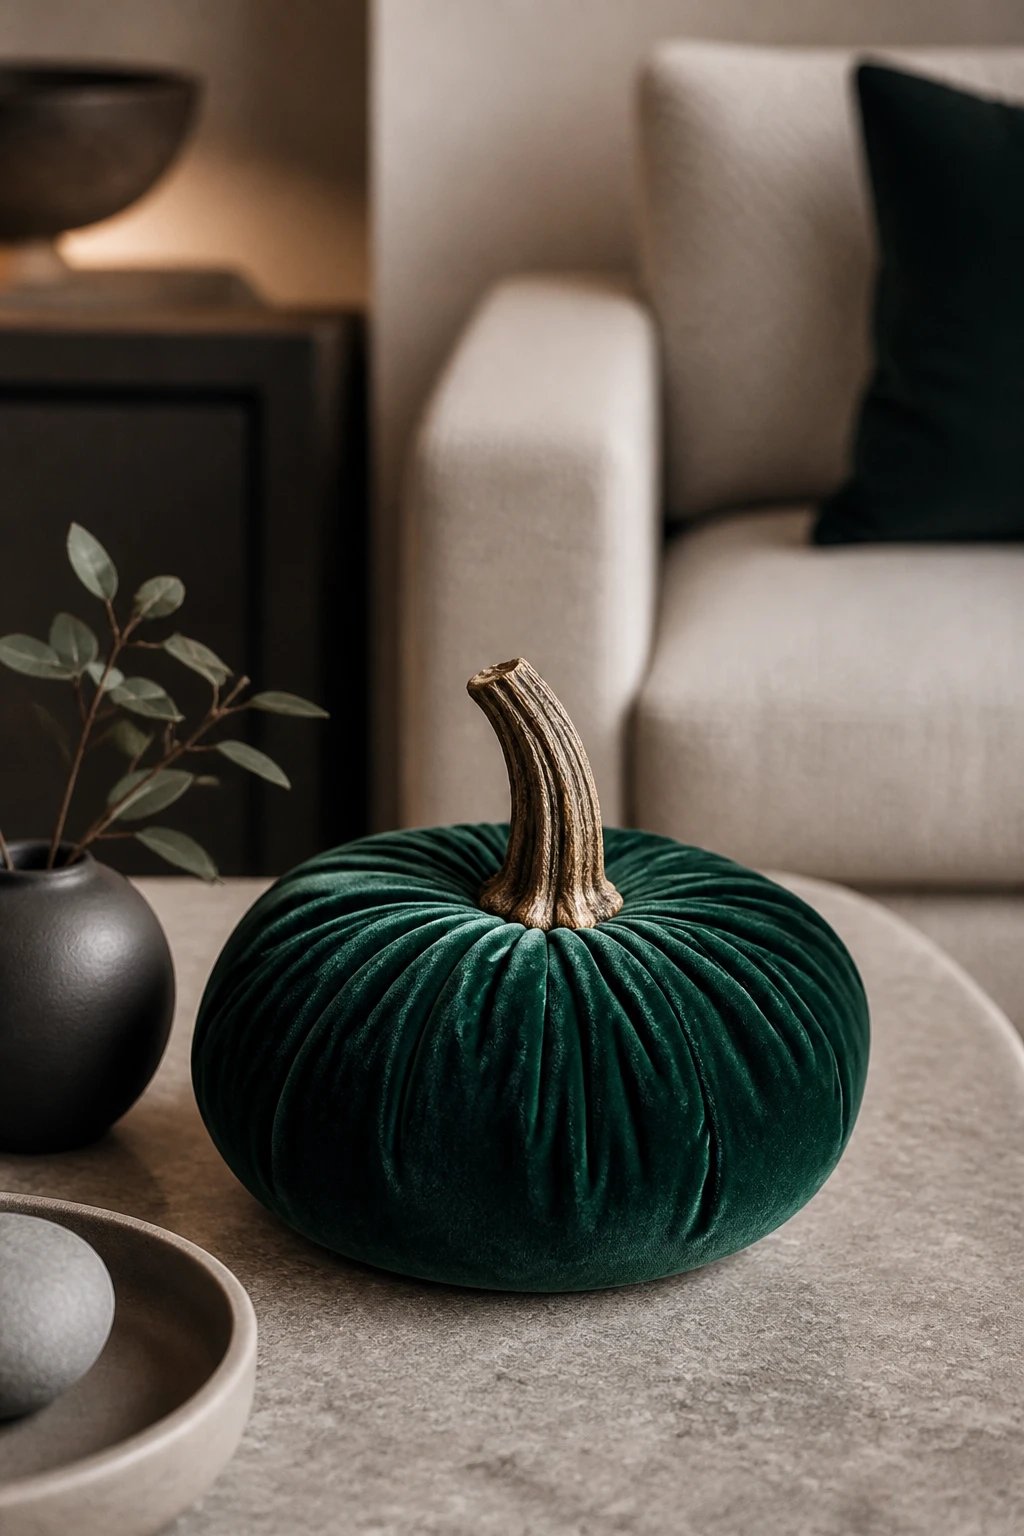
Use a velour sweater or a piece of velvet clothing for this softly gathered version. Not every sweater has a velvet finish, so choose the fabric for its texture rather than its label. Emerald, plum, and chocolate shades feel especially inviting beside warm wood.
- Cut a circle about 12 inches across from the fabric. A plate or paper circle makes an easy tracing guide. Check that the fabric has no worn patches before cutting.
- With the right side facing outward, sew a running stitch about ½ inch from the edge all the way around, leaving thread tails long enough to gather.
- Pull gently to form a pouch and add small handfuls of fiberfill. Tuck the cut edge inward, gather the top closed, and secure with several stitches.
- Add shallow shaping lines using the outside-floss method from the classic pumpkin. Tighten only enough to make soft lobes; deep tension can leave marks on the pile.
- Sew on a rolled felt stem, or attach a decorative craft stem with glue labeled for the chosen materials. If using glue, follow the curing time before moving the pumpkin. The tall stem in the photo is a styling option, not a required supply.
Care tip: Keep glue off the visible fabric and test it on an offcut first. Gently brush the pile in one direction with your hand after shaping.
❧
5. Mini Fabric Pumpkin Garland
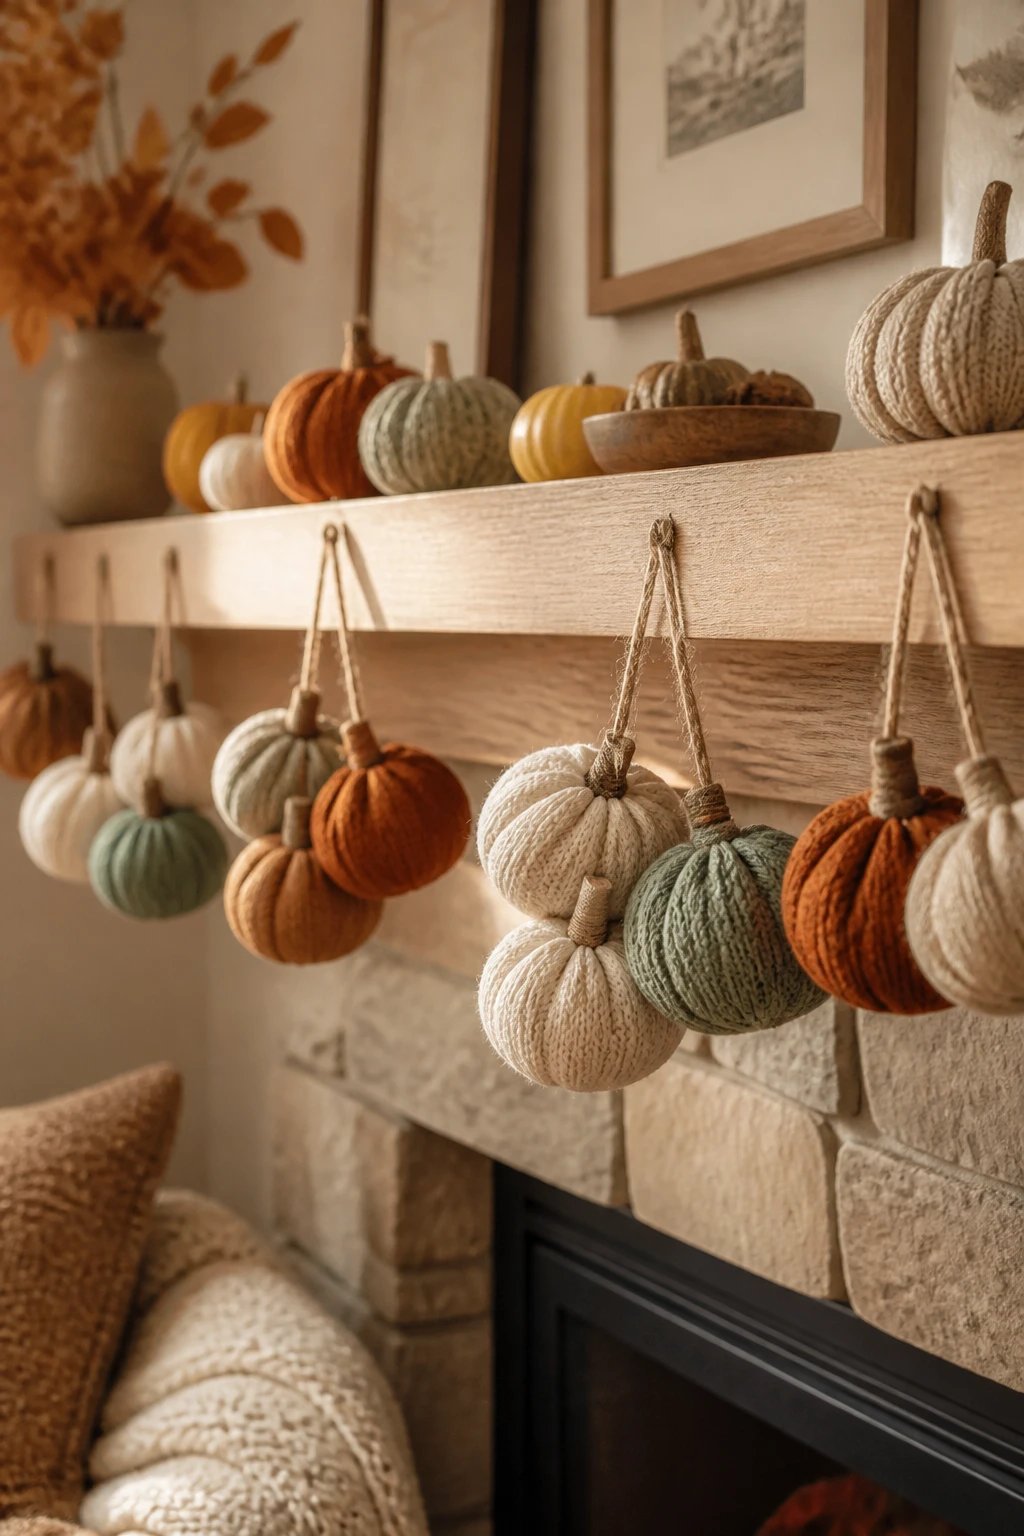
Small fabric pumpkins are lovely along an unused mantel or on a wall shelf. Start with a short, lightweight garland and space the pumpkins evenly so the twine does not sag too much. The photograph shows clustered hanging decorations; the steps below make a simpler single strand.
- Cut five circles about 6 inches across from a fine knit. Thick cable knit is harder to gather at this size. Make one sample before cutting the rest.
- Sew a running stitch ¼–½ inch inside the edge of each circle, choosing the wider allowance if the knit frays. Gather into a pouch, add a small pinch of stuffing, and close securely.
- Use floss to add four or six shallow sections. Sew a tiny felt stem to the top. Keep each pumpkin light rather than packing it tightly.
- Sew a short hanging loop firmly into the gathered fabric at the top of each pumpkin. Do not rely on a glued stem to carry the weight.
- Cut a length of twine to fit your chosen display area, allowing extra at both ends for tying. Thread it through the hanging loops and knot each loop in place about 5–7 inches from the next. Adjust spacing before securing the ends.
- Hang from suitable hooks rated for the finished weight. Check every loop and anchor. Keep the strand away from active fireplaces, candles, heaters, children, and pets.
A simpler Thanksgiving idea: Skip the hanging loops and place one mini pumpkin beside each napkin. Pair it with a rustic Thanksgiving place card holder for an easy personal touch.
❧
Style Your Fabric Pumpkins for Thanksgiving
Keep your arrangement low enough for easy conversation. Group three pumpkins in different sizes on a tray, soften the base with a runner, and leave room for serving dishes. For more combinations, explore these Thanksgiving tablescape ideas.
Shop the Look: A Soft Thanksgiving Pumpkin Display
Use what you already own first. These Amazon links let you browse similar supplies or accents, rather than exact products pictured.
- Wooden serving trays: gather a few pumpkins into one moveable display
- Neutral table runners: add a soft base without competing with the knit
- Amber glass bud vases: bring in a little autumn color
- LED flameless candles: add a gentle glow without an open flame near fabric
For a mantel, keep the largest pumpkin off-center and balance it with a smaller pair. On a coffee table, leave clear space for mugs and everyday use. These are indoor decorations, so avoid damp porches and exposed outdoor displays.
❧
Fabric Pumpkin FAQs
Can I make fabric pumpkins without a sewing machine?
Yes. These projects can be sewn by hand with running stitches and small backstitches. The patchwork version takes longer because the squares must be joined first. None of the five projects requires knitting.
Can I make these sweater pumpkins without sewing at all?
The instructions here use sewing for stronger closures and secure hanging loops. A tied sleeve version is possible for a tabletop decoration, but it will look different and may loosen over time. Do not substitute glued stems or loose ties for the sewn hanging loops on a garland.
What can I use instead of fiberfill?
Small pieces of clean, dry, soft fabric can work, though they make a heavier pumpkin and may create lumps. Add a little at a time and keep the filling soft. Avoid loose food fillers, especially for decorations stored between seasons or displayed around pets.
Why is my fabric pumpkin lumpy or unraveling?
Remove some stuffing and redistribute it in small amounts. If shaping thread cuts into the fabric, loosen the tension. For unraveling edges, use a tighter knit or secure the raw edge with overcast stitches before gathering. A thin lining can help keep filling inside an open knit.
How do I store handmade fabric pumpkins?
Dust gently or spot-clean according to the fabric’s care needs. Let the pumpkin dry completely, then store it indoors in a clean, dry box without heavy items on top. Wrap delicate stems separately and avoid crushing velvet or hanging loops.
❧
A Little Handmade Warmth
Start with one sweater sleeve and see how the fabric gathers. Once the first pumpkin feels right, use your remaining scraps for a matching pair, a patchwork accent, or a few small place-setting pumpkins. A little variation in shape is part of the handmade appeal.
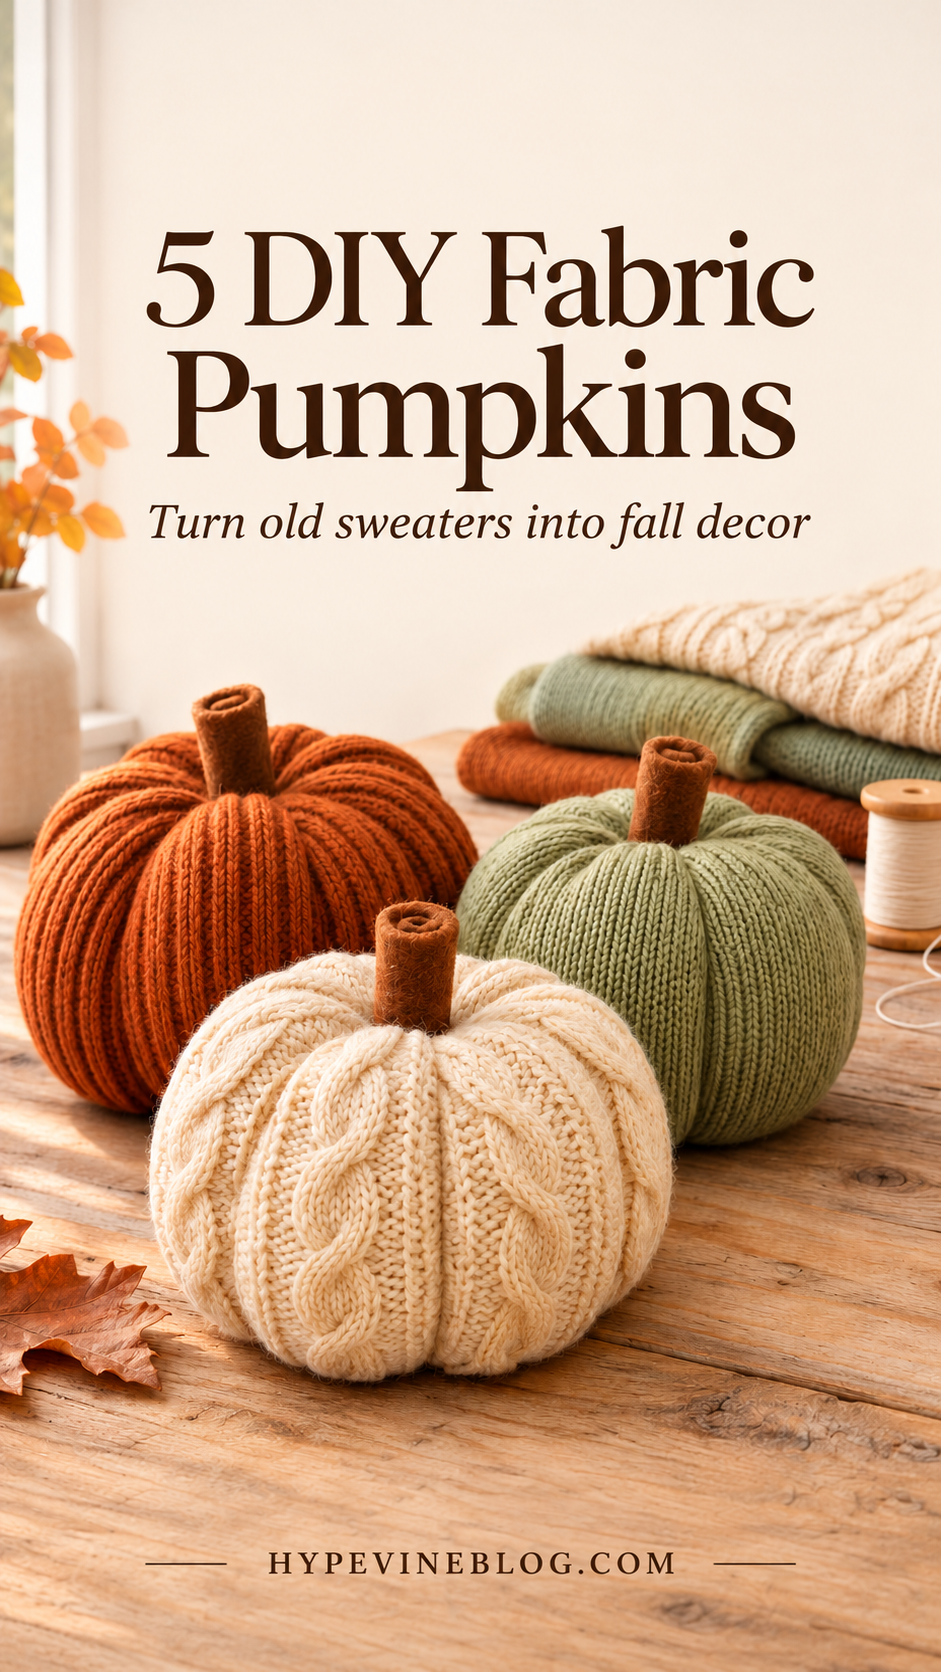
Save these DIY fabric pumpkins for your next fall crafting afternoon.
Keep the Thanksgiving inspiration going
Save this project for your next crafting afternoon, then explore seven Thanksgiving table settings and rustic place card ideas to finish your gathering.