
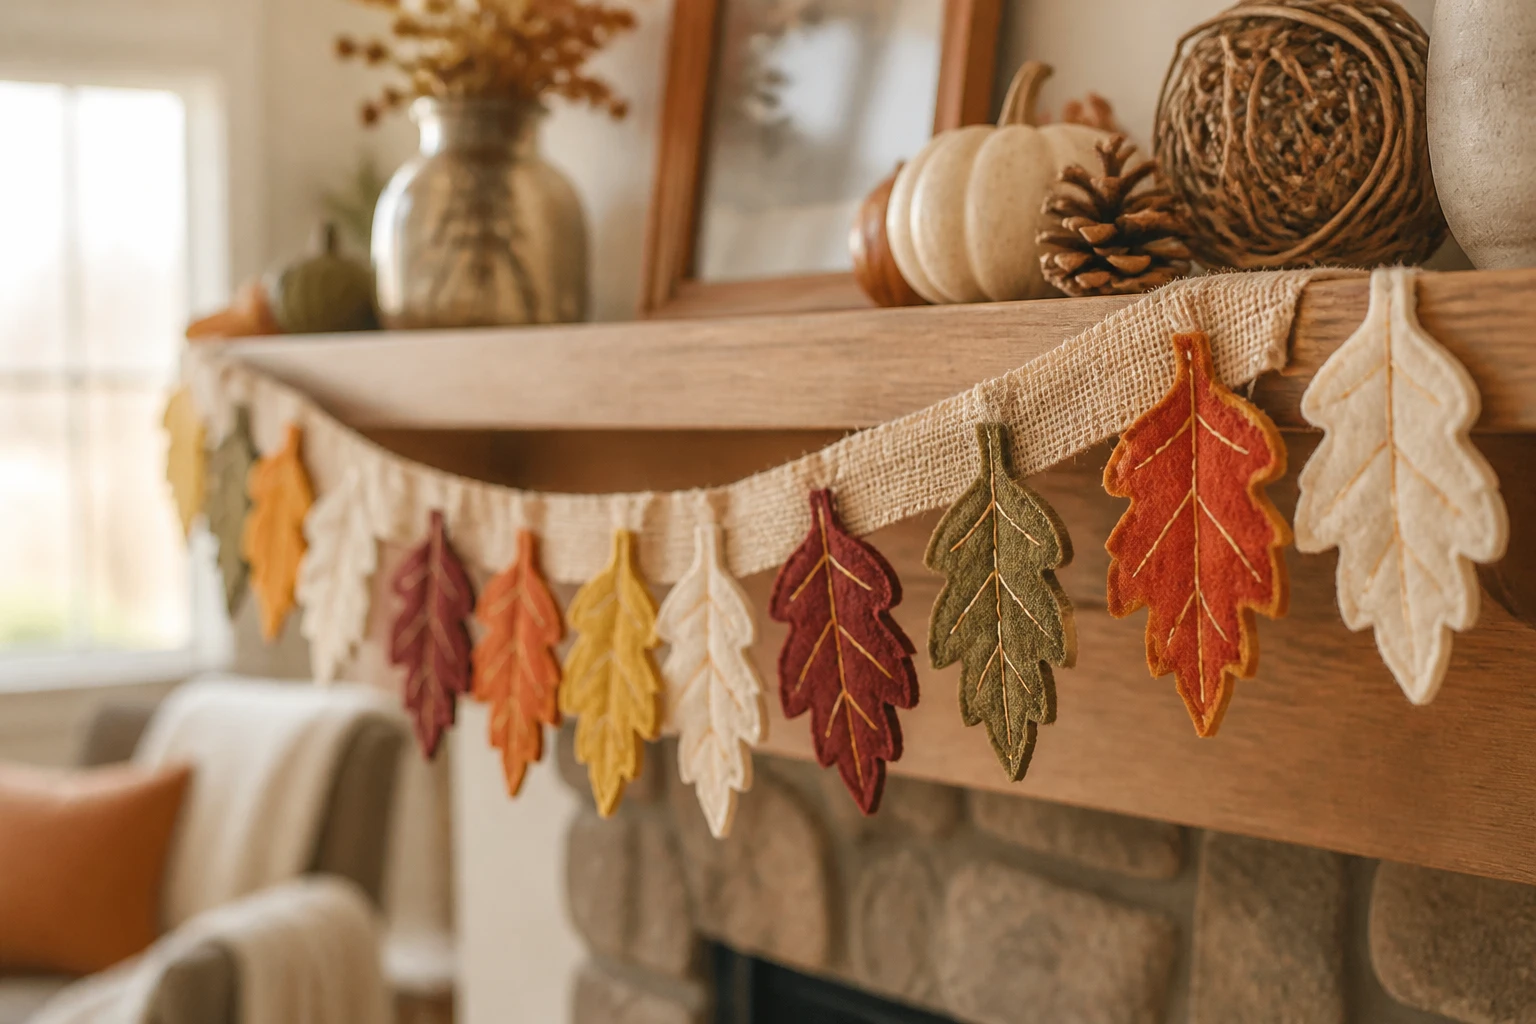
A handmade fall garland brings soft color and lovely texture to a shelf, console, or Thanksgiving buffet. I love the combination of natural burlap and felt leaves in rust, mustard, olive, and cream.
This five-step tutorial starts with a simple paper leaf template and shows you how to cut, attach, hang, and store your garland. Choose a sewn finish or a fabric-glue option, then make it your own with a few gentle details.
Table of Contents
This post contains affiliate links. As an Amazon Associate, HypeVine earns from qualifying purchases at no extra cost to you.
Before you begin
Skill level: beginner. Suggested starting size: 6 feet of twine with about 18 leaves. Time: allow an afternoon for cutting and assembly, plus any drying time listed on your adhesive. This is an indoor decoration.
❧
1. Gather Your Fall Garland Supplies
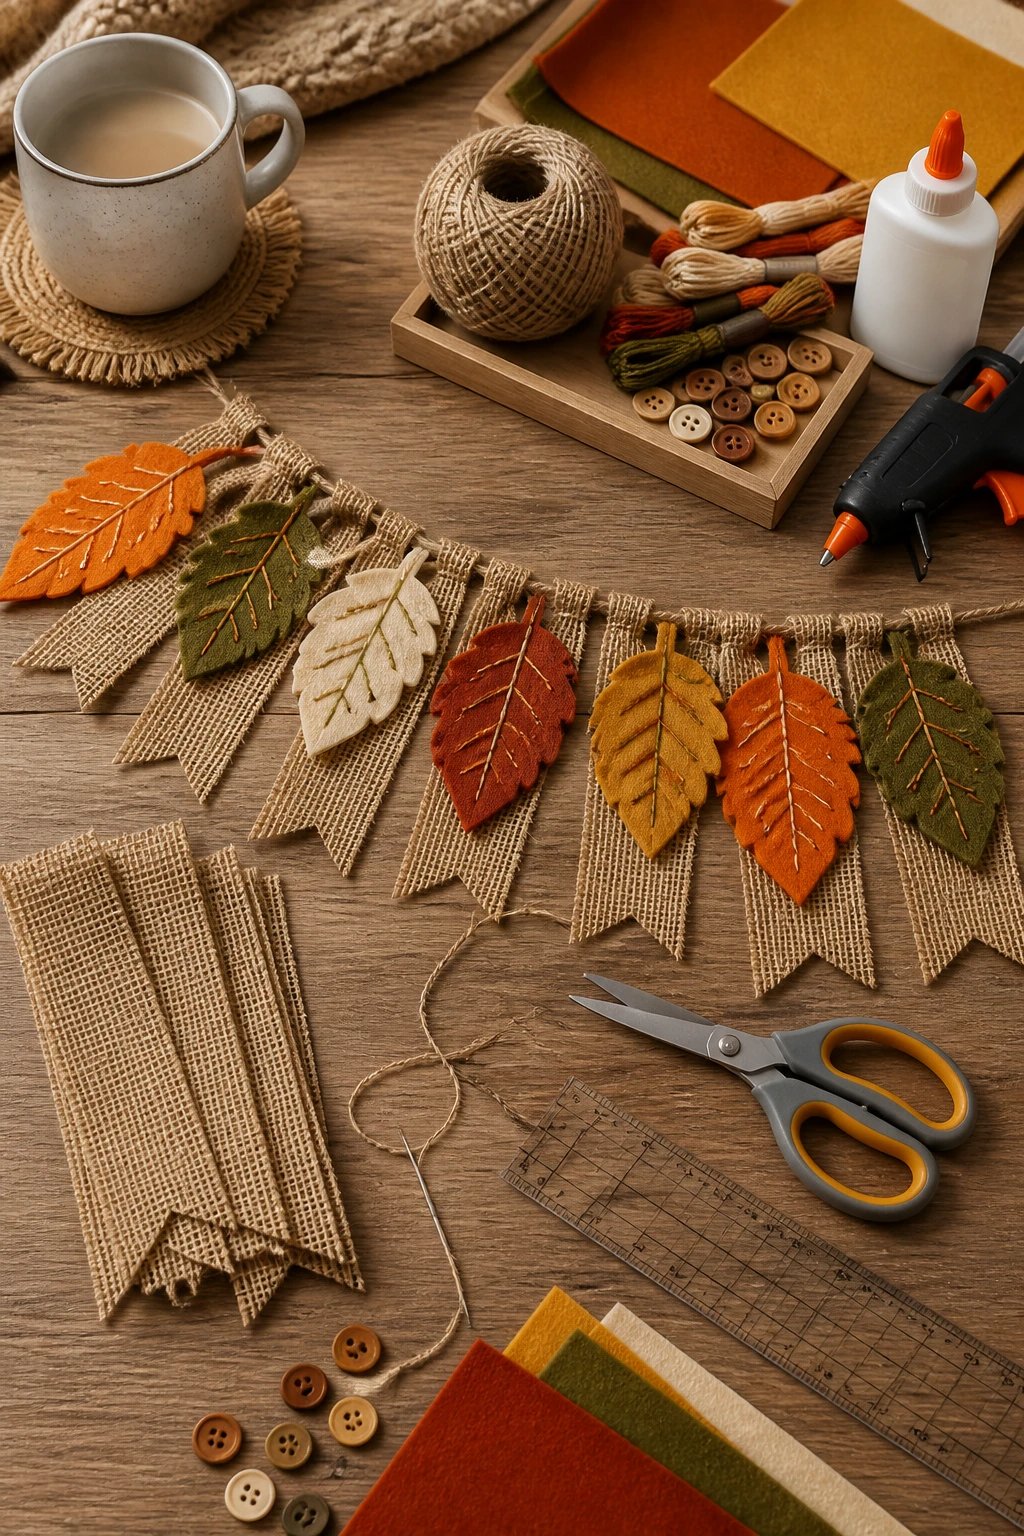
You do not need every optional embellishment to get a pretty result. Start with three felt colors and natural burlap, then add cream if you want a lighter finish. Firm craft felt holds a simple leaf shape better than very thin, floppy fabric.
- Felt: approximately three or four 9 × 12-inch sheets, or equivalent scraps. Choose acrylic or plant-based craft felt if you prefer a wool-free project.
- Burlap: one piece about 12 × 18 inches, or broad ribbon at least 3 inches wide. Tight weave is easier to cut neatly.
- Jute twine: about 6 feet for the sample garland. Measure your display first and allow extra for a gentle drape and end ties.
- Cardstock, pencil, ruler, and sharp scissors for the template and cutting.
- Attachment choice: needle and strong thread, or an adhesive labeled suitable for your felt, burlap, and twine.
- For burlap edges: suitable fray-control product or a thin line of fabric glue, tested on a scrap first.
- Optional: embroidery floss for veins, narrow ribbon, and a few lightweight craft pinecones.
- Hanging hardware: hooks suitable for your surface and the finished weight.
Cover your table with a protective mat and test glue on scraps before committing. A low-temperature glue gun can be an alternative where the materials allow it, but it still causes burns and requires adult handling.
Shop the Supplies
Check your craft drawer first, then browse only what you need. These links open Amazon searches so you can compare sizes, materials, and care directions.
Pro tip: make one sample leaf first
Cut one felt leaf and one burlap leaf, test your attachment, and let any glue dry fully. Hang them briefly on a scrap of twine. This catches fraying, slipping, or stiff glue marks before you make the whole garland.
❧
2. Make a Leaf Template and Cut the Pieces
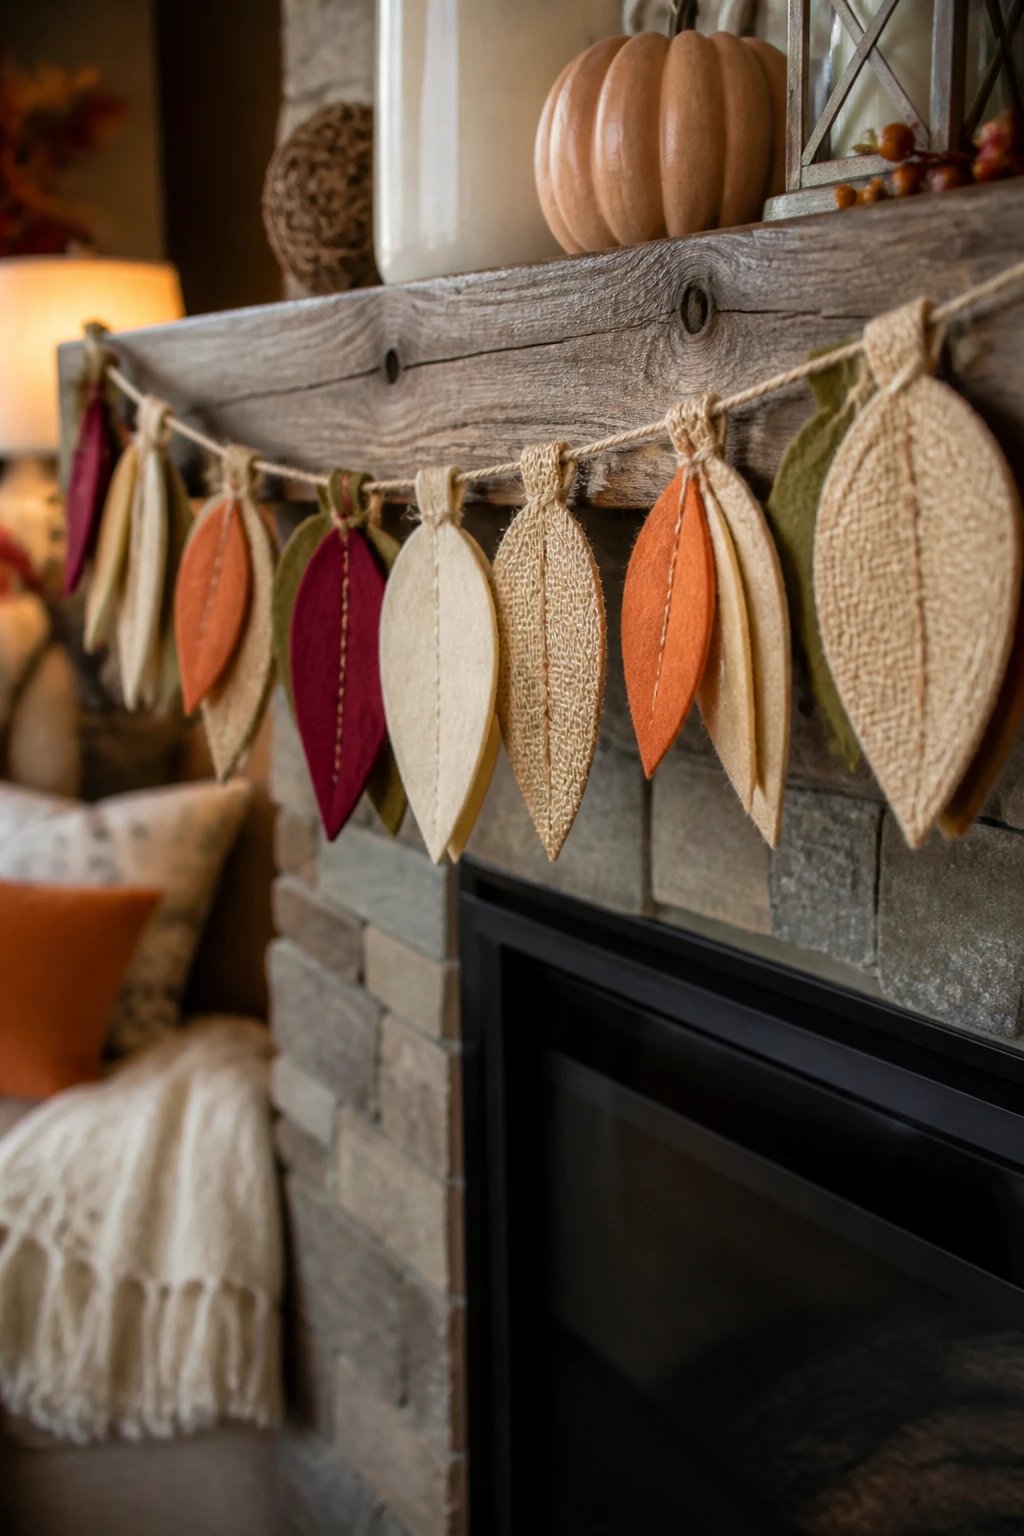
A pointed oval is the easiest shape to start with. The photos include decorative variations; you can keep every leaf simple and still create the same warm, layered feel. There is no downloadable pattern needed for this version.
- Draw a rectangle 4 inches tall and 2 inches wide on cardstock. Mark the center of its top and bottom edges.
- Connect those two marks with a curved line on each side to make a pointed oval. Cut it out. For a symmetrical shape, fold the cardstock lengthwise and cut one half before unfolding.
- Trace around the template on the back of your felt. Cut about 12 felt leaves, mixing your chosen colors. Cut a few extras if your display needs them.
- For about six burlap leaves, trace the shape first. Apply a very thin line of suitable fray-control product just inside the outline, following its directions. Let it dry, then cut just outside the secured line.
- Lay all 18 leaves out before assembly. Trim stray threads sparingly, without pulling at the woven edges.
Each leaf uses one layer. You can back a fragile burlap leaf with a matching felt shape, but that uses additional felt and makes the garland heavier. Test first to make sure the two layers bond well.
Important: ironing may flatten burlap, but it does not stop fraying. Avoid deliberately pulling its threads, especially around narrow leaf tips.
Adjust the size to suit your space
For the 6-foot sample, reserve about 12 inches at each end for hanging. Eighteen leaves spaced roughly 2½ to 3 inches apart at their attachment points fill most of the middle 4 feet. These are starting measurements, so lay yours out and adjust before sewing or gluing.
❧
3. Add Texture and Assemble Your Leaf Garland
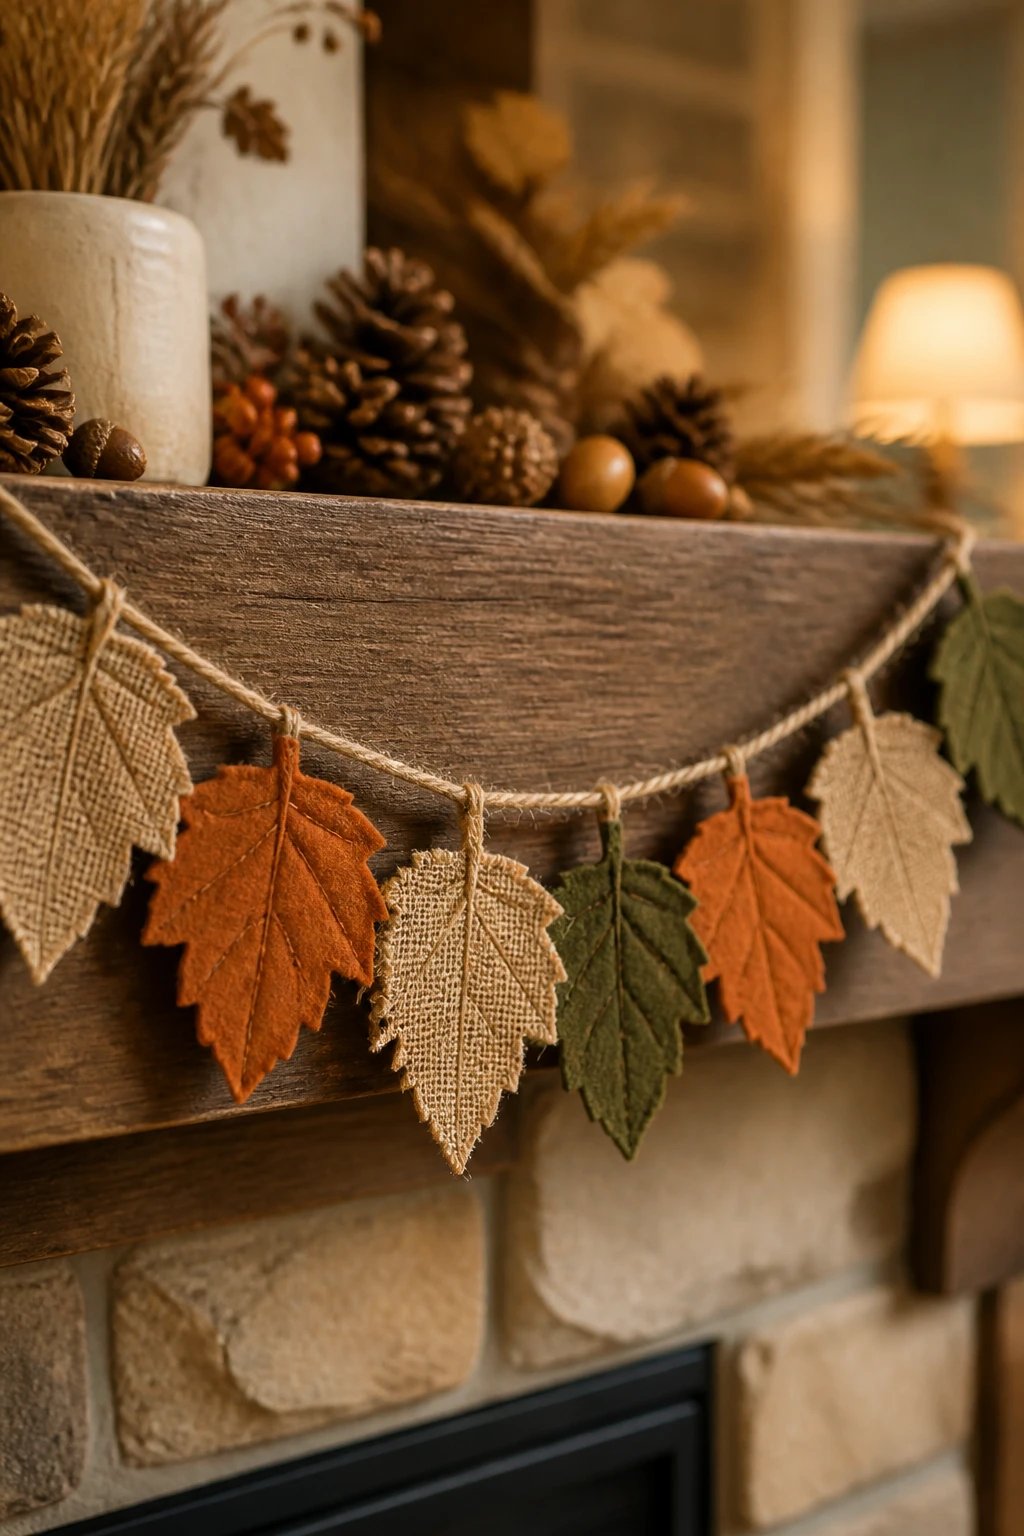
This is where a plain felt garland starts to feel special. A single stitched center vein is enough; extra branch stitches are optional. Decorate the leaves before attaching them so the twine stays out of your way.
- Add veins, if you like. Use embroidery floss to sew a simple running stitch down the center of each felt leaf. Knot the thread neatly on the back. Leave burlap plain if its weave is too open for small stitches.
- Arrange the colors. Lay the twine on your work surface with the end ties clear. Alternate felt and burlap, repeating your colors loosely rather than making every group identical.
- Make small hanging loops. Cut short twine pieces about 3 inches long. Fold each in half and overlap its cut ends on the back of a leaf near its top point, leaving a small loop protruding above the leaf.
- Sewn option: use several small stitches to secure both ends of the loop to the felt. For burlap, add a small felt patch on the back to spread the load, then stitch through the patch and fabric.
- Glue option: secure the loop ends to the back with a compatible fabric adhesive and cover them with a small felt patch. Follow the label for pressure, drying, and full cure time. Do not hang while damp or tacky.
- Thread and space. Slide the main twine through each loop in your chosen order. Once the spacing looks right, secure each loop to the main twine with a small thread stitch so it does not slide to the lowest point.
If a leaf twists, adjust its loop so the attachment sits flat against the back. If an attachment pulls away during a gentle test, reinforce it before hanging. Keep the main twine continuous so the leaf loops carry only their own lightweight decoration.
❧
4. Hang and Style Your Garland for Thanksgiving
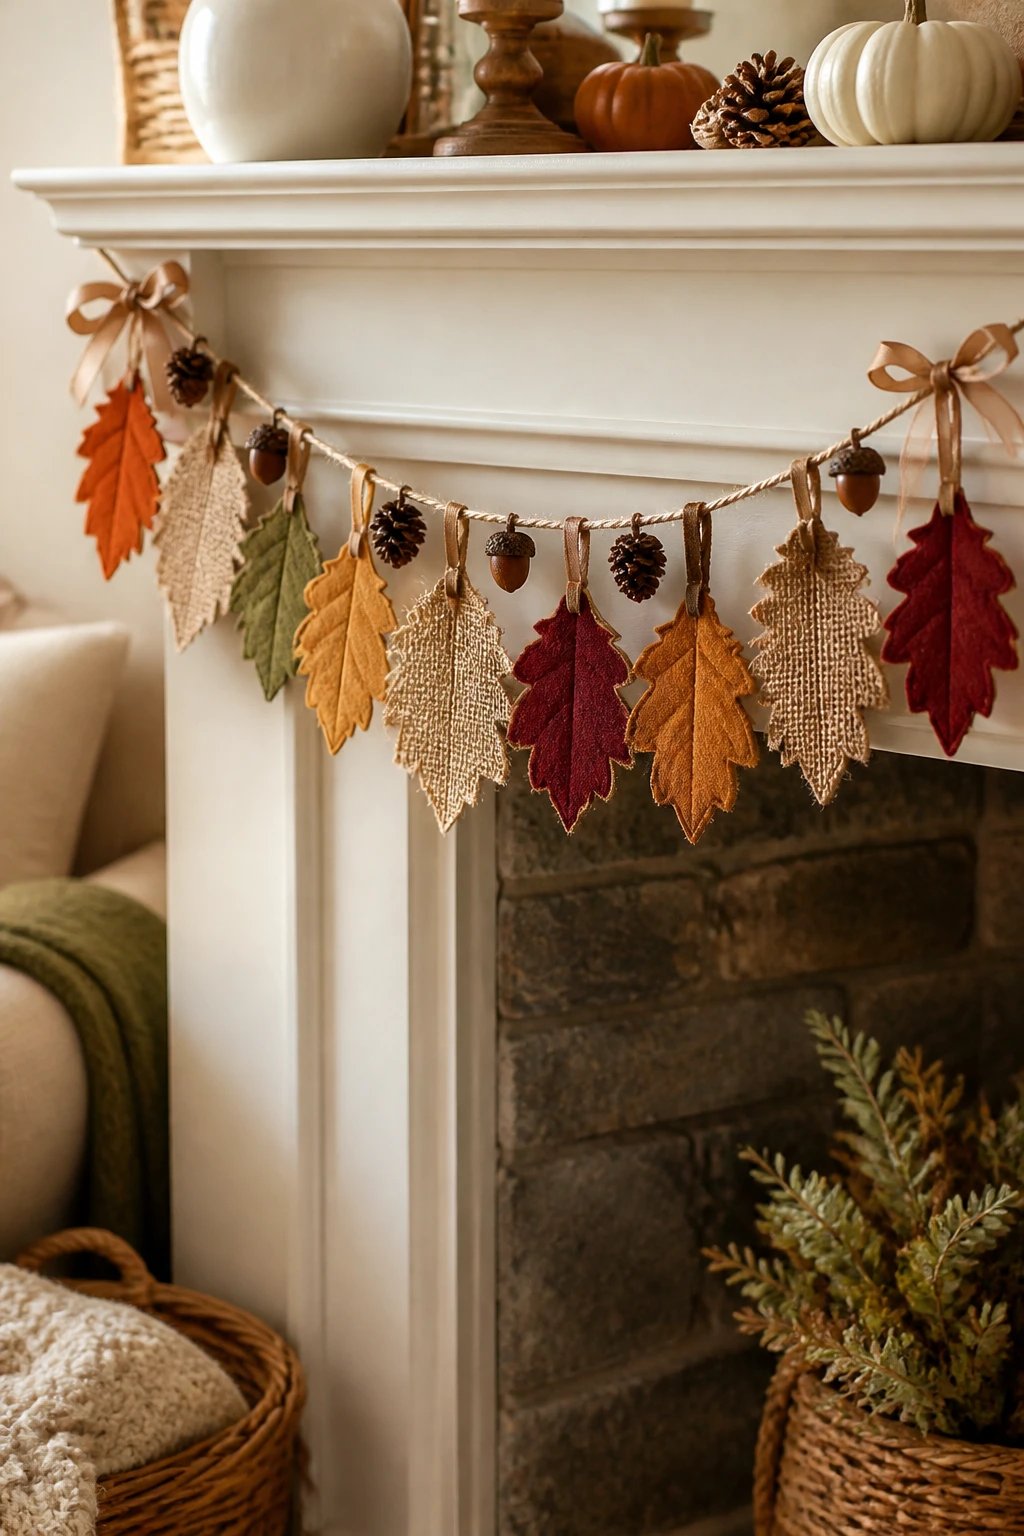
I like to give a handmade garland a little breathing room. A shallow curve across a console or buffet lets the leaf shapes show without crowding the surface above it.
- Let all adhesives cure fully. Lift the garland gently over your work surface and check every attachment.
- Fit two suitable hooks or use secure existing attachment points. Follow the hardware instructions for the surface, weight limit, and waiting time. Do not hang it from loose decorative objects.
- Tie the ends firmly, then adjust the drape. Add a center support if your span needs it, rather than stretching the twine tightly.
- Step back and check the color balance. Add small ribbon bows at the ends if you like. Tie optional pinecones to the main twine securely, not to a fragile leaf.
Choose a safe display spot. Felt, burlap, and twine are combustible. A console, buffet, or shelf away from heat is the simplest choice. The mantel photos are styling inspiration, not clearance guides. Do not drape this craft over an operating fireplace, stove, heater, or near real candles. Keep loose cords and small decorations away from pets and young children.
Three easy ways to style it
- Soft and natural: pair cream and olive felt with a woven basket and pale ceramic pumpkins.
- Traditional autumn: choose rust, mustard, and burgundy with an amber vase and natural burlap.
- Thanksgiving buffet: repeat one garland color in a table runner and add a small cluster of handmade fabric pumpkins, leaving serving space clear.
Shop the Look
Use pieces you already have, or browse these finishing touches for an inviting fall display.
For a coordinated table, borrow a color combination from these Thanksgiving tablescape ideas or add rustic pinecone place card holders.
❧
5. Store Your Fall Garland for Next Year
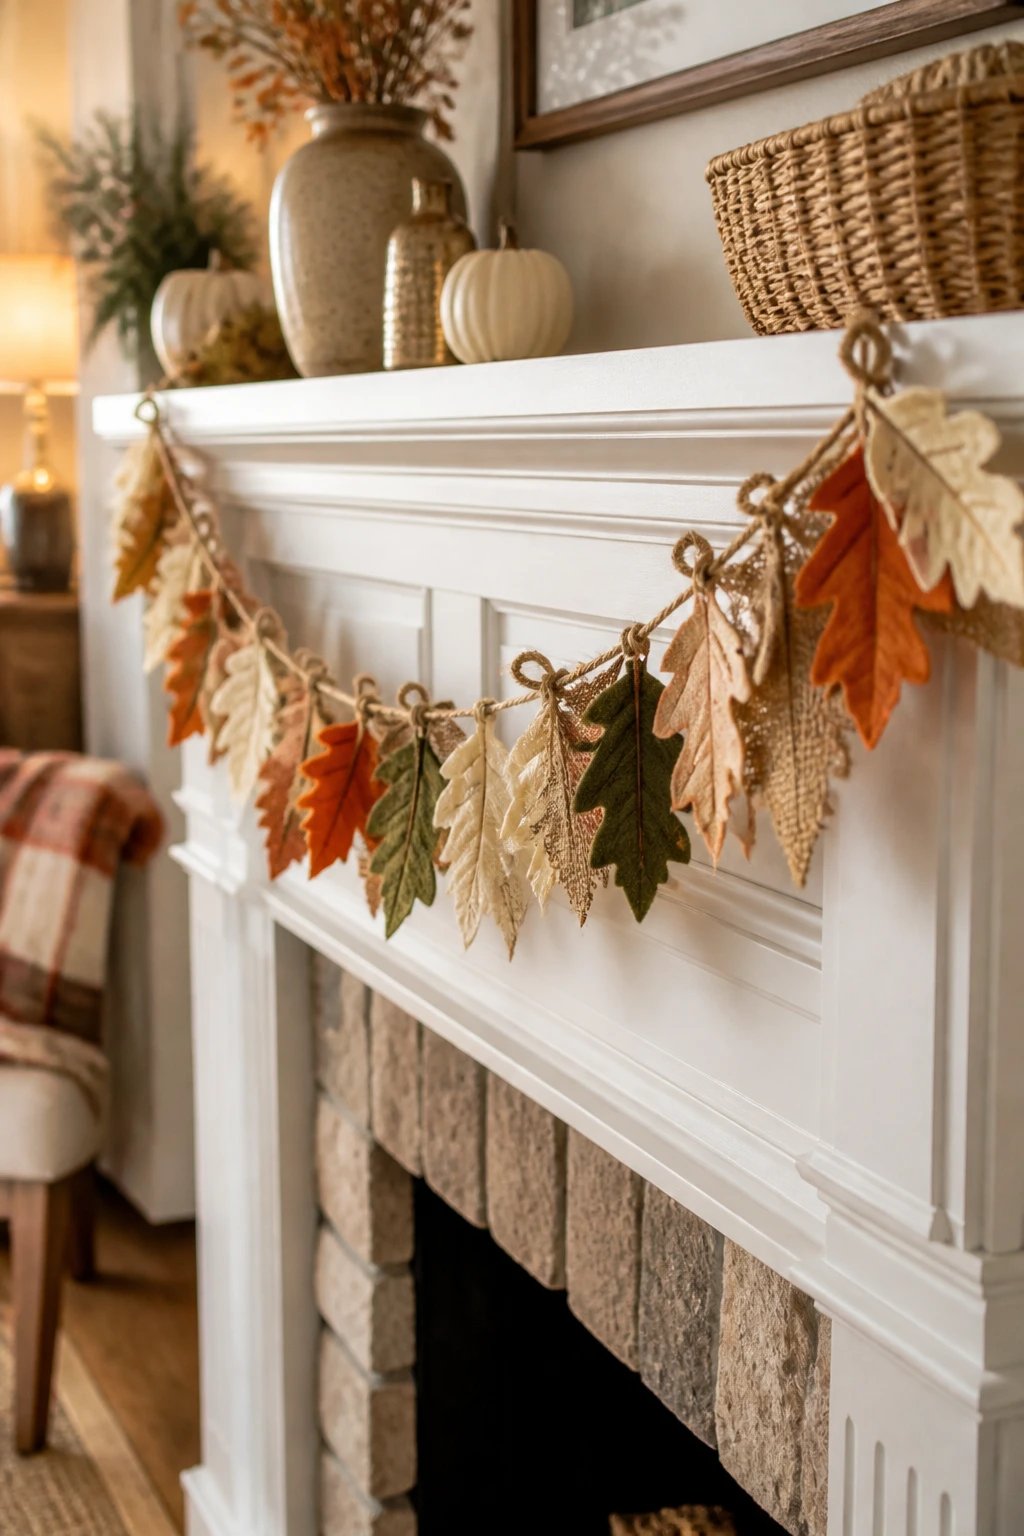
A little care at the end of the season makes this fall leaf garland easier to enjoy again. Check the loops and edges before you pack it away, then repair any loose stitches while they are easy to find.
- Brush away dust gently with a soft, dry brush. Avoid soaking the assembled garland or scrubbing glued joints.
- If a spot needs cleaning, test a barely damp cloth on a hidden area and follow the felt and adhesive care instructions. Let everything dry completely.
- Lay the leaves flat in a shallow box with tissue between layers. Coil the main twine loosely alongside them instead of winding it tightly around the leaves.
- Store indoors in a dry spot, without heavy decorations on top. Label the box so the garland is easy to find next fall.
- Next year, inspect the attachments before rehanging. Smooth creases by hand first. Do not steam or iron synthetic felt or glued sections unless their specific care instructions permit it.
You can refresh the look without starting over. Add a few new felt colors, replace worn loops, or move the garland from a shelf to a buffet for Thanksgiving.
❧
Fall Garland FAQs
Can I make a fall garland without sewing?
Yes. Use fabric adhesive labeled suitable for the felt, burlap, and twine you selected. Test a sample, secure hanging loops under small felt patches, and allow the full curing time before hanging. Heavy accents are better tied directly to the main twine.
How do I stop burlap leaves from fraying?
Choose a tight weave and test a fray-control product or thin line of compatible fabric glue near the traced edge before cutting. Let it dry according to the label. Ironing alone does not prevent fraying.
How many leaves do I need for a six-foot garland?
About 18 leaves is a useful starting point when you reserve roughly 12 inches of twine at each end. Lay the leaves out across the middle section before attaching them, then adjust the count for your leaf width, spacing, and preferred drape.
Can I hang this felt and burlap garland outside?
This tutorial is intended for indoor display. Felt, burlap, and ordinary craft adhesives may be affected by moisture, wind, and sun. Keep it indoors if you want to reuse it next season.
Can I use real leaves or make it with children?
Clean, dry real leaves can help you draw a paper template, but they may crumble if used as the finished decoration. Children can help choose colors or arrange pre-cut pieces with supervision. An adult should handle sharp scissors, needles, and hot glue; keep cords and small parts out of young children’s reach.
❧
A Handmade Touch for Autumn
A few soft leaves, simple twine, and colors you love are all it takes to make this fall garland feel personal. Start with one sample leaf, enjoy the process, and let the little handmade details be part of its charm.
Save this tutorial for your next crafting afternoon. Would you choose earthy rust and mustard, or a softer cream and olive palette? Share your favorite in the comments.
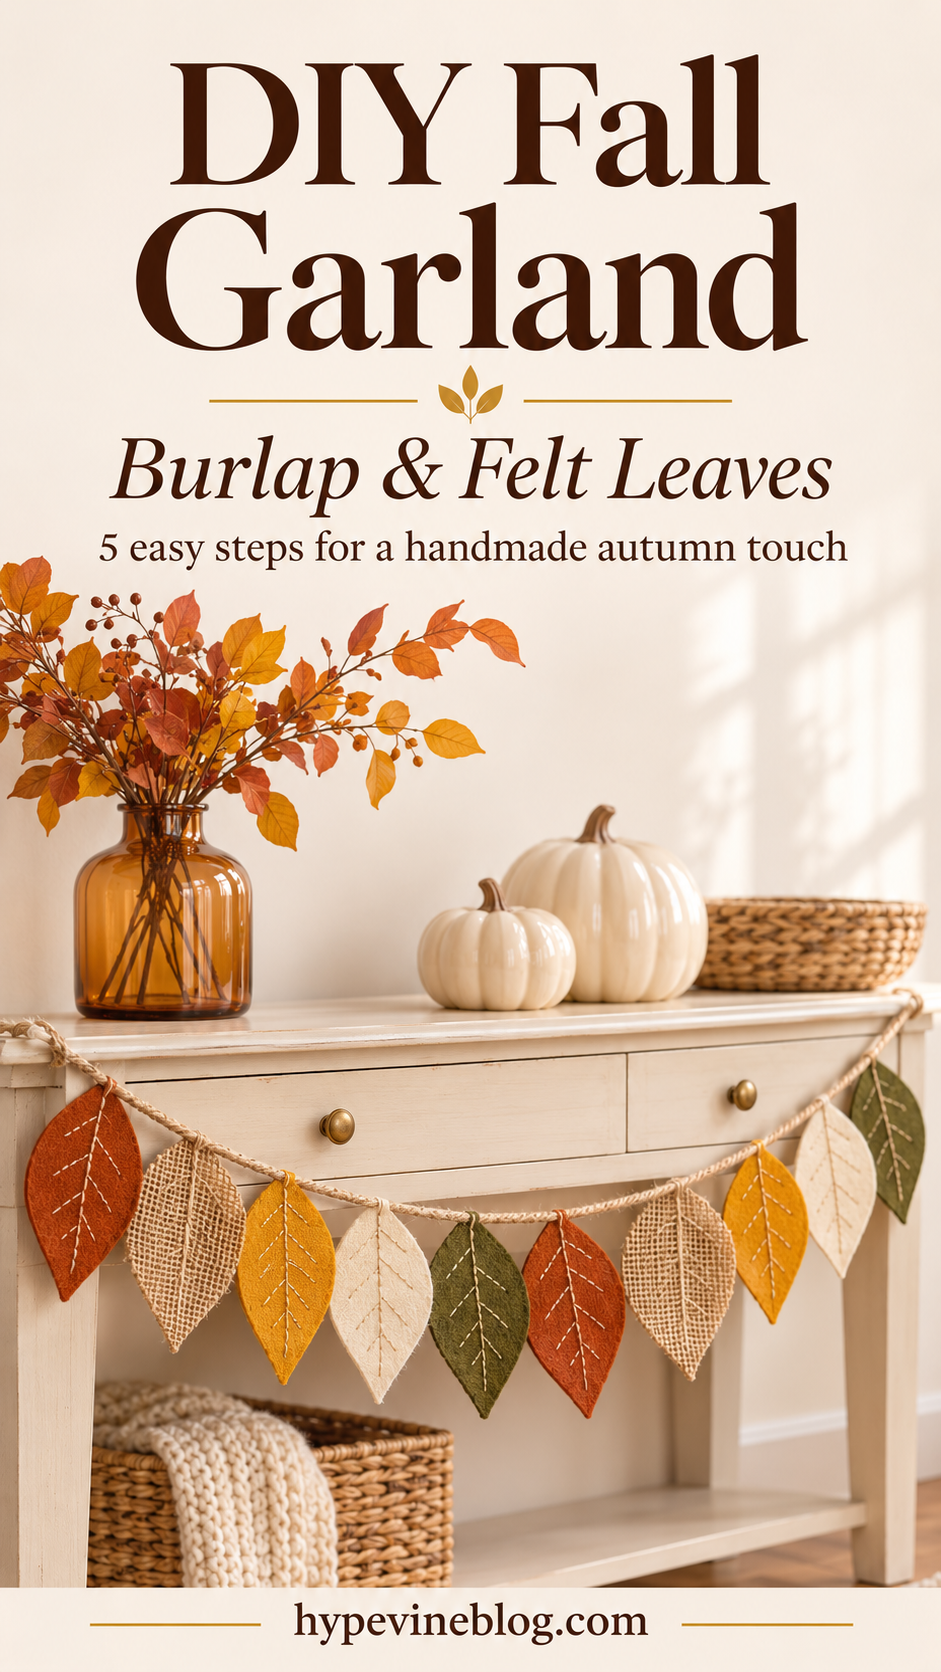
Keep the Thanksgiving inspiration going: pair your garland with DIY fabric pumpkins and a few pieces you already love.