
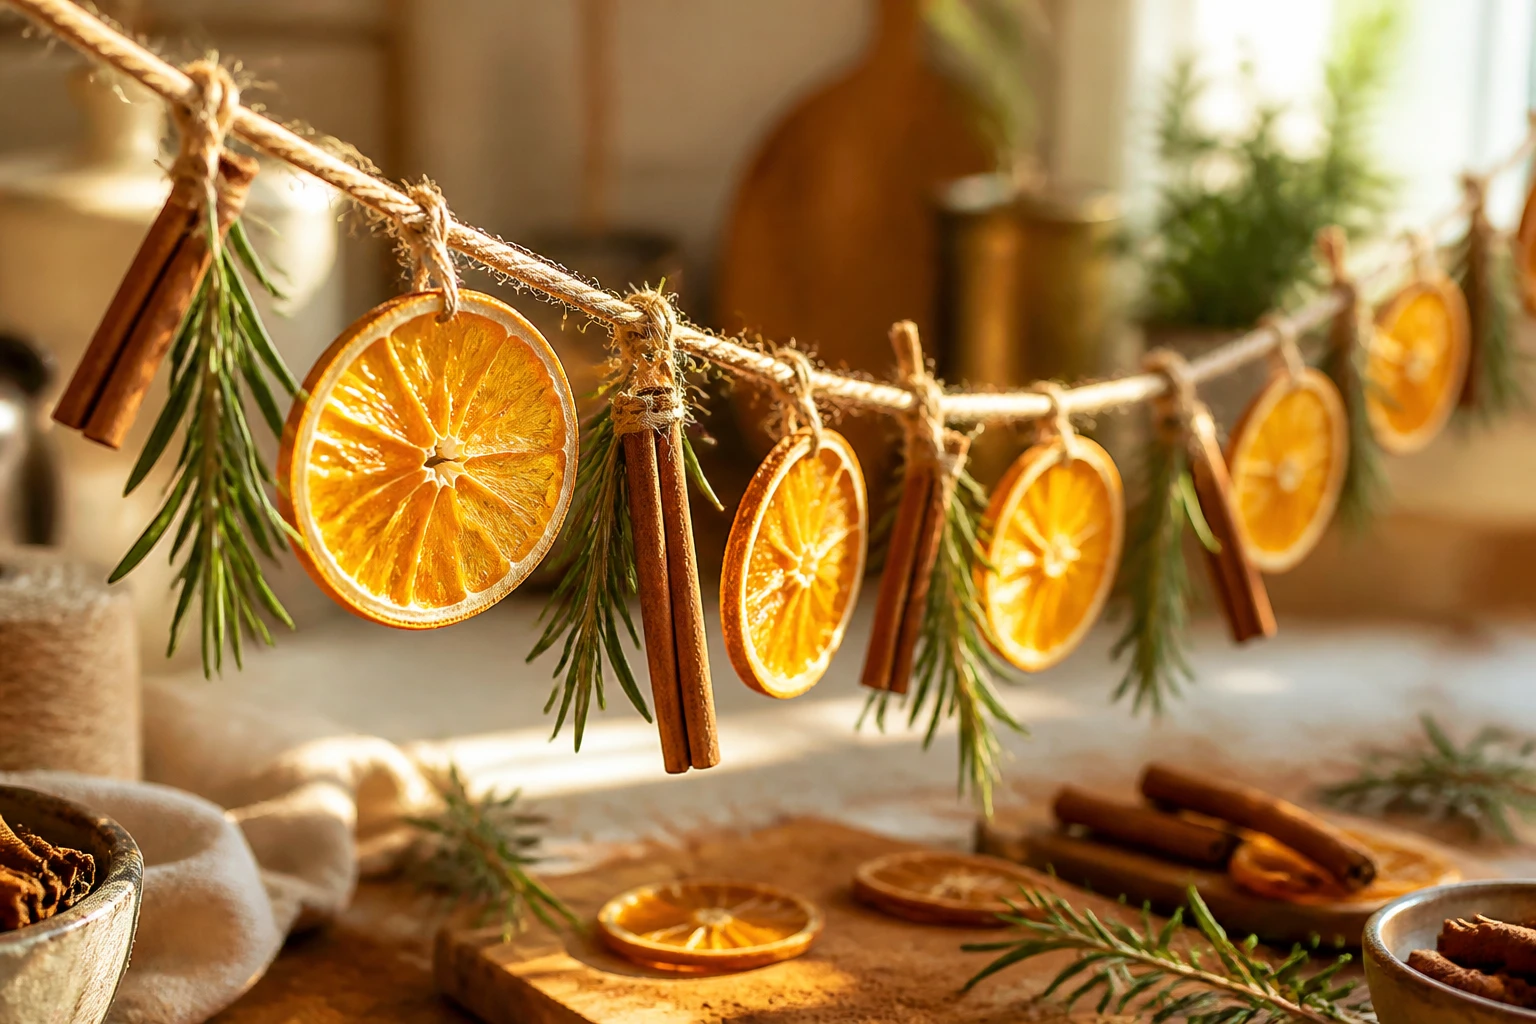
I love the way dried orange garland catches the light, turning simple citrus slices into little amber windows. Add cinnamon sticks, soft rosemary sprigs and natural twine, and you have an inviting decoration that feels right from Thanksgiving through Christmas.
This DIY dried orange garland follows five easy steps, with practical drying tips and a flexible layout you can adjust for a window, shelf or holiday table.
Make Your Garland
This post contains affiliate links. As an Amazon Associate, HypeVine earns from qualifying purchases at no extra cost to you.
At a glance
Beginner-friendly • About 30–45 minutes to assemble, plus drying and cooling • Makes one approximately 4-foot strand
Dry the oranges ahead of time if you are making this with friends.
1. Gather your garland supplies

Start with a clear work surface and small bowls for the loose pieces. For a roughly 4-foot decorated section, the following is a starting point, not an exact yield. Orange size and spacing will change how much you need.
- 4–6 medium oranges, aiming for 16–20 usable dried slices, plus a few spares
- 6–8 cinnamon sticks and 6–8 small rosemary sprigs
- About 6 feet of thin cotton twine, allowing extra for knots and hanging loops
- Sharp knife, cutting board and a clean towel
- Baking sheets, parchment paper and a cooling rack
- Large-eye needle or skewer, scissors and a ruler
- Optional ribbon, wooden beads or star anise
2. Dry the orange slices
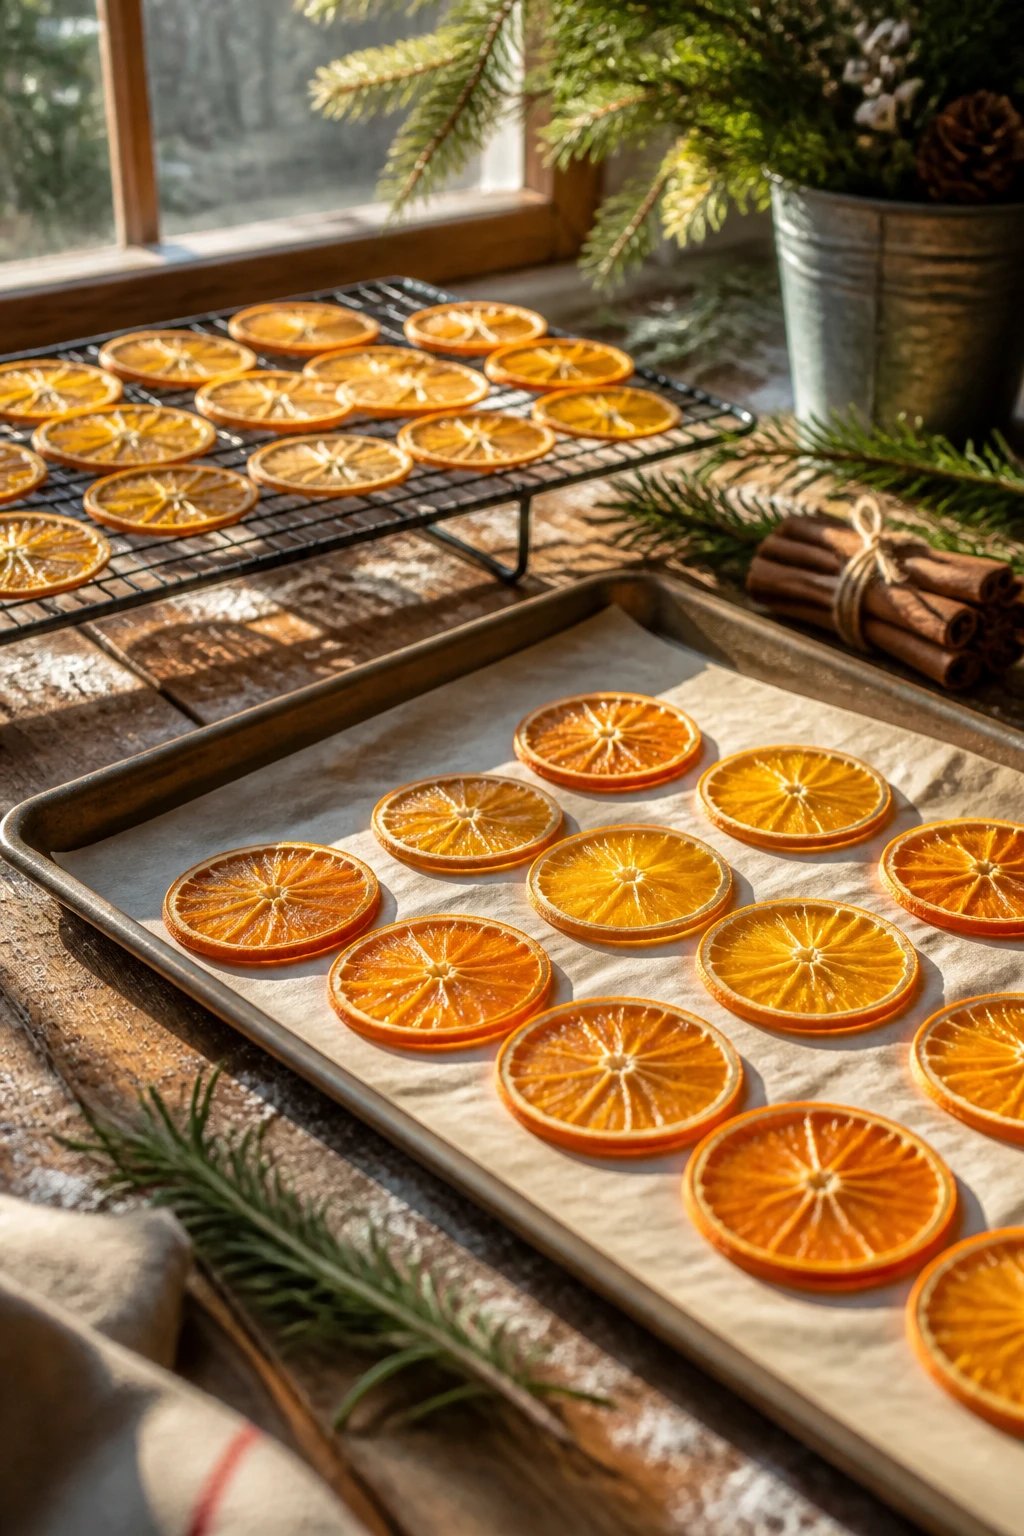
For the drying stage, I’ve used Clemson Extension’s citrus-drying guidance as the reference. Keep the slices evenly cut and use their texture, not just the clock, to judge when they are ready.
- Wash and dry the oranges, then cut into even slices about 1/8 inch thick. Blot both sides with a clean towel.
- Heat the oven to 175°F (about 80°C), or its lowest setting no higher than 200°F (about 93°C). Arrange slices on parchment-lined trays without touching.
- Turn the slices every 30 minutes. Allow roughly 3–5 hours, with extra time if needed, and remove individual slices as they finish.
- Cool on a wire rack and check for sticky or soft areas. Continue drying any pieces that still hold moisture before threading.
My favorite pro-tip: make a small test batch.
Dry a few evenly cut slices before filling every tray. You’ll see how your oven behaves, and you can adjust the next batch without losing a whole afternoon’s materials.
Skip sugar, water sprays and acrylic coatings. This is a decorative craft, so keep the finished pieces separate from food once they have been handled with craft materials.
3. Assemble your dried orange garland
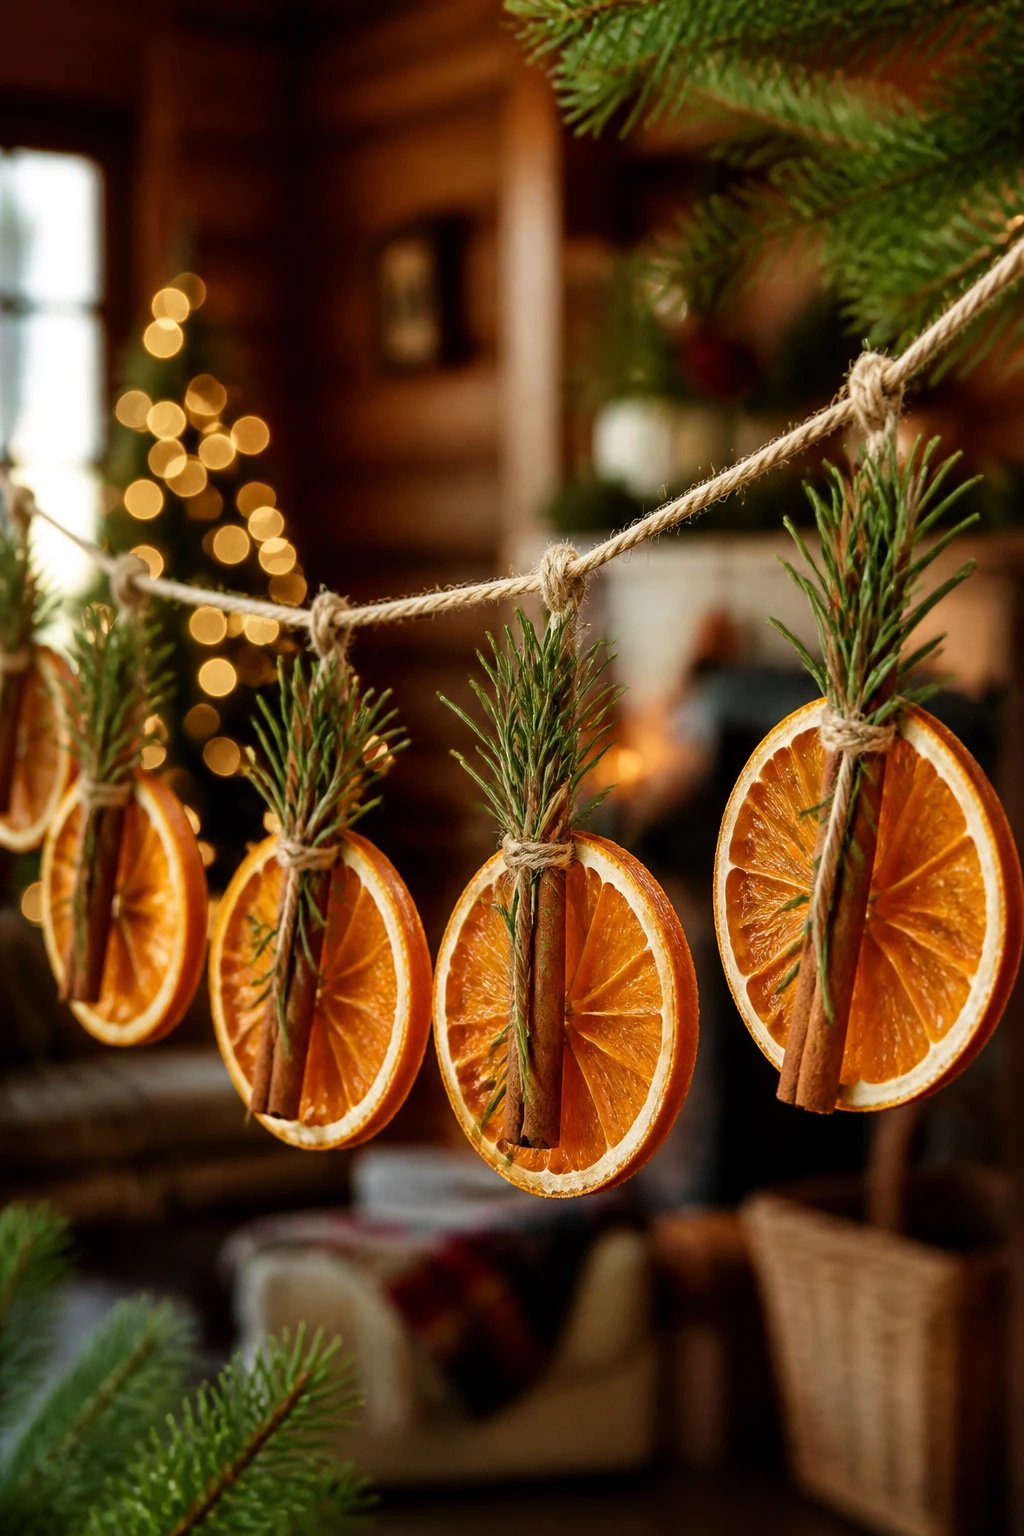
Lay the twine on your table and arrange the pieces beside it before tying anything. Try orange, cinnamon, orange, rosemary, then repeat. Leave a little breathing room so the slices show clearly.
- Leave about 12 inches of twine at the first end and tie a hanging loop.
- Use a needle or skewer to make two small holes near the top of each orange slice, just inside the rind. Support the slice so it does not crack.
- Pass the cord through the two holes so each slice faces forward. Slide it gently into place and add a loose stopper knot if it moves too freely.
- Tie cinnamon sticks on with short separate pieces of twine. Do not force a needle through the hard bark.
- Tie rosemary sprigs separately at the stems, then finish with a loop at the other end. Lift the strand gently and adjust the spacing.
If a slice breaks, set it aside and use a spare. Avoid overtightening knots against the fruit. For a longer strand, make two shorter garlands and hang them together instead of wrestling with one long piece.
4. Add ribbon and seasonal details

Keep the twine visible for a relaxed, rustic finish, or add small ribbon bows between sections. Forest green looks soft beside the amber citrus; burgundy brings a more traditional Christmas feel.
For November, I’d keep the colors simple with rosemary and natural cord. When December arrives, a few velvet bows give the same dried orange garland a fresh holiday look. Tie extras onto the cord rather than weighing down the slices.
Wooden beads or a little star anise can add texture, but the oranges can be the whole story. If you enjoy this old-fashioned style, try these vintage Christmas decor ideas alongside it.
5. Display and store your garland

A dry window, an open shelf or a wall above a sideboard makes a lovely display. Window light brings out the translucent centers, but avoid damp glass and condensation. Choose suitable hooks for the surface and follow their weight and removal instructions.
Keep dried fruit, herbs, ribbon and twine away from flames, heaters and an active fireplace. The mantel photos are styling inspiration, not a guide to fire clearance. Keep dangling cord and small pieces out of reach of pets and young children.
Rosemary will gradually dry and may shed. Replace sprigs when they look tired, and remove fresh greenery before packing the garland away. The scent is gentle and fades; think of this as a visual decoration rather than a room fragrance.
Pack only completely dry orange slices into an airtight container in a cool, dark place. Cushion them so they do not snap. Check stored pieces before reuse and discard anything with mold, a musty smell or signs of moisture. Do not try to rescue moldy fruit by drying it again.
Making this for a gathering? Dry the slices beforehand and set out small supply bowls using these Christmas craft night ideas. Guests can spend the evening arranging and tying their strands.
Dried orange garland FAQs
How long does dried orange garland last?
It can last through the holiday season when the slices are thoroughly dry and displayed in a dry room. Reuse depends on humidity and storage, so inspect each piece before hanging it again. Discard anything moldy or musty.
How do I keep orange slices from turning brown?
Cut evenly, use low heat and check regularly. Remove finished slices while thicker ones continue drying. Some natural darkening is normal, especially with longer drying or storage.
Can I use fresh rosemary in the garland?
Yes, but it will dry, fade and become brittle. Tie small sprigs on separately so you can replace them easily, and remove fresh greenery before storing the orange slices.
Do I need to seal the dried oranges?
No sealer is needed for this project. Thorough drying matters more. Skip water misting, powdered sugar and fragranced sprays, and keep the finished garland away from moisture.
Can I make this garland without a needle?
Yes. Gently make two small holes near the rind with a skewer, supporting the slice on a work surface. Thread thin cord through by hand. Adults should handle sharp tools, slicing and the oven.
A little handmade holiday warmth
A few oranges, a length of twine and small seasonal details can make a corner of your home feel wonderfully inviting. I’d start with one short strand, hang it where the light catches the slices, and let that simple glow do the decorating.
Save this dried orange garland tutorial for your next craft afternoon. Choose your ribbon now, dry the slices ahead, and enjoy putting the little details together.
Save this garland idea for later